This little anorak is this month’s Minerva Crafts project with lots of Prym products. It’s been perfect for all sorts of reasons.

I decided to try the Kelly Anorak by Closet Case.

Would you believe I based this project on the Prym products?
I’m enjoying testing Prym products and am learning new skills. This project has given me new insights about of how Prym understands what makes a useful and long lasting product.

There was no reason for me to panic when the zipper didn’t open easily.

The zipper packaging has a handy diagram that indicates it is an open ended zipper.


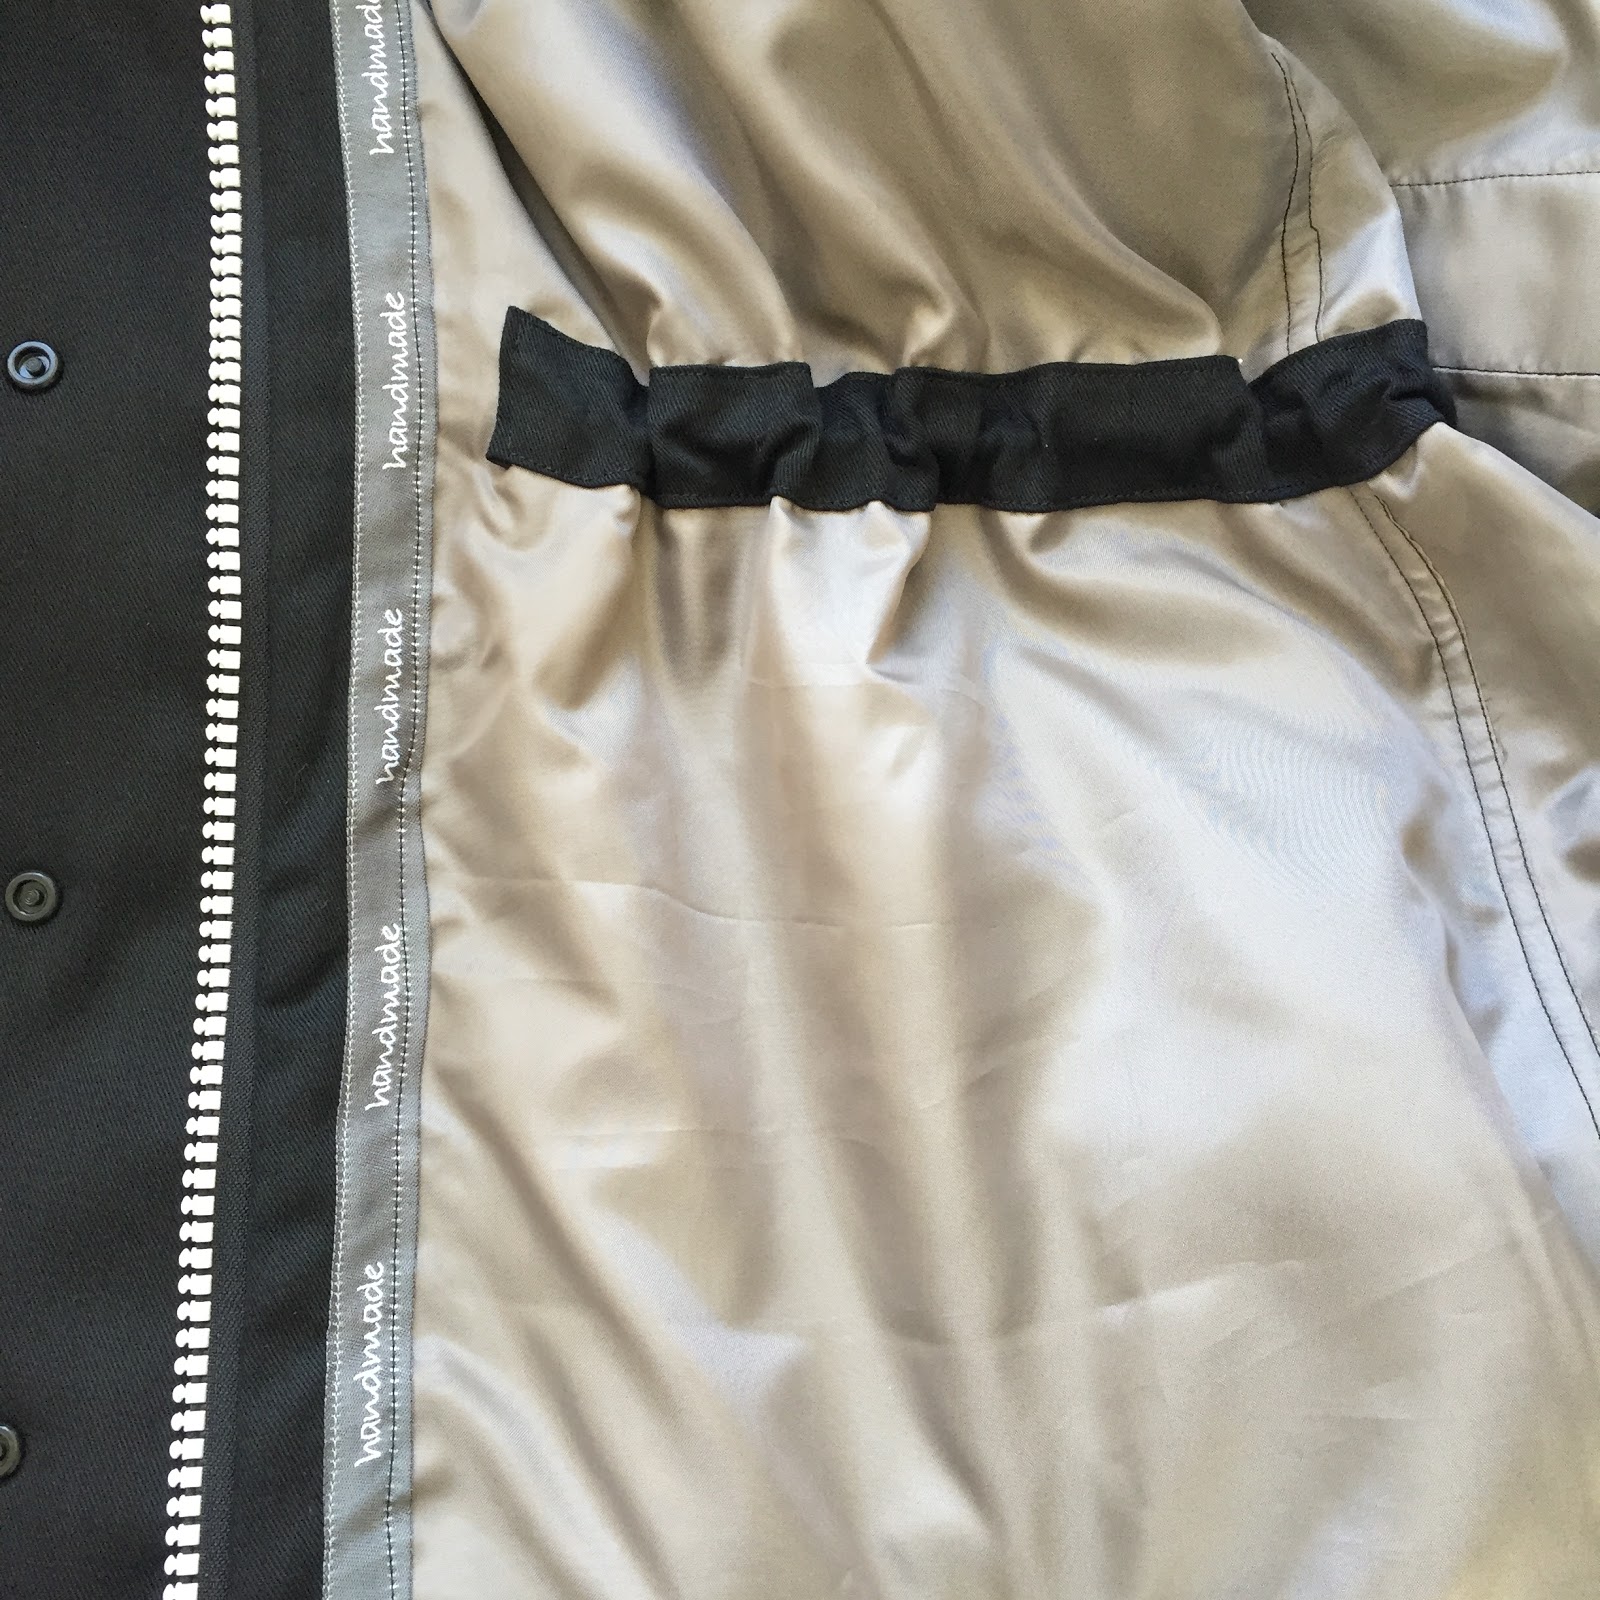
This is Prym iron on transfer or sleeve tattoo.

The ironing process and sleeve placement was a breeze.
This mild-mannered anorak has been worn a lot this month: to work; out shopping and to Parkrun. It’s been folded up and still springs back to life with no creases.

This jacket is the right length to ‘waltz’ into the gym and still look properly dressed.
With all the tailoring I do, I love the details the Kelly jacket provides.
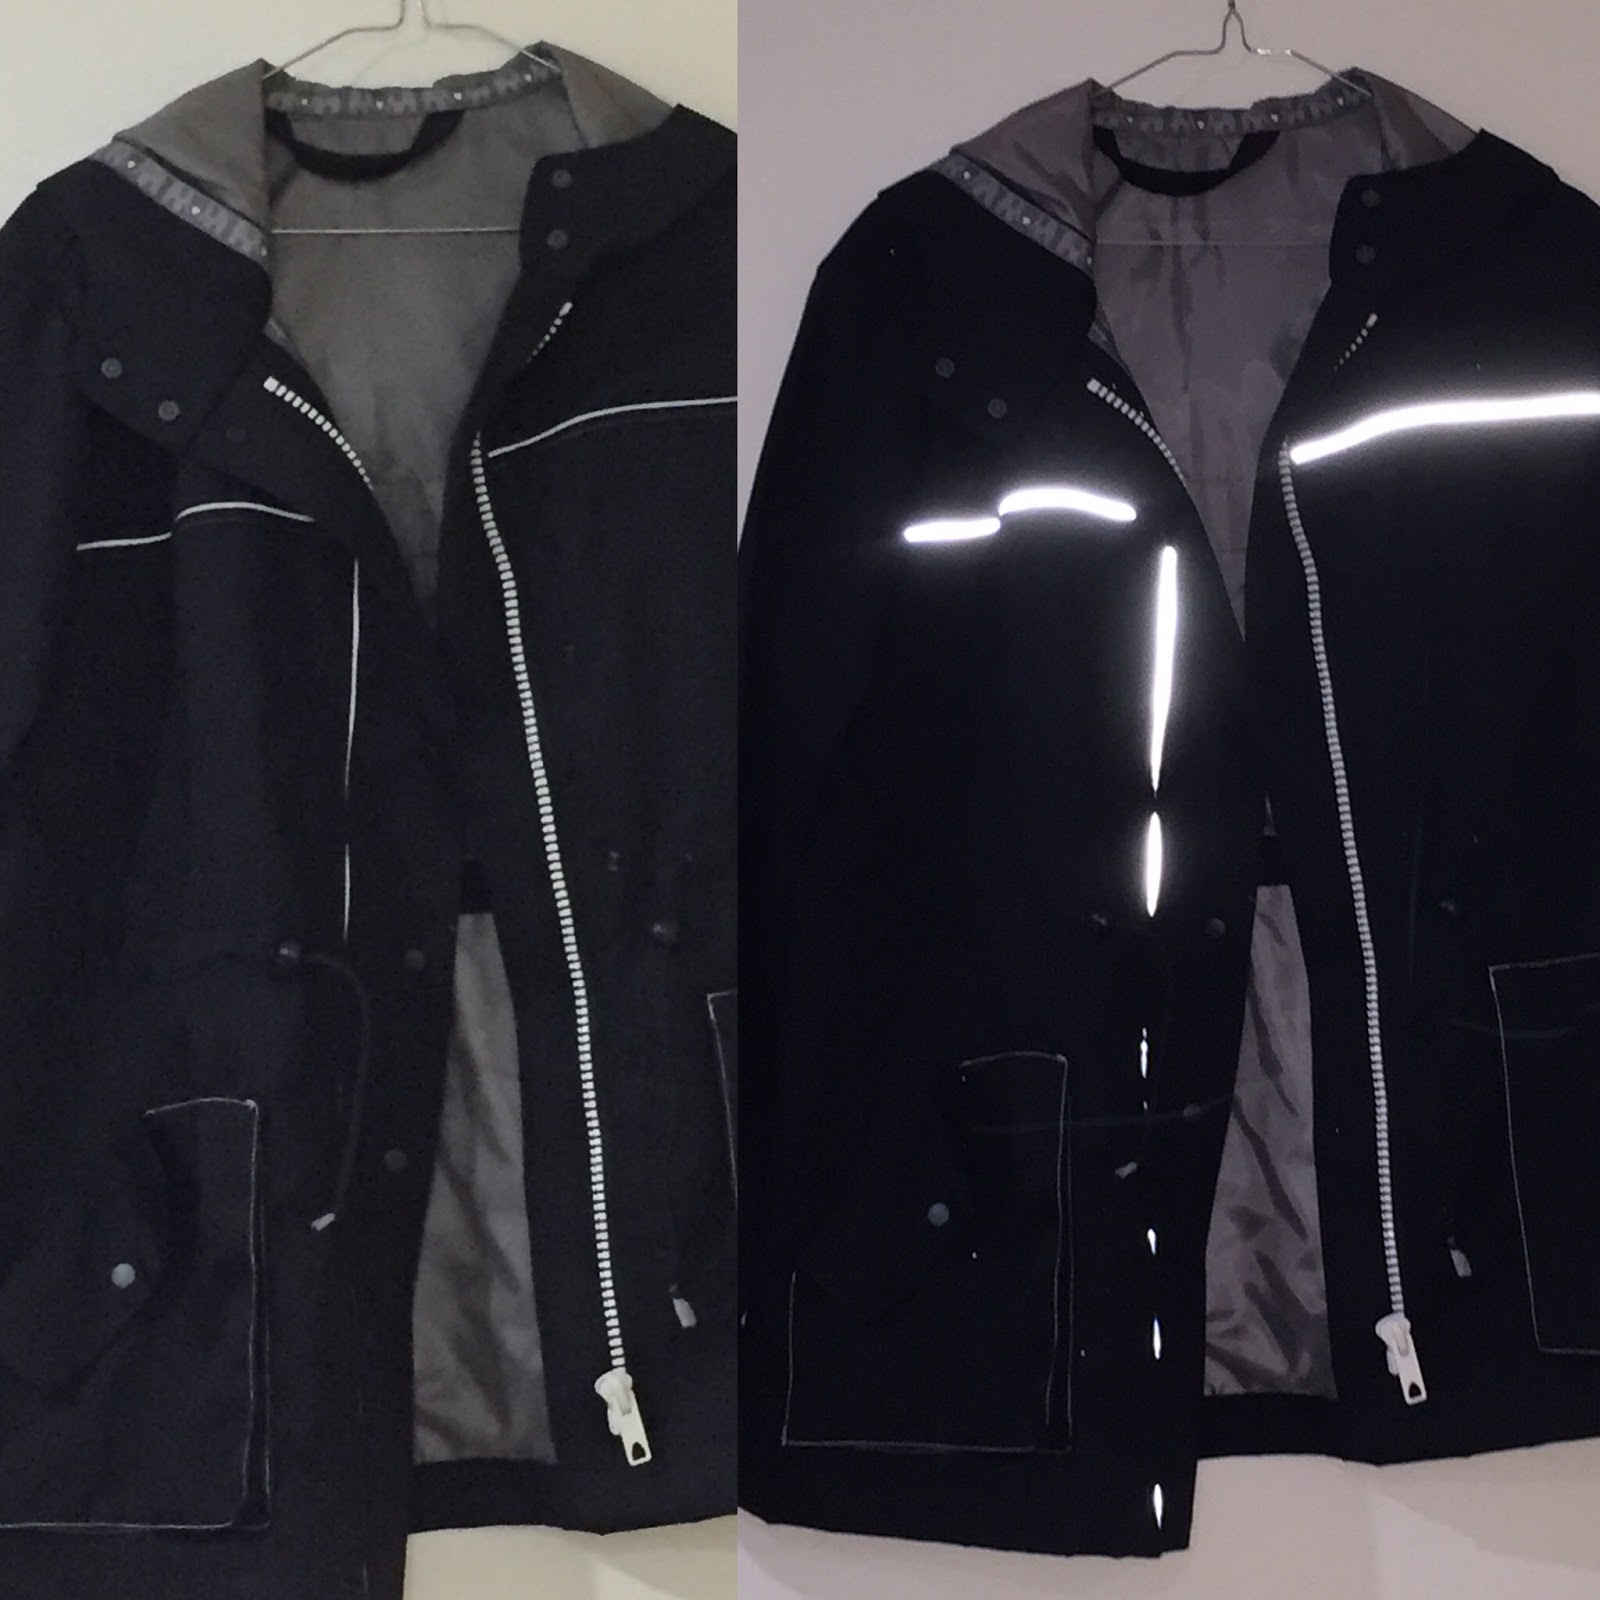
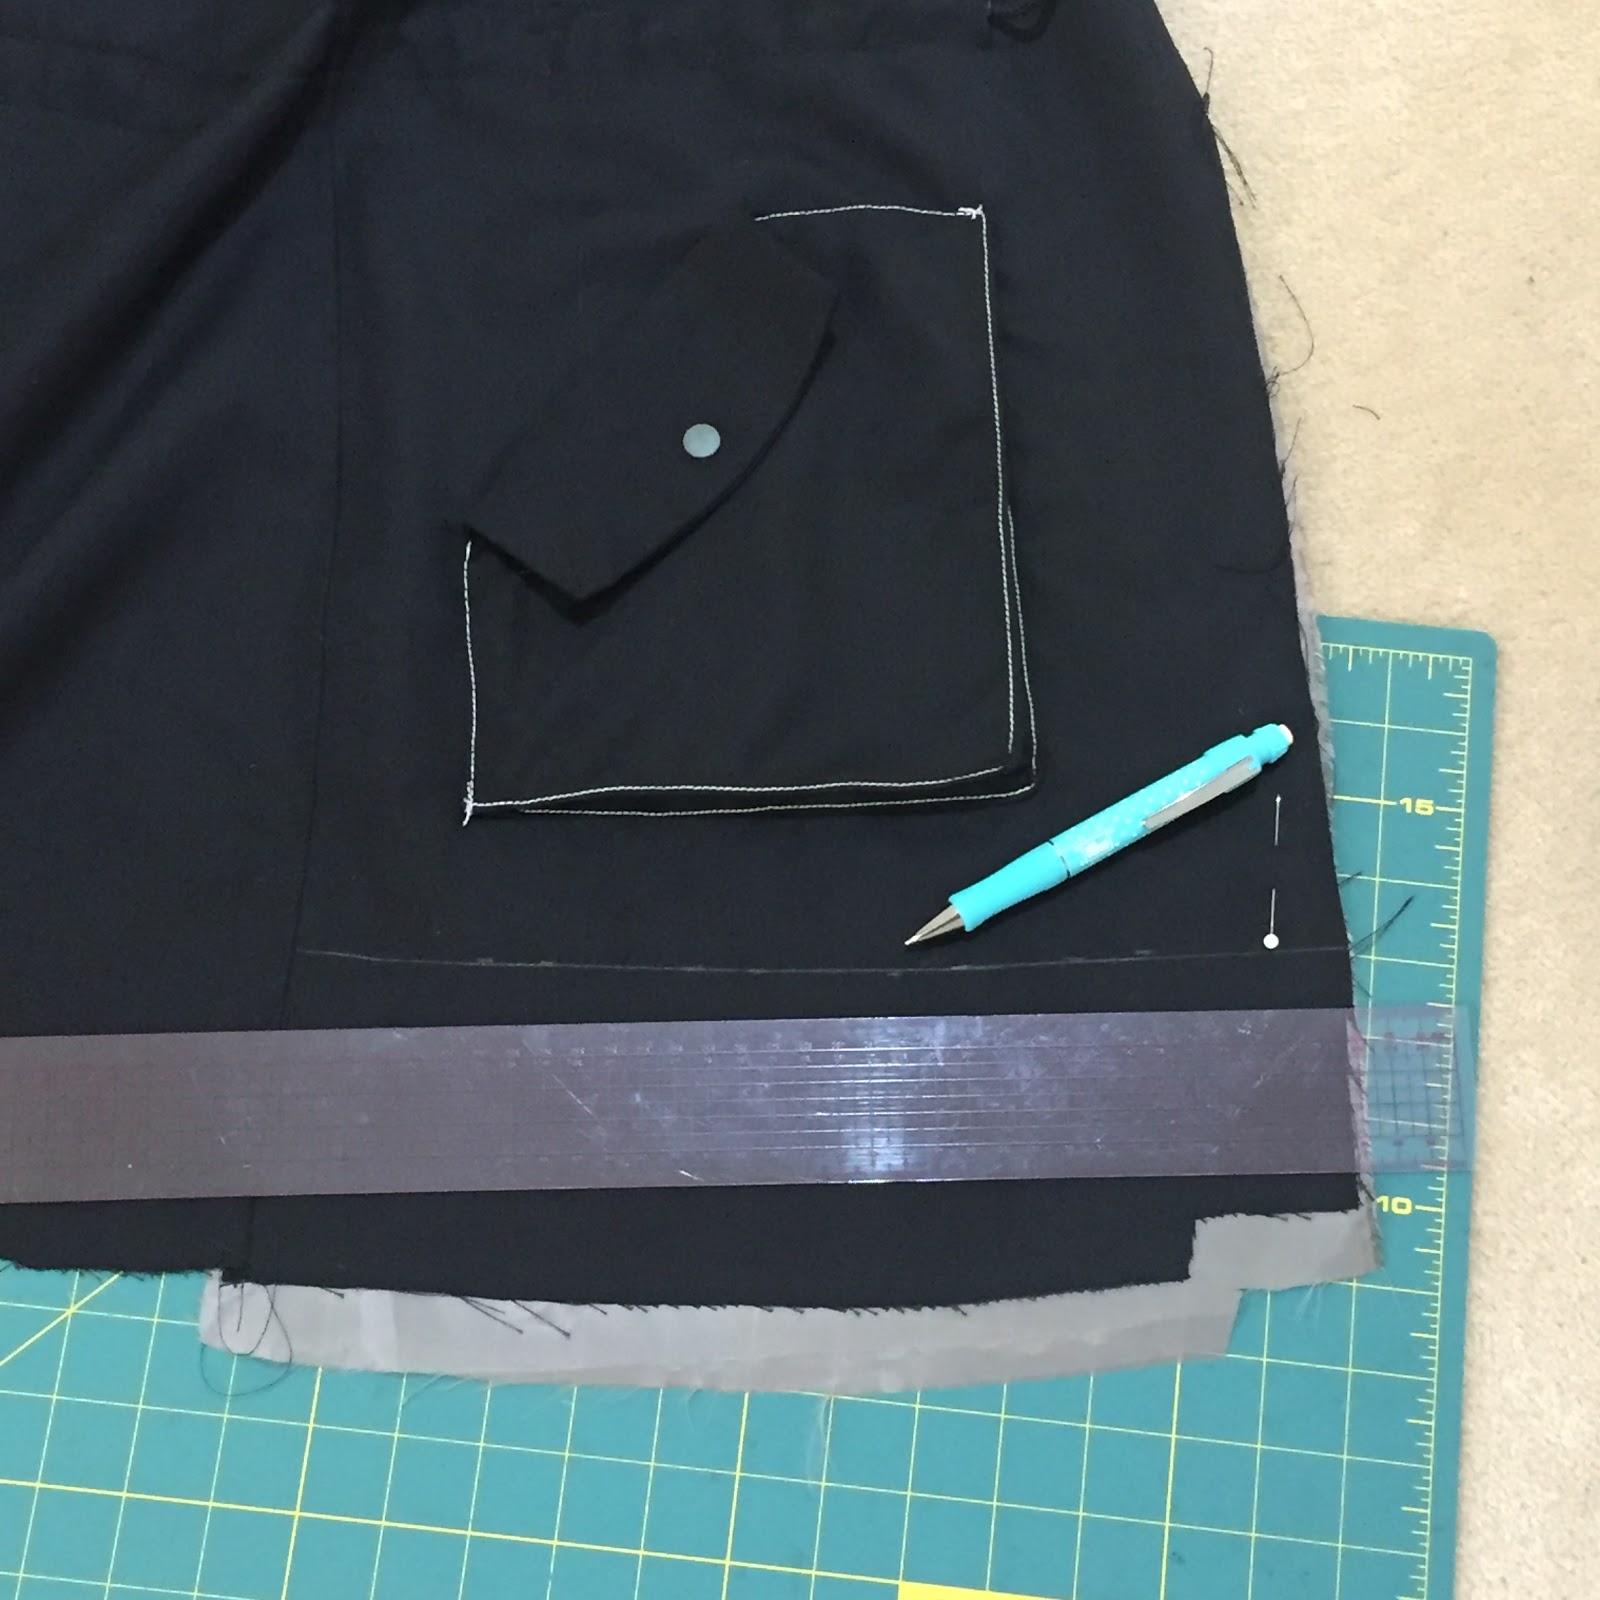
I even added reflective tape as it blends into the jacket design.

The way the instructions are set up, you can effectively sew this jacket up in unique stages. That’s important when you’re time poor. Once you start making this jacket, you can work on different parts for an hour at a time. Having said that the instructions are not easy to follow and I still don’t understand why.

Cutting this jacket out took a bit of time. The front zipper tabs are cut separately so I had to make sure I cut these out last and I cut them at the longest length because the reviews indicated these pattern pieces didn’t match up.

The only pattern adjustments I did was the forward shoulder adjustment.
The first stage I sewed up where the sleeves. I did this because I wasn’t sure if the sleeve length would work with the fabric I chose. The sleeves are long but they give me room to wear at three layers underneath.
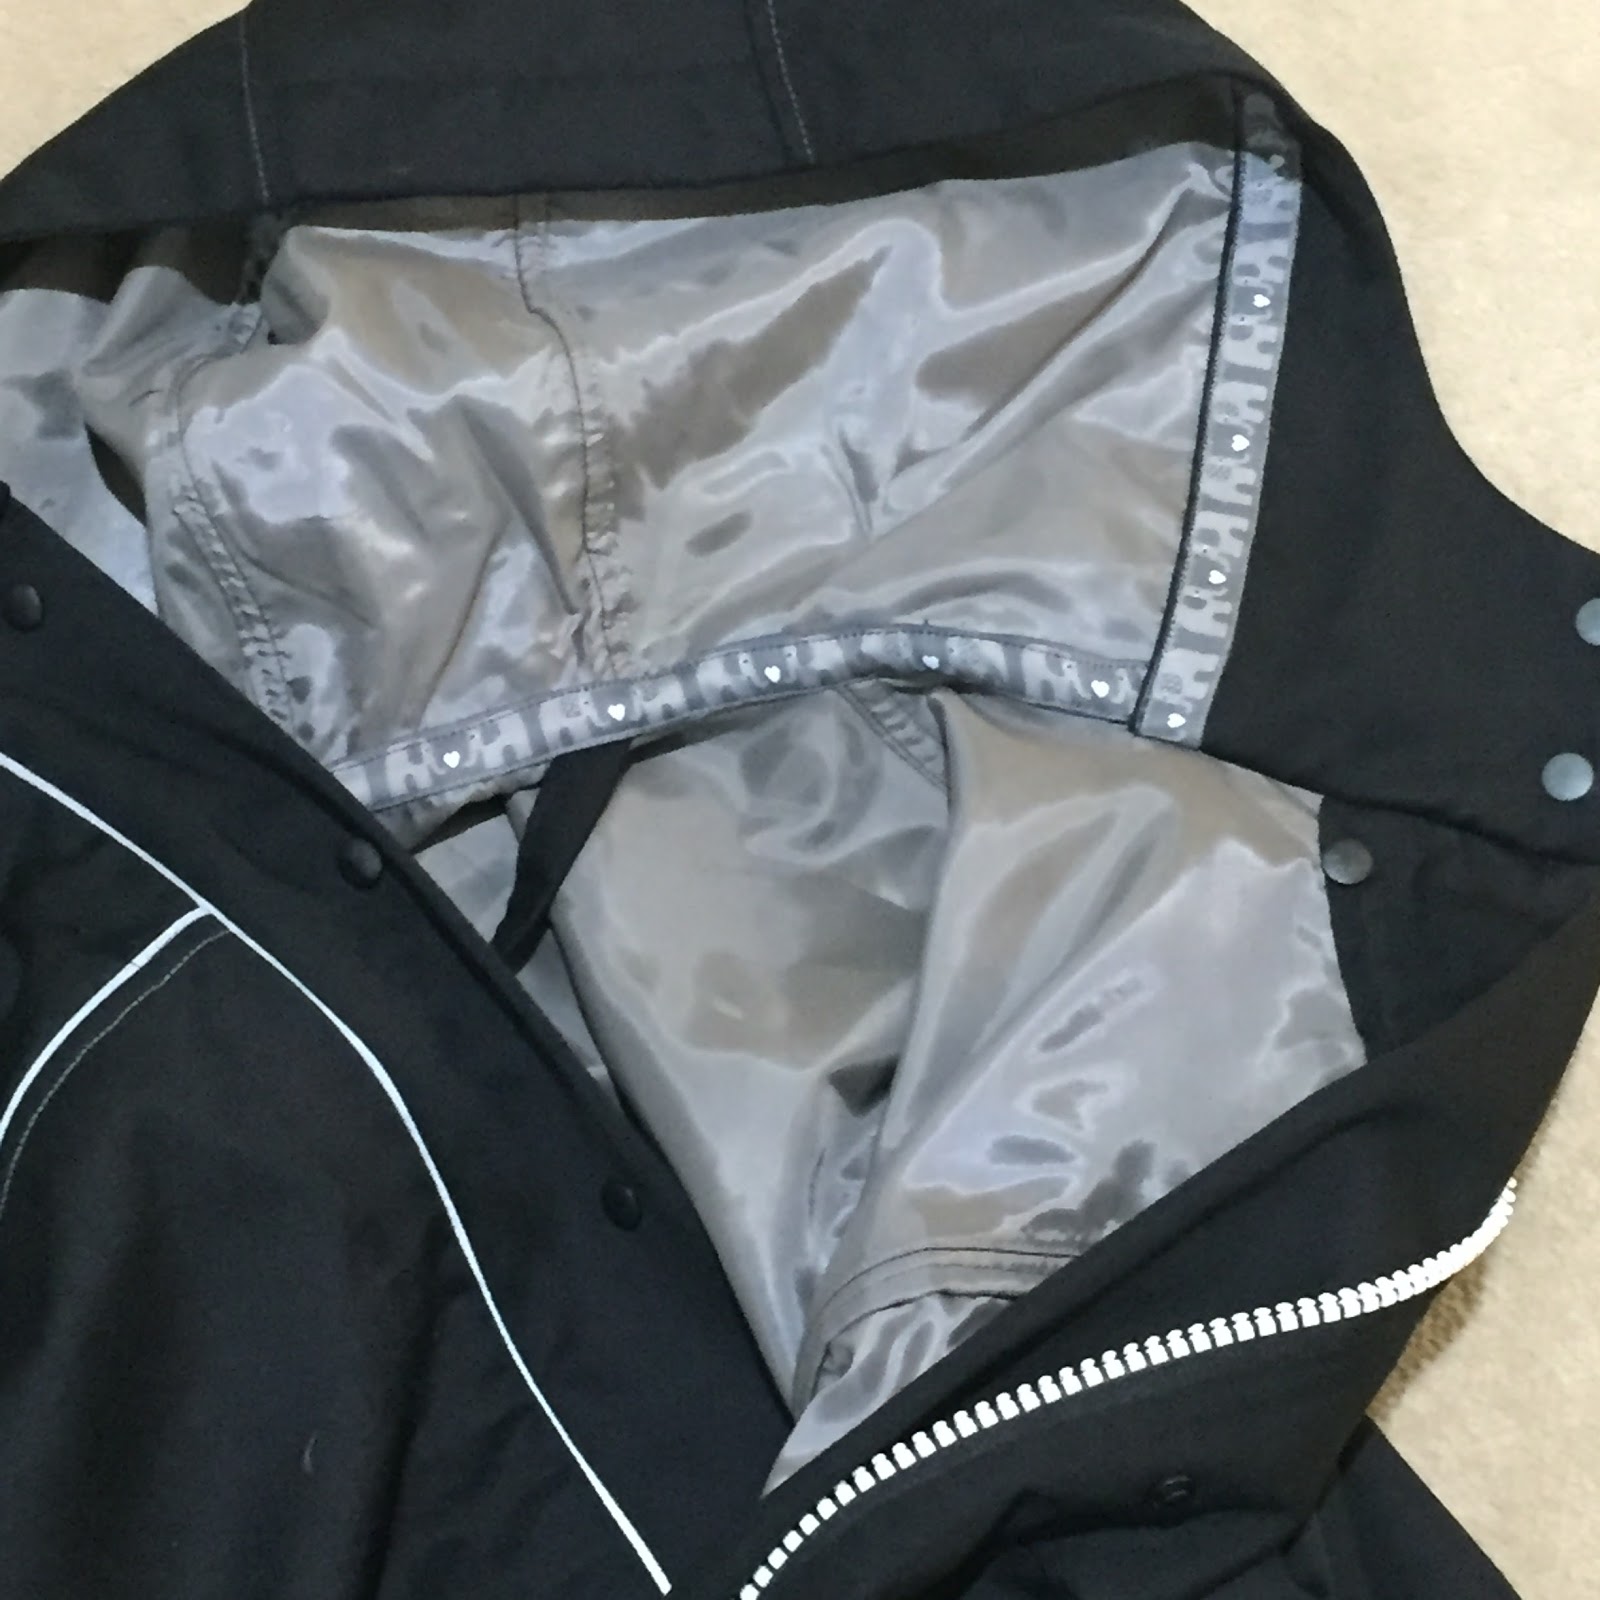
Then I sewed up the hood. I’ve seen a few anoraks with contrasting fabric to line the hood so I took my time to experiment with this feature of the anorak.
I decided to apply the elephant trim to the seams and especially along the hood and zipper seams. This is my first go at using elephants on my clothes. The clothes hook is something I added and is not in the pattern.

The idea of using snaps on this jacket was a bit hair-raising so I did a practice run. The results were good so by the time I applied these snaps to the jacket, my only challenge was making sure they were placed in the best spots. I did not follow the pattern instructions or snap placement.

There are many reviews of this jacket that warn others about the zipper instructions and their facings.
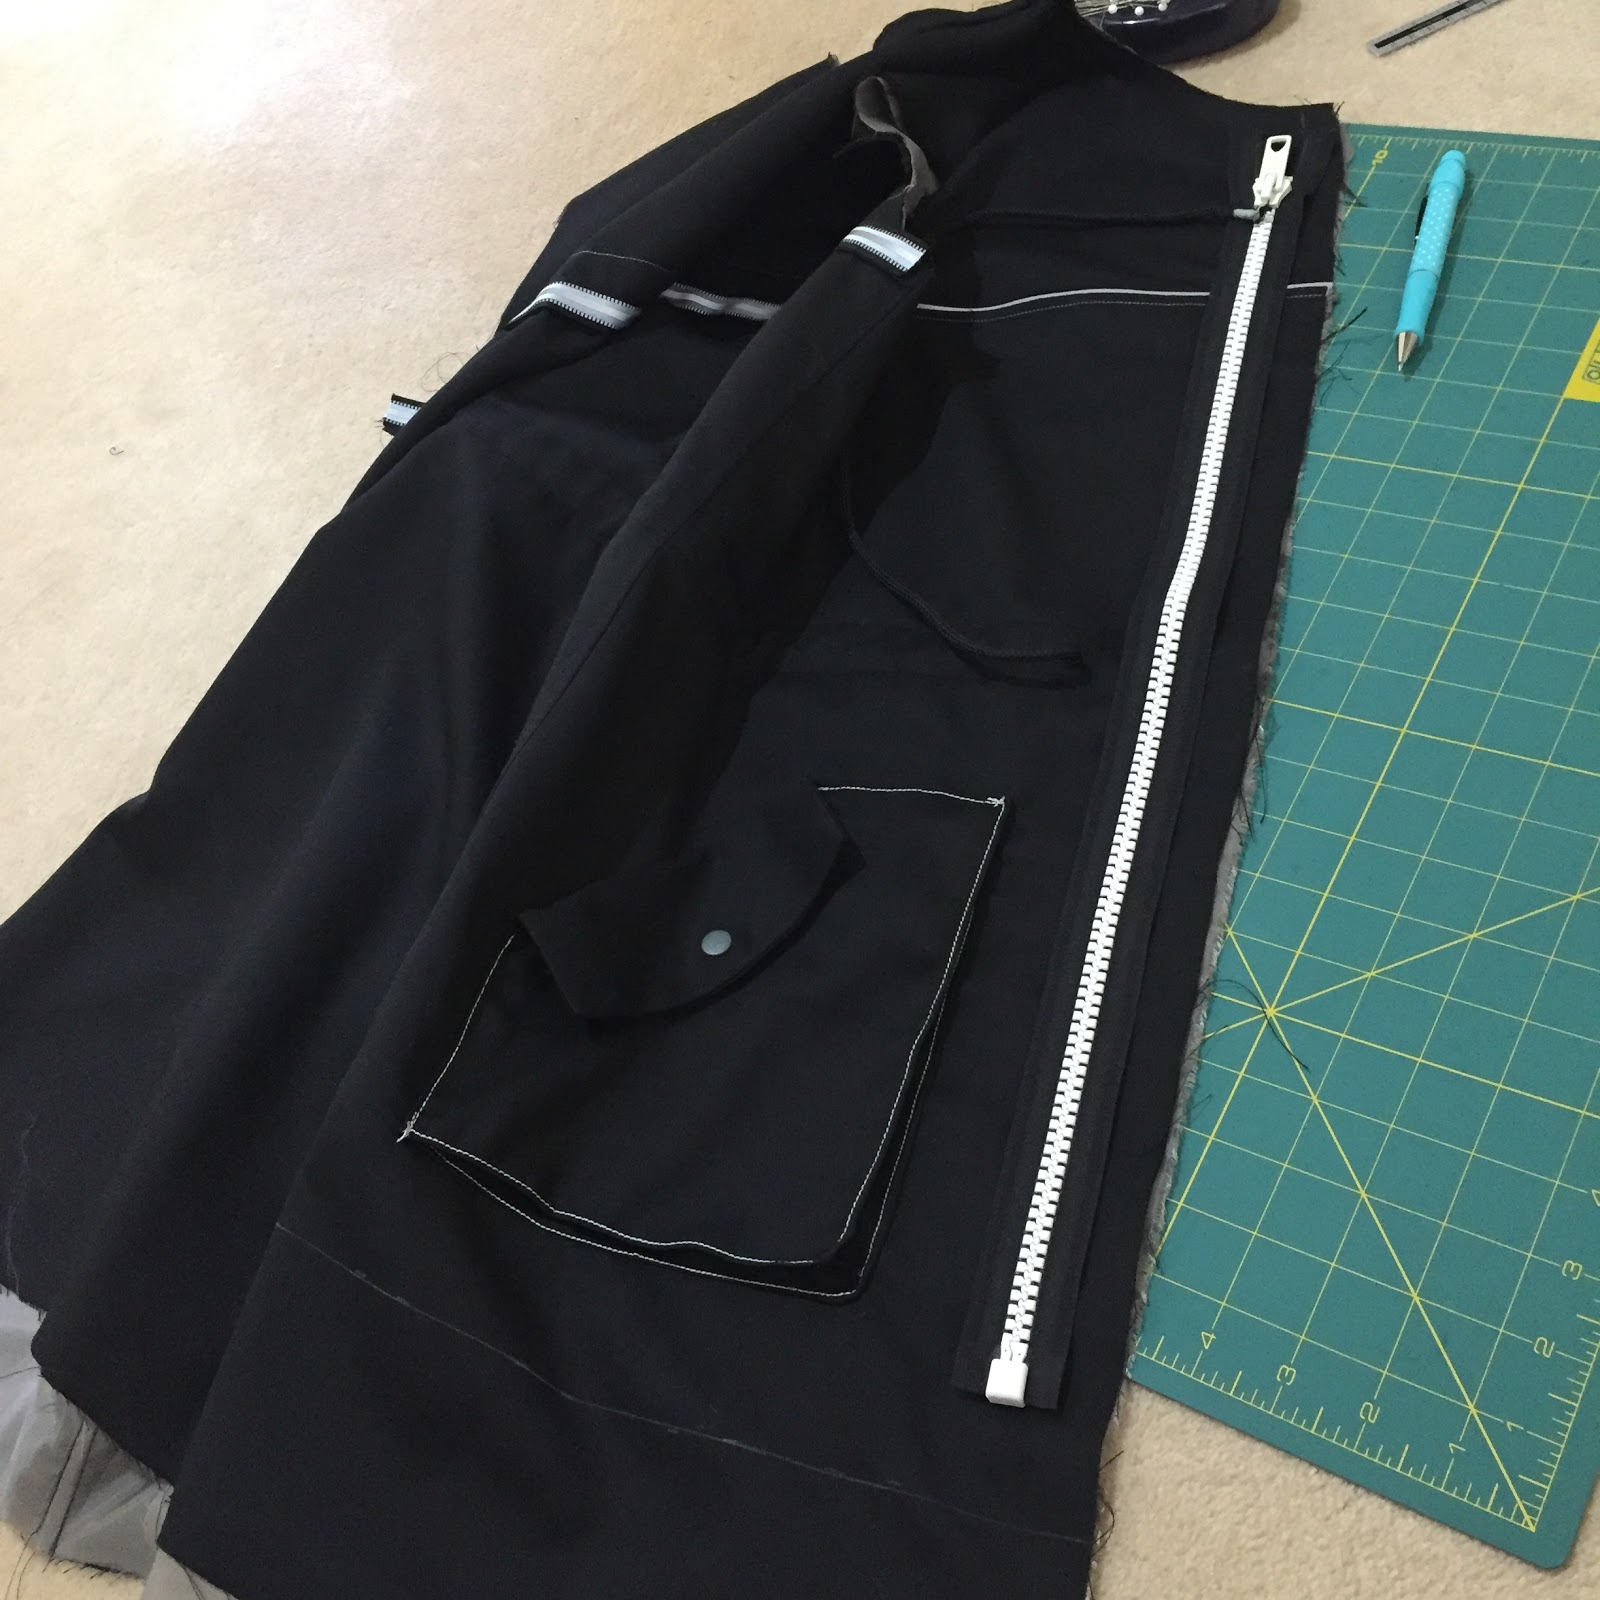
I kept these in minds and I ended up having a facing piece leftover. I’m not sure how that happened. The way the illustrations are placed in the instructions make it awkward to follow.
I tried working through the online blog post but again, the instruction layout didn’t flow so I used a rtw jacket as my guide.
The sleeve placket doesn’t sit well either. They only sit flat once you sew the sleeve placket down. I expected the sleeve vents to lay flat but they don’t.

The pocket size is really good. The flaps on the pockets are not a closure so that was a bit disappointing too. I’ll change that next time I make this jacket.
I was able to make the sleeves sit on my shoulder point by reducing the shoulder seam by 1.5cm.

To be honest, with all the challenges this pattern had, I wear this jacket a lot but the instructions will do your head in.

You can see how it’s too easy to wear this jacket when there’s so much to do each weekend.

This is the most glam sleeve tattoo I’ve ever had.
Thanks Minerva Crafts and Prym! I’m glad I based this jacket on Prym’s products. Follow(function(d, s, id) {var js, fjs = d.getElementsByTagName(s)[0];if (d.getElementById(id)) return;js = d.createElement(s);js.id = id;js.src = “https://www.bloglovin.com/widget/js/loader.js?v=1”;fjs.parentNode.insertBefore(js, fjs);}(document, “script”, “bloglovin-sdk”))
