I always intended to use this showerproof fabric (diaper fabric) that I bought from GreenbeansAU many moons ago, for a rain jacket.


What were you thinking?
I know you’re saying – ‘why use this pattern again?’
Well, I’d made my adjustments and I had my hopes up to use this fabric for this anorak. The zipper, fabric, lining and hardware were all sitting in my stash so I made it again.
I also hate wasting a project even when the pattern tested my patience and sewing skills to a whole new level.
 |
| For the record, the black version is my fav. The raincoat is for rainy days only. |
Drawstring or not.
For this jacket I went to the trouble to buy drawstring in green.
I wasn’t 100% convinced that I should add the drawstring feature because the outer fabric constantly moves and stretches.
By the time I was ready to hem the jacket, my husband said to leave it as is. The next morning I had a second look at this jacket and realised he was right.

If I added the drawstring, I would have looked like a mess in khaki, so the green drawstring now sits in my stash. It looks fairly messy as is and ironing the fabric is not advisable.
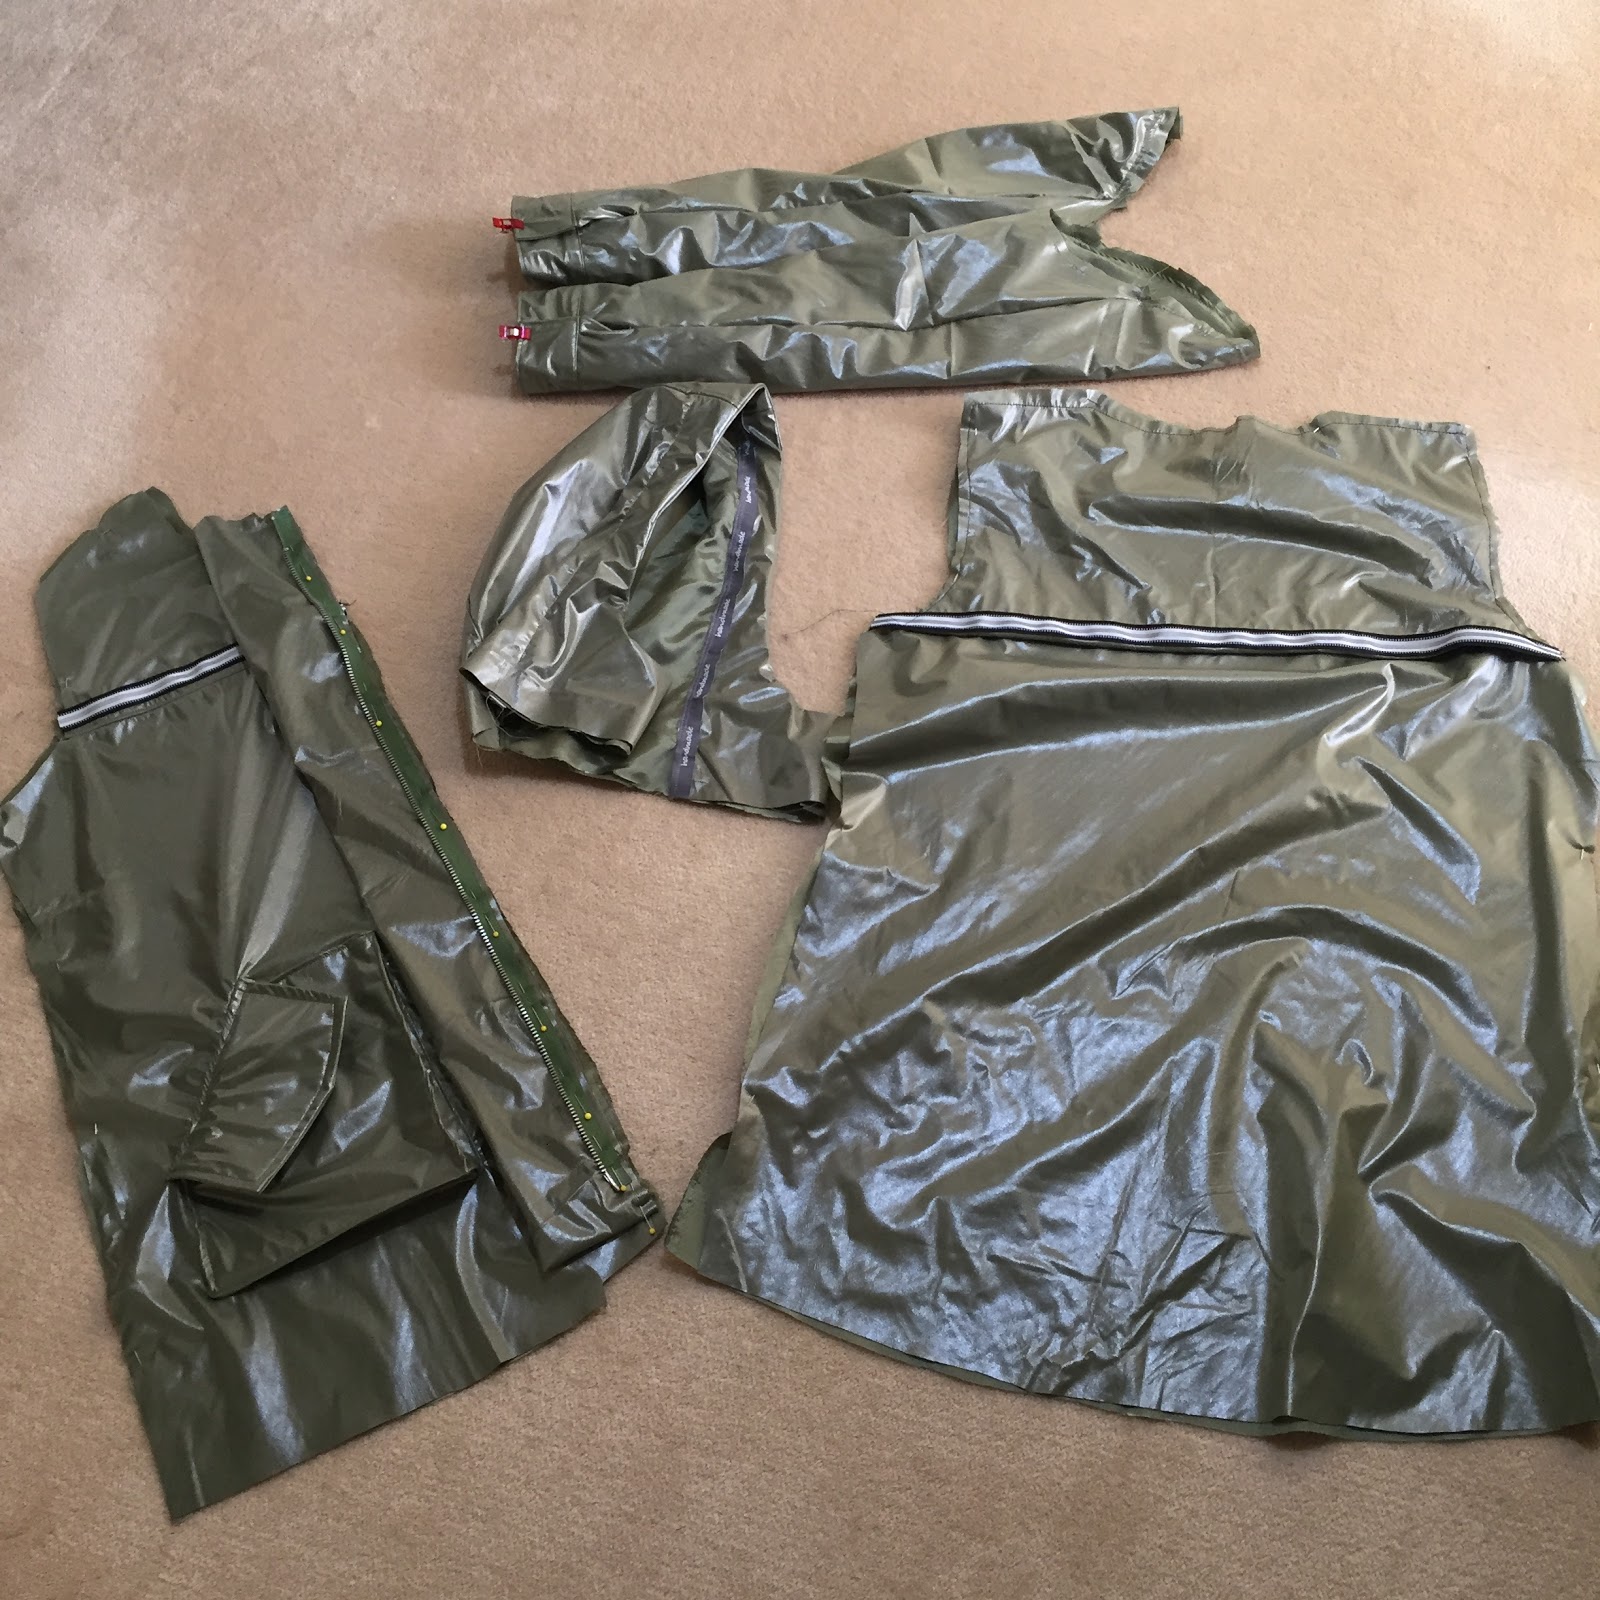 |
| Work in progress |
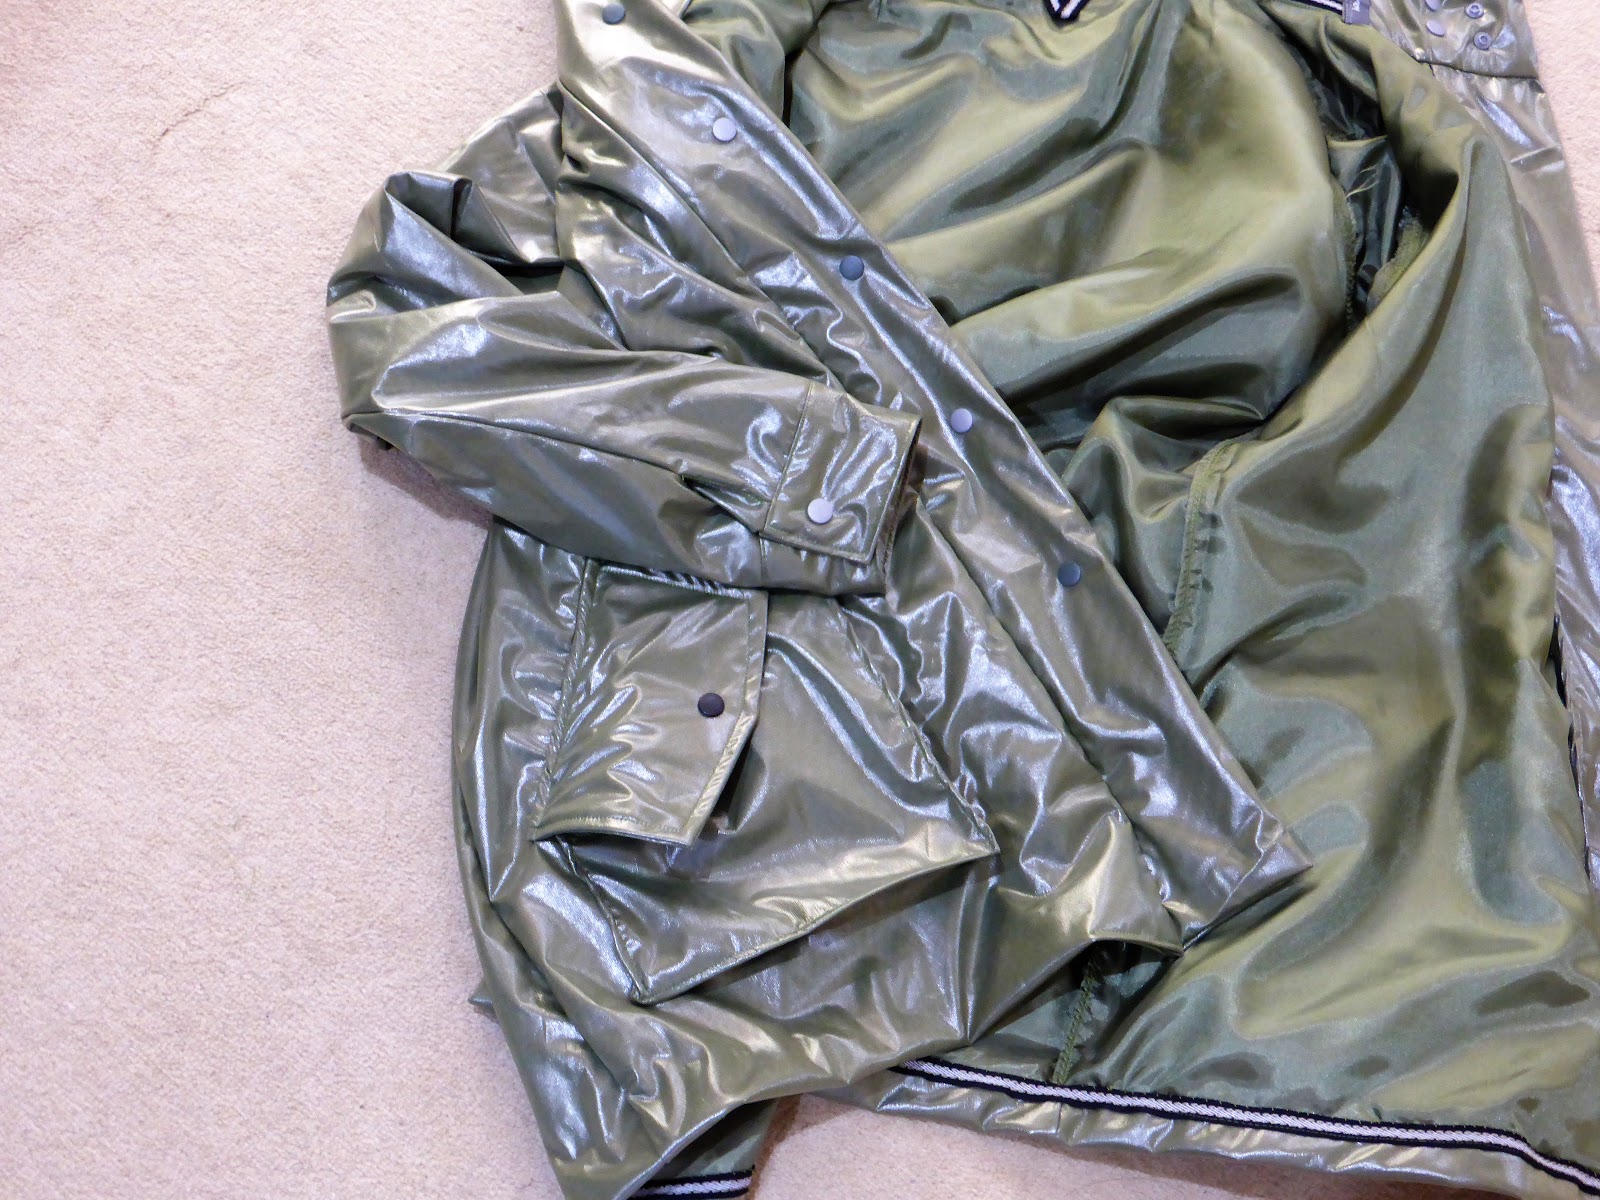
Functional pockets
The pocket flaps on this version can be closed and certainly add more weight to this jacket.

The pocket flaps tuck neatly into the pockets.
One of the snaps popped out of place on the pocket. The rainproof fabric is very soft so I used a layer of calico inside the pocket when I replaced the snap.
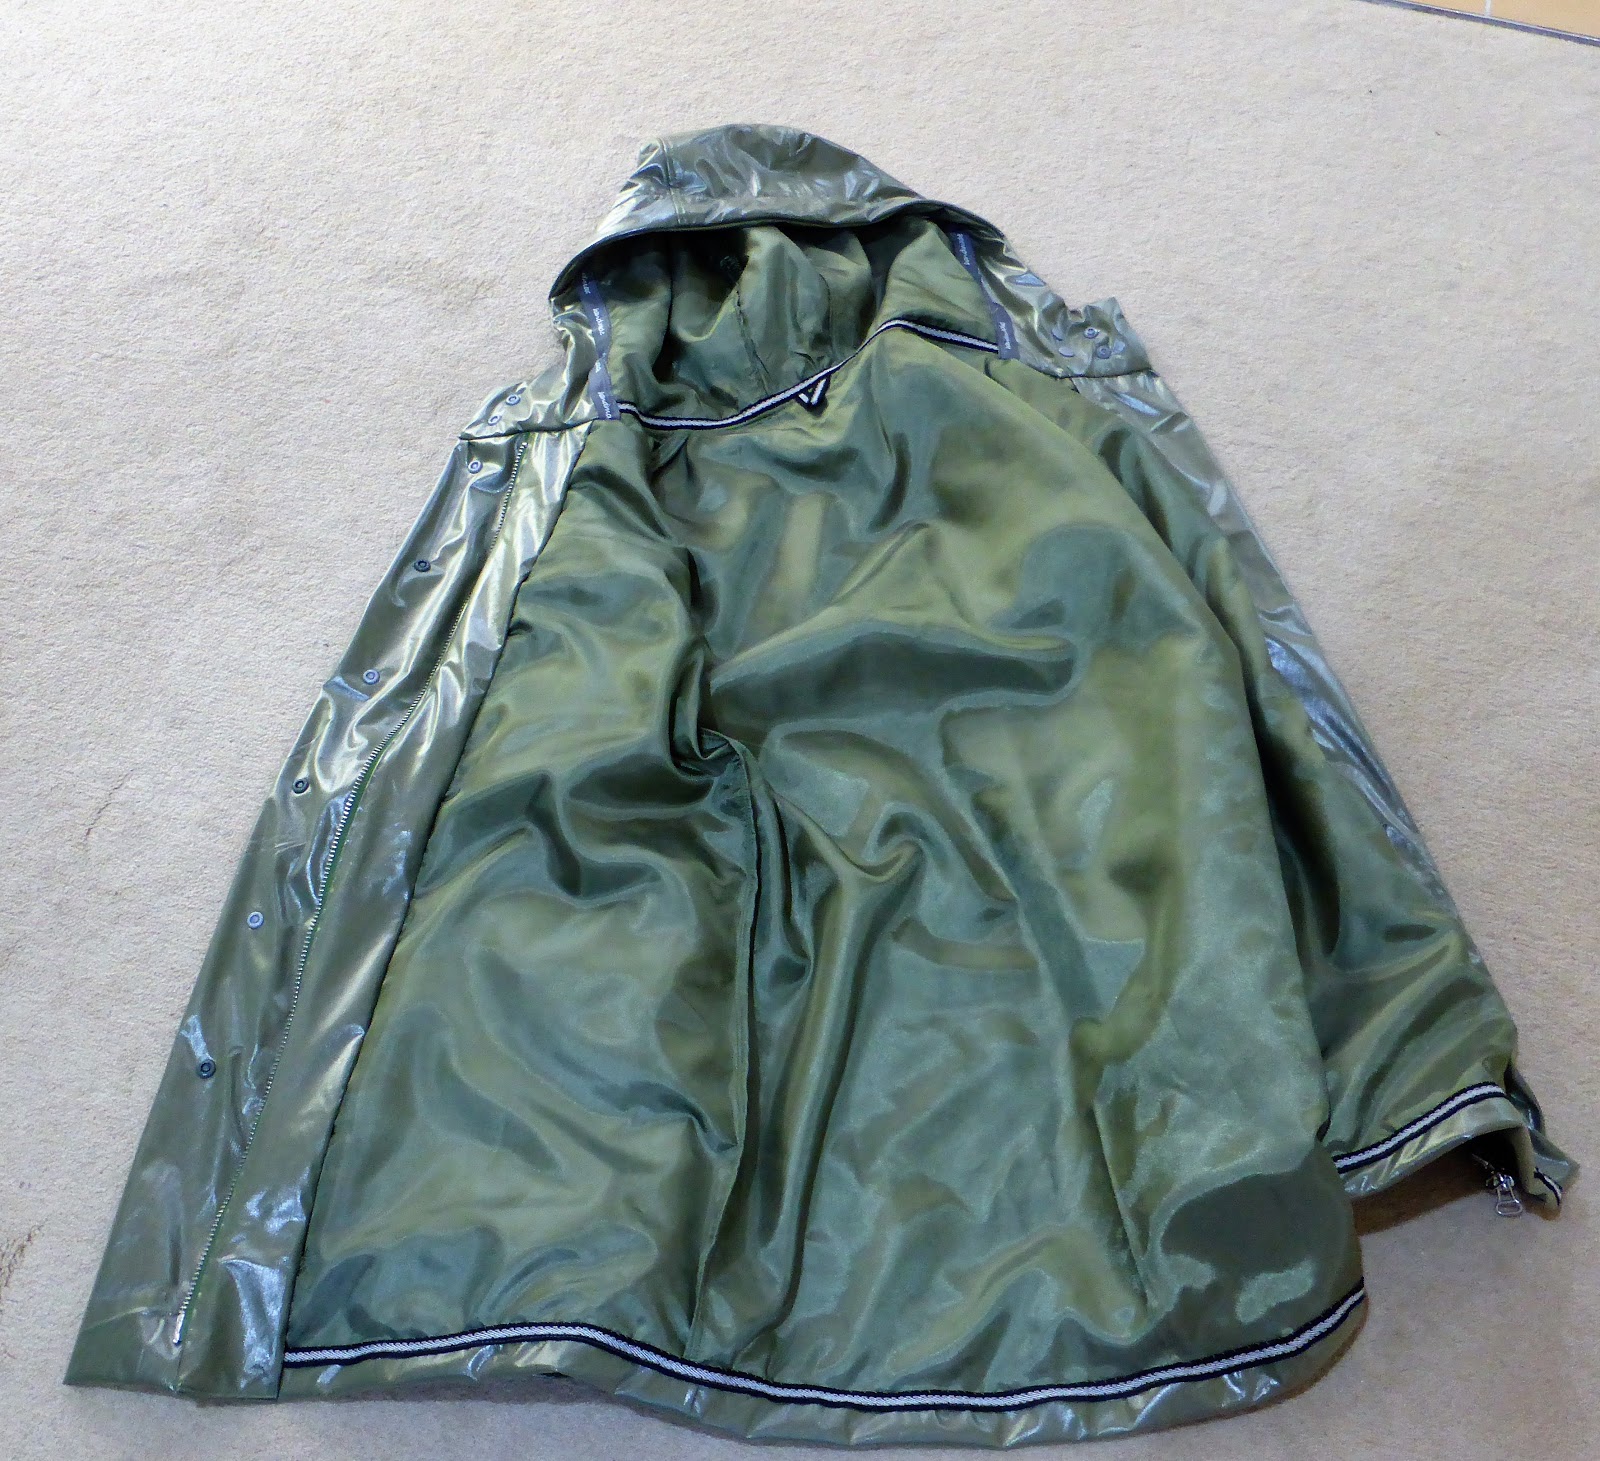
This time I used the right centre front facing piece that I didn’t seem to need in my first anorak is used on this jacket. Looking at both version I think the reason I didn’t use it on the first jacket is because I used the Prym trim for a nicer finish.
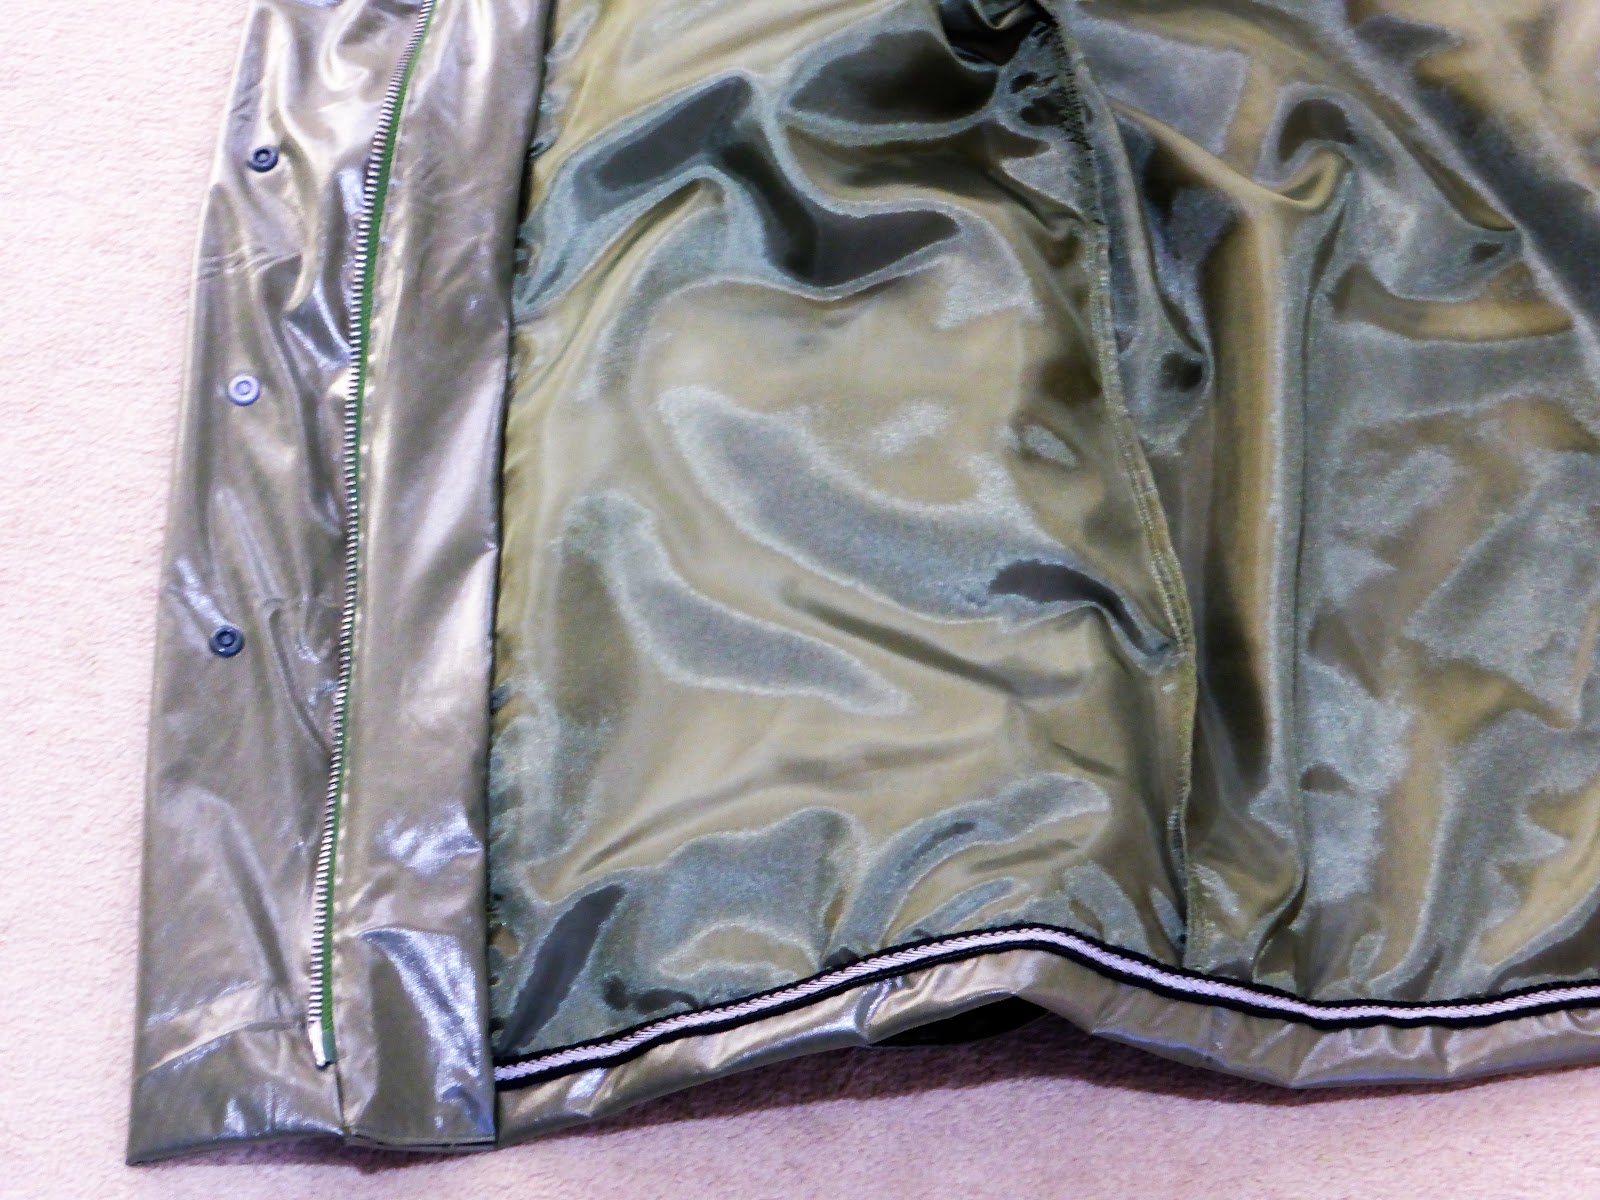
That stash zipperThe zipper on this version is metal and I left the jacket length as long as the zipper. I don’t have the skills to shorten a metal zipper without ruining the zipper tape.

Now I do look like a ‘khaki oompa loompa’ wearing the jacket this long however, I remember what it’s like when we experience torrential weather so this jacket will be perfect for those occasions. I am certainly very well covered.

Couture techniques
Going back to the metal zipper, it kept getting caught into the fabric so I did a row of hand stitching to keep it away from the zipper. That hand stitching is a couture technique.
I also hand stitched the zipper facing to the interlining.
The hem is hand stitched to the interlining.
Matching trims
Both the internal grey stripe trim and outer reflective trims were in my stash I had just enough to make them look ‘planned’ into this jacket.
I had enough ‘handmade’ Prym trim for the jacket hood.

Neat huh?
I love my stash.
