 |
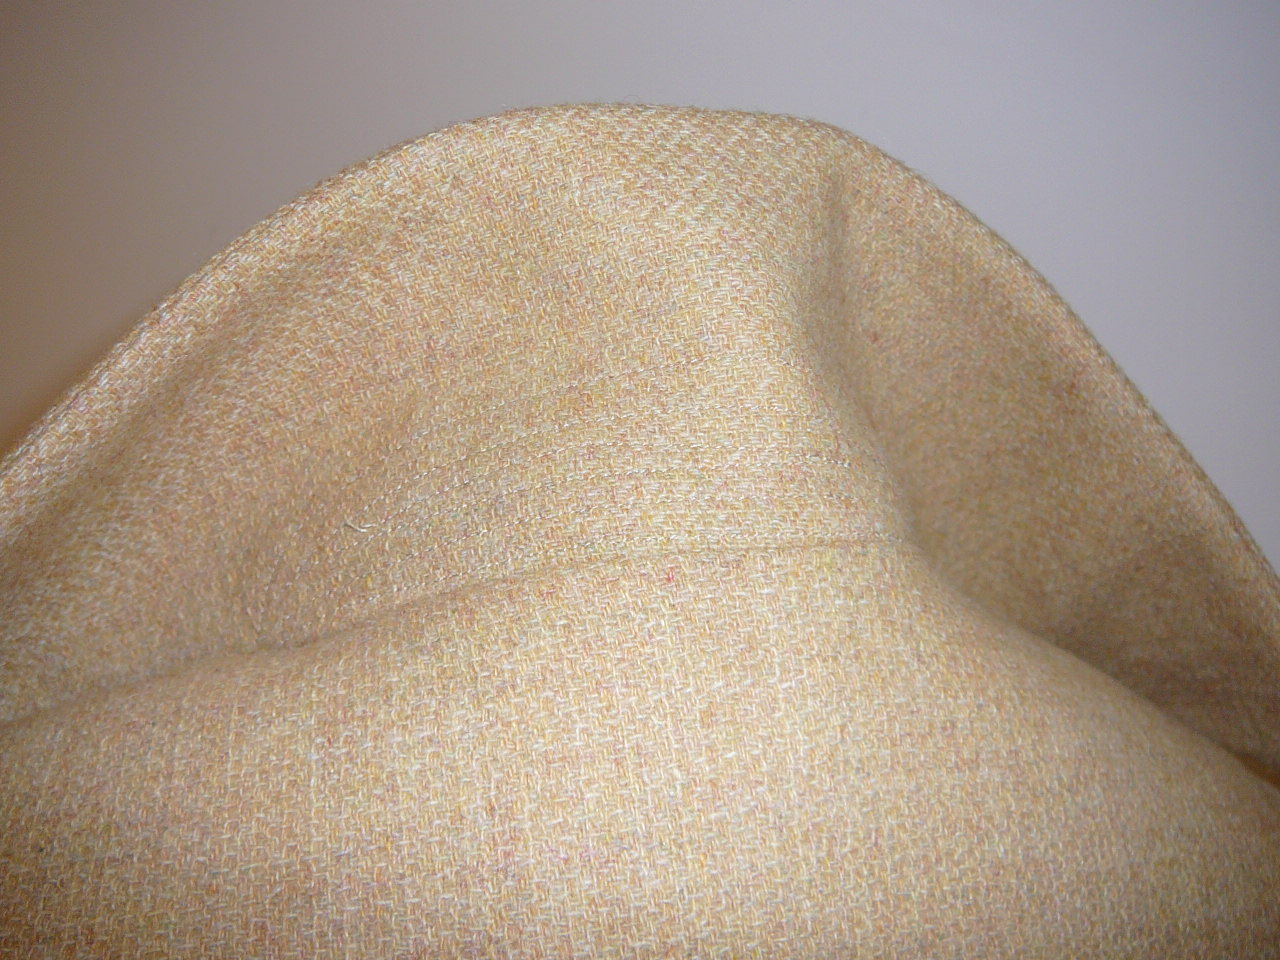
 The first photo is a close view of pad stitching from the outside. The next picture shows the stitching from the inside. You start sewing from the outside arch and make your way into the centre, and that’s pretty much it. To add more body to the collar, add another pieces of interfacing, the shape of the arch. The third picture shows how I’ve drawn a faint arch on the inside of the under collar in a washable pen. I suppose that the arch can be drawn with a soft pencil, because in reality, you’ll never see the markings. The last picture shows how the arch is placed on the under collar and the arch is placed between the notches. 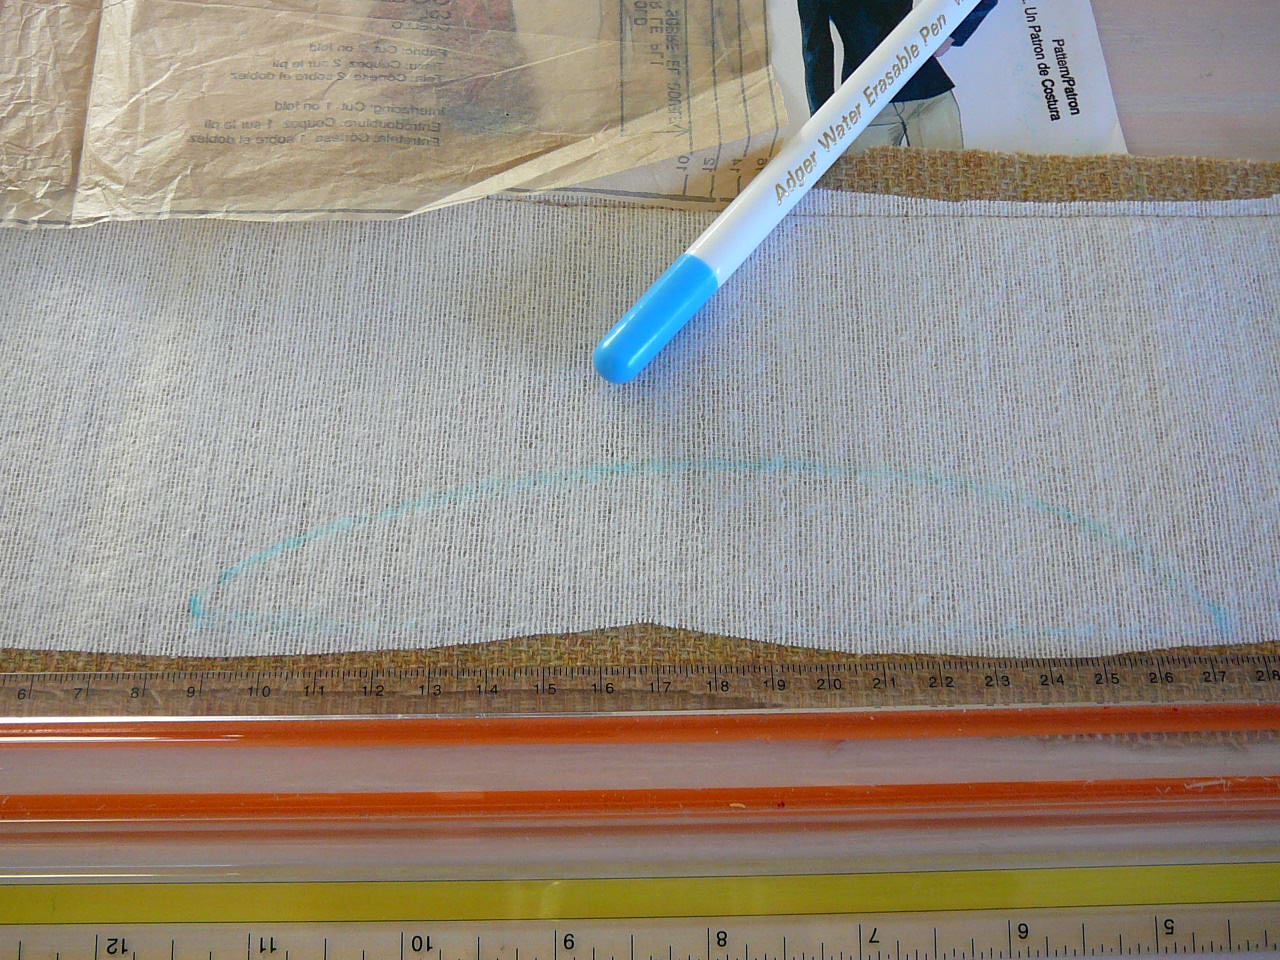 By the way, you can tell that I’m still learning how to align the pictures and text. Round 1 – blogger:( |
- Comment
- Reblog
-
Subscribe
Subscribed
Already have a WordPress.com account? Log in now.

Padstitching is so easy to do and makes the collar also do what we want it to do. Pity I keep making collarless jackets 🙂
LikeLike
You look great in collarless jackets.
LikeLike
I just scrolled through a few of your blog pages. I love the colors you choose for your patterns. I will enjoy seeing what you make in the future too! Great jacket!
LikeLike
Thanks for sharing your pad stitching technique. The jacket came out great and looks good on you.
LikeLike