Have you made Vogue 1844 yet? I’ve done some quick searches and I’ve not seen one made by a sewist. Hmm. I was given this pattern as part of the September #SewnwithVogue challenge with Minerva, as a Minerva Brand Ambassador.

The line drawing shows there no real waist shaping and simple darts. Only Carlos from Vogue posts photos of the black version of this dress on Instagram. It’s a lovely aspirational post but made me want to know so much more about making this dress. I’m hoping this posts gives you the information you want to know before you make this dress.

This posts shows you my test version of this dress in fabrics and notions from my stash. The linen from my stash is great quality, as you’ll see from the creases it now holds. I wore this dress for a day and made a couple more adjustments.
I chose this dress because it has cool 60s vibes and it is marketed as a Queens Gambit style dress. I loved that movie. I also was influenced by my last visit in 2019 to the V&A Museum where there was a 60s fashion exhibit. When I was asked to choose a Vogue pattern to help Minerva promote Vogue patterns this month, I had to give this pattern a go.
I used size 12 for the bust and graded out to size 16 at the hips. This pattern offers A through to D cup versions. I made the C cup version because I’m a B cup but I wear bras with cup structure, hence using C cup. After wearing the test dress, I could have used the size 14 at the hips but I do like the test version with all its adjustments.
I have some crepe fabric from Minerva that I’ve worked on using the pattern adjustments from this test dress. This crepe dress is my September project and it will be lined using cotton poplin. On version 2 used buttons and the zipper from The Remnant Warehouse.
The adjustments I’ve now made on the finished test dress are:
Removed 5.5cm from the sleeve length. The cuffs can be sewn to the sleeve as you construct the sleeve at step 31 of the instructions. I used this change on version 2 of this dress.

I’ve lowered the front neckline on both the dress and the neck band pattern piece. The neckline now just sits on my collar bones.
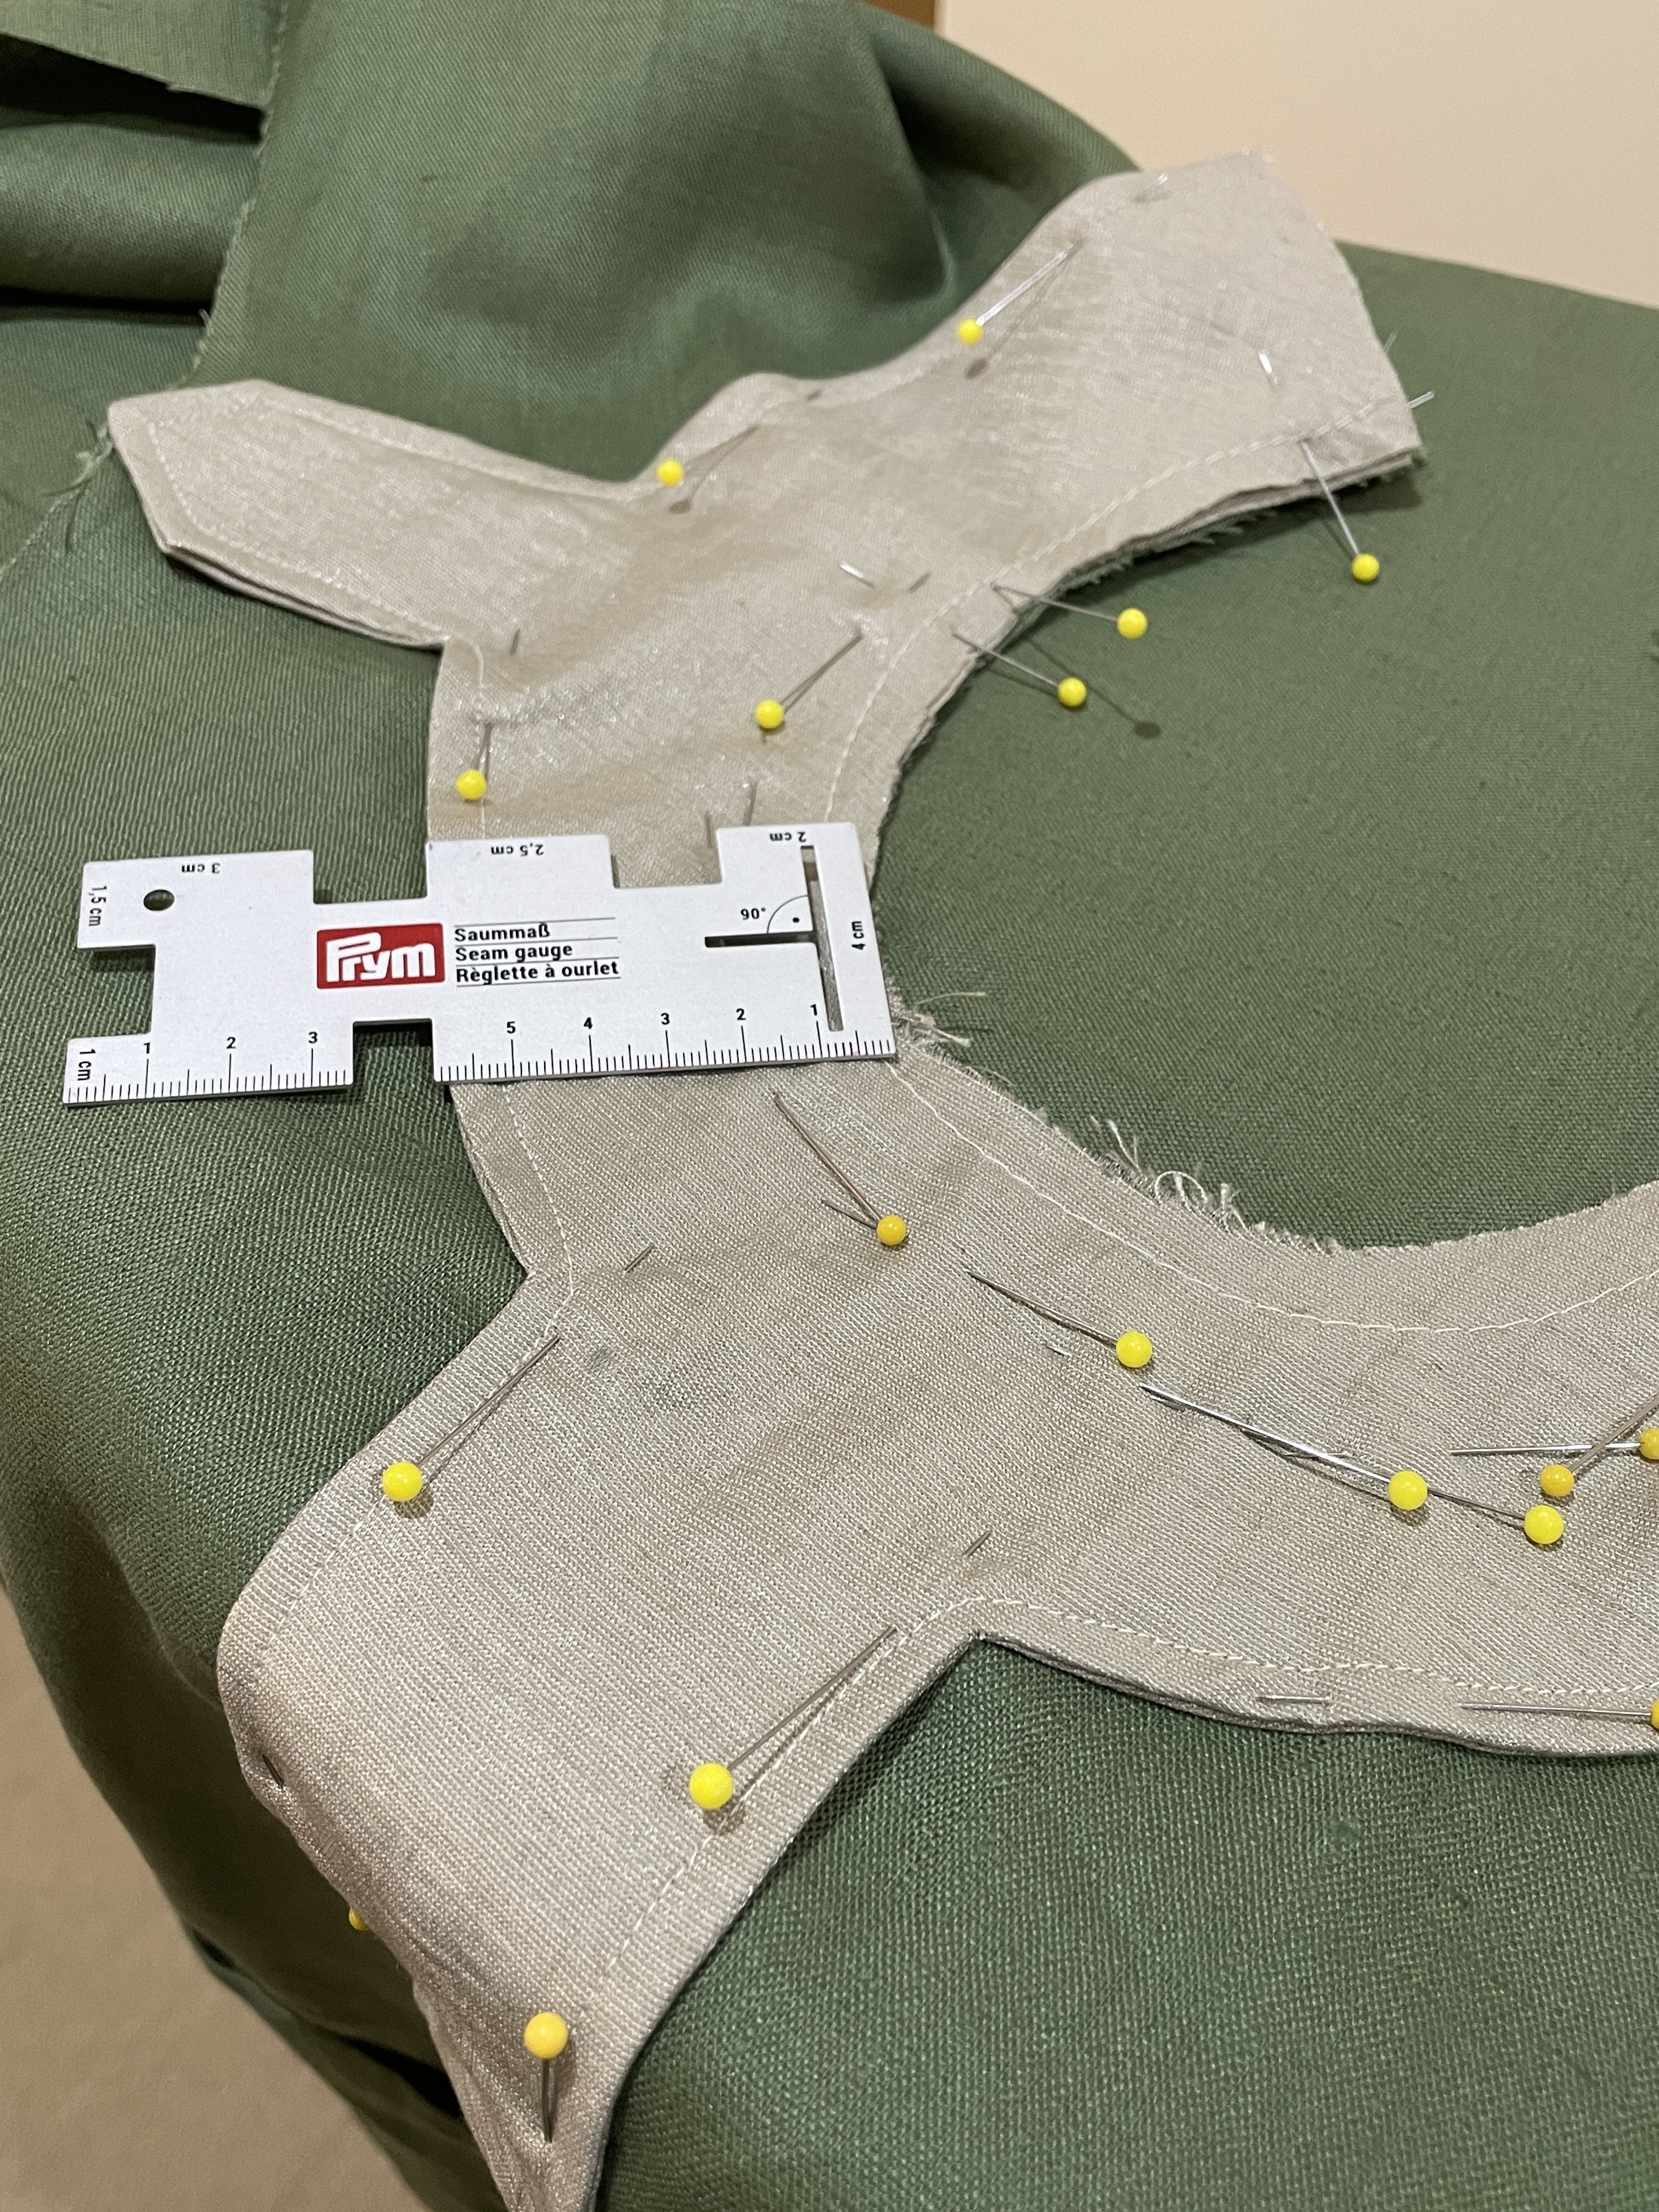
For the next dress, I’ve taken 2.5cm off the pocket length and raised the position of the pockets by 2cm on the dress front. Once I positioned the pockets on the front, I checked to make sure they sat evenly from the centre front fold. Balance is important on this dress.

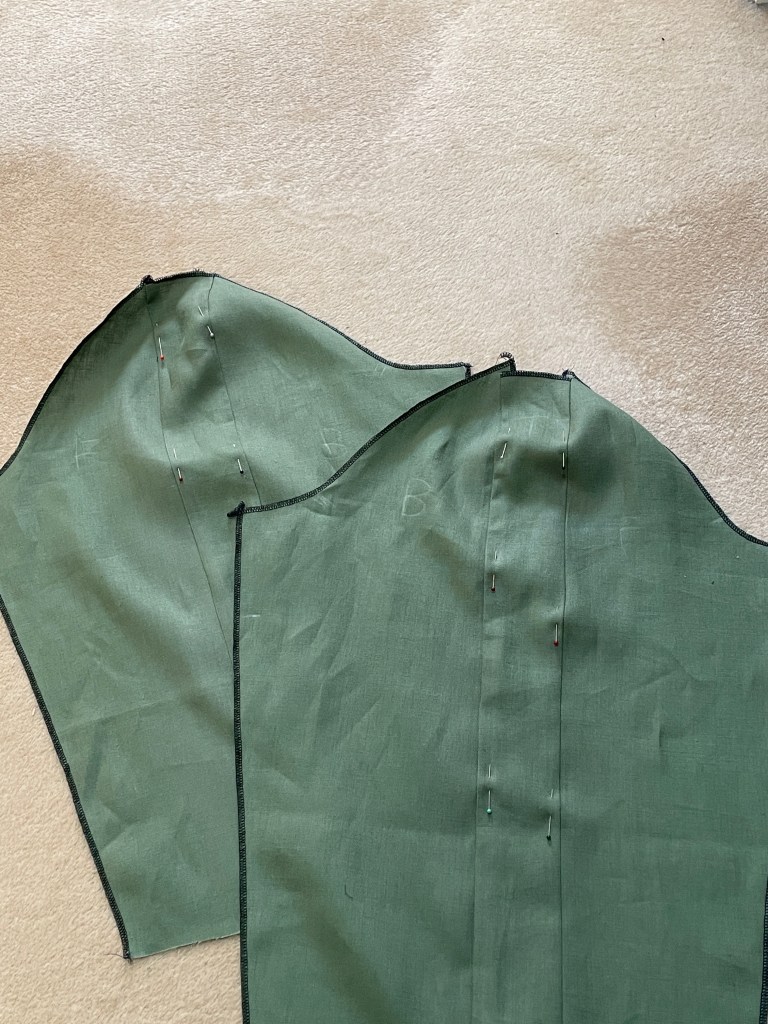
Initially I took out 1cm sway back from the back dress pattern. When I tried on the dress, I took out another 1cm from the centre back seam. The centre back seam has shaping. I need more than the pattern provides.
I used a 35cm invisible zipper on this test dress and that worked well because of the dress shaping. The pattern suggests using a 55cm zipper which I bought from The Remnant Warehouse. I’m really pleased I could get away using a shorter zipper. Lucky me.


The length of the dress is right where I am comfortable wearing it – above my knees.
Because there’s a bit of precision placement and sewing to make this dress, it was a absolute joy to make in stages. This dress is enhanced by the details on it.
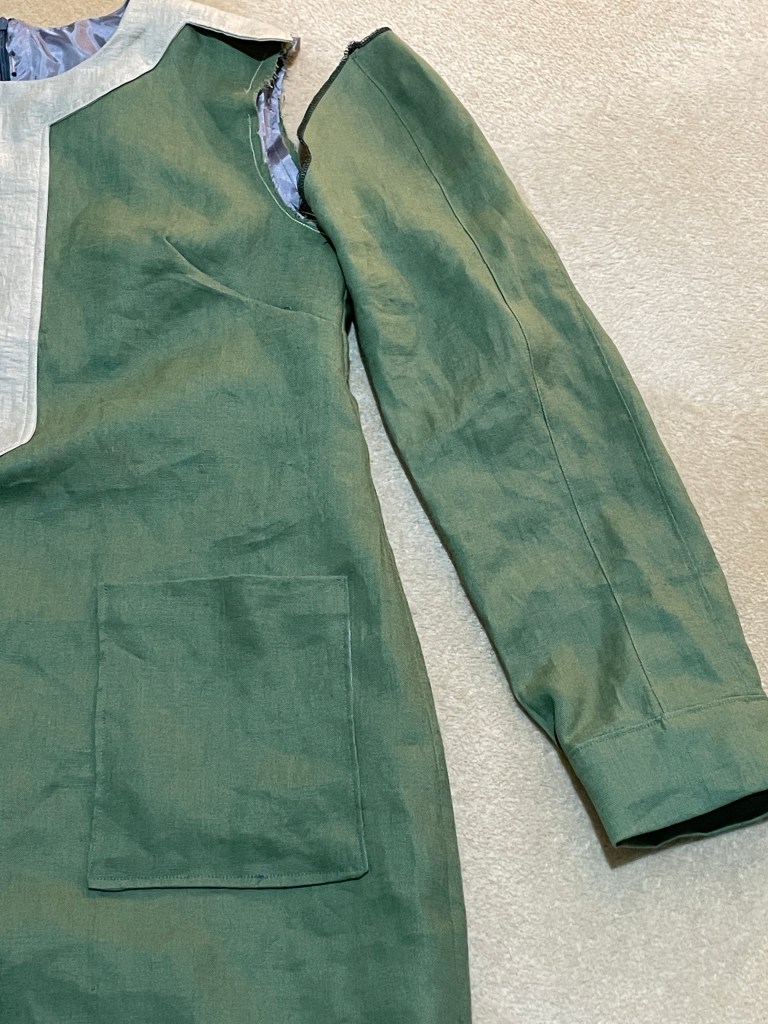
One of the details you don’t see on the photos of the dress is the sleeve detailing. Sleeves are having a fashion moment and I’m always drawn to military detailing. The neck band has epaulets and these sleeves are precision but lend themselves to colour blocking in a future make.
The sleeves are not lined. Only the dress body is lined. I used a lining fabric for this linen. On version 2 of this dress, my lining choice was different so as I post details about this dress, I’m hoping this helps you try this pattern, if you bought it and are hesitating to use it.
