The beauty of being a Minerva Crafts network blogger is creating a 3-month sewing plan. As you can tell, my sewing plan was all about bringing comfy teal clothes into my wardrobe. I’ve really enjoyed wearing Style Arc’s Brice jumpsuit so it made sense to try their Marie jacket pattern.

Style Arc Marie jacket first reviewed on PR in 2012 by Melissa Fehr. I didn’t realise the first Style Arc reviews started in 2011. That’s a solid performance from an ‘indie’ pattern company.
Minerva has a great ponte fabric supply and I chose this beautiful one by Lady McElroy Fabrics in teal. I used one last year and the top I made was perfect for travel. These pontes feel good against my skin so I knew ordering another ponte would be another great idea!
Zipper advice:
The key challenge with this jacket is the zipper length. I know my fitting adjustments including adjustments to cater to my curves.
Back to the zipper story.
Prym has a great range of Zippers That Are Designed for Knit Fabrics. I was able to get this grey zipper in the length stated but I’m short so I had to adjust the zipper length, except I wasn’t too sure by how much. So I made a wearable toile to confirm how long the zipper should be.
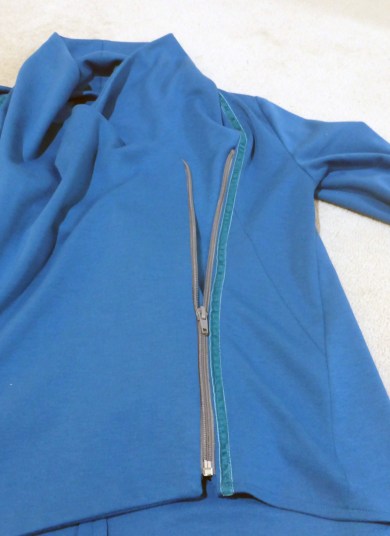
Having jewellery making tools like flat-nose plyers and an awl helped me remove the zipper stops without ruining the zipper or the zipper tab. A bit of glue placed at the top of the zipper helped ease my worries of the zipper coming apart too.
You can get all of these supplies on the Minerva website.
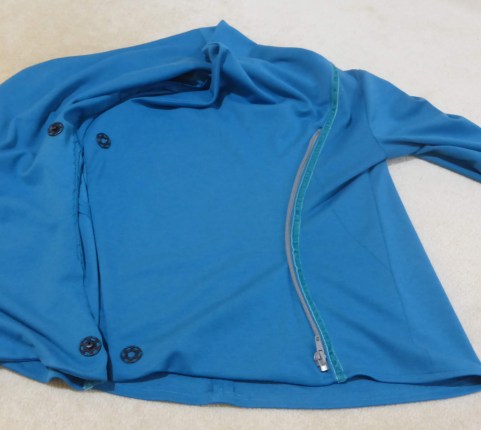
I added a couple of large press studs to keep the jacket flat when zipped up.
Fitting adjustments:
As I always am told, the pattern is your starting point. The measurements provided on all Style Arc patterns are where you can decide how to blend the sizes to suit your shape. For jackets, I’m more than happy to make sure I have plenty of ease to wear jackets over at least 1 layer of clothes.
When I looked at previous reviews of this jacket, some looked ‘flat’, and others looks like they had gathers. My version looks like it pulls at the front across the bust so I’ll have to look at making a full bust adjustment on a future version.
To add or not to add velvet trim:
I ordered velvet trim as an idea to incorporate a warmer look to this jacket. Originally I was going to add the trim along the vertical lines on the front of the jacket as well as across the back across the shoulders.
Adding the velvet trim to the front worked really well. I used iron-on double sided tape to make sure the trim stayed in place as I sewed it. I used a different zipper foot that allowed the trim to be centred while I machine stitched it by moving the needle across.
Now what I didn’t think through was how this trim worked really well when sewn on vertically. There’s less stretch on grain right. However I had a ‘head slap’ moment – while I was able to sew the trim across the back and on wearing the jacket, it pulled badly when I wore the jacket. The greatest degree of stretch on ponte is the beauty of using it.
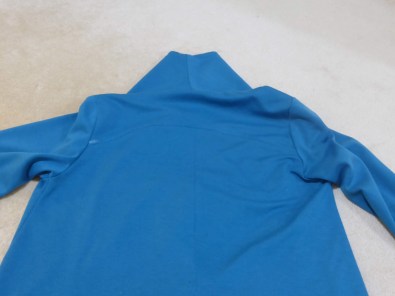
Adding a trim with no stretch looked great but was pure folly on my part. The stitching was easy to pull out but there’s a wee-bit of glue on the fabric that I used to hold the velvet trim in place. Let’s just say this is a reminder to ‘future myself’ about what not to do. Live and learn.

My final verdict:
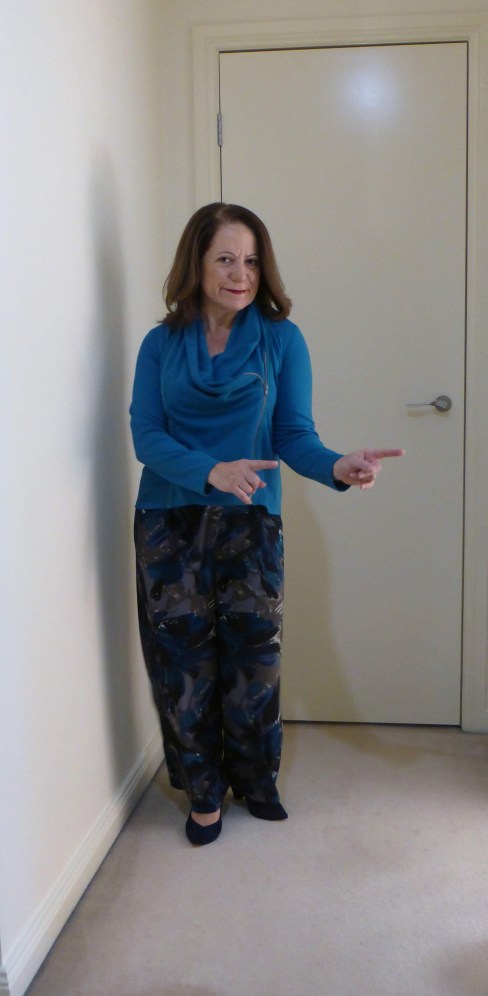
Our mornings here in Australia are now getting cooler and I now appreciate how comfortable this jacket is to wear.
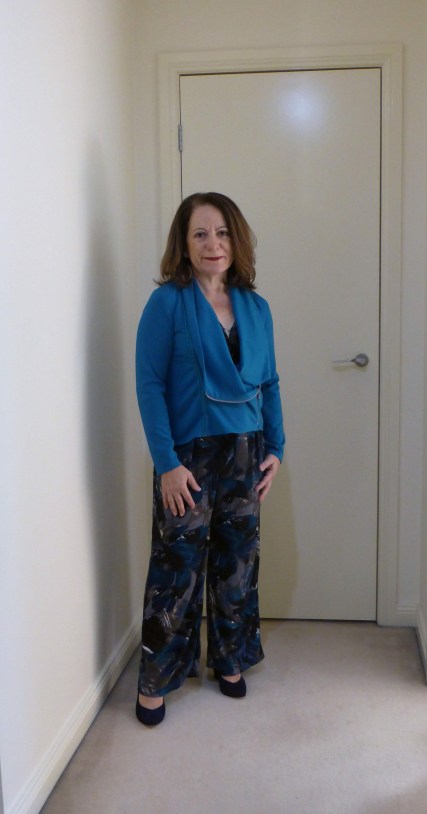
The ponte used for this jacket is comfortable and feels lovely against my skin.
This style can be as casual as you want it or this can look more formal if you want it to be.

I can now see why this jacket was very popular when it was launched and is still a good style to wear.
The neckline can look lovely when it’s zipped up. The neckline looks just as good half zipped or opened.
Next month I have one more teal piece to pair with the Bryce jumpsuit.

Thanks for wriiting this
LikeLike