This knit dress pattern took me out of my comfort zone and I’m glad I adjusted this pattern too. Simplicity 8334 uses snaps to finish the look and Prym has a good range of snaps to choose from.

Because this dress has plackets and snaps, Art Gallery Fabrics was my choice this month. Their colours are great and the fabric is good quality.
I did test this style using a fine poly spandex fabric. By doing this, I could test out the size; practice sewing the placket and finally practice adding snaps to it.

My test version wasn’t finished because I wouldn’t wear it as it was. Nope.
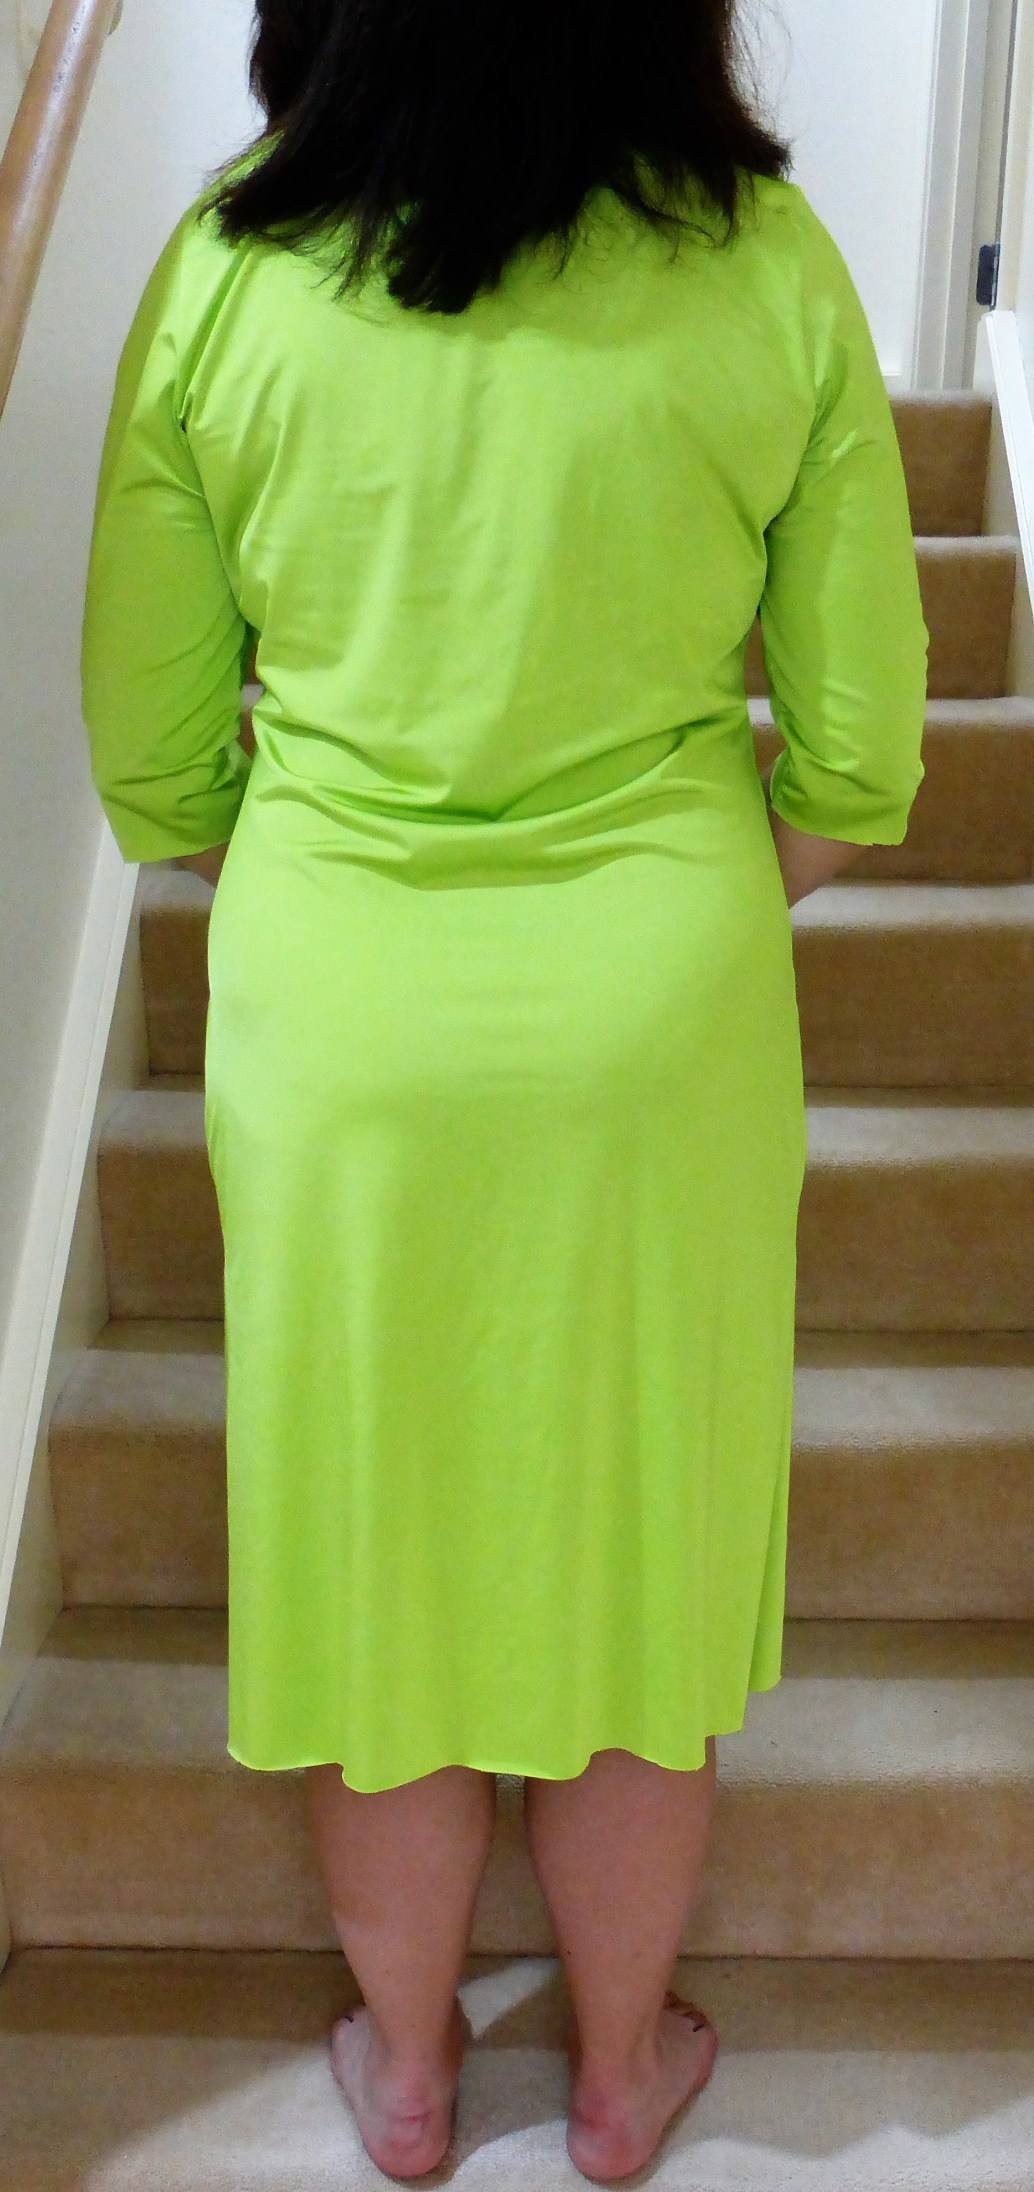
There were some fitting issues I had to make before I cut into the Art Gallery Fabric I had.
My current shape is more ‘shapely’ so I’ll run through the adjustments I did to give me more room where I needed it. Sewing to fit where my body is at now is where the challenge is so I’m happy to share what works.
‘Prominent bust adjustment’
This is usually referred to as a full bust adjustment or an FBA. What I wanted to avoid is increased the bust areas without adding a seam.
I have a Fitting and Pattern Alteration reference book by Liechty, Rasband and Pottberg-Steineckert that I constantly refer to. What I wanted to avoid was adding a dart so I found a Youtube video by Louise Cutting. Louise is a long time Threads contributor and her video showed exactly what I wanted.

This is how the front bodice now looks like. The length of the bodice is the same, however there’s more room where I need it.
I also make a forward shoulder adjustment. You can see that I move the shoulder seam forward on the back shoulder line below.

Sway back adjustment
The centre back is cut on the fold for this pattern. The result on me is the fabric pools above my hips but there’s a stress point at my hips.
I ended up making the centre back into a shaped seam. This made the back sit evenly across my back.

The next adjustment I had to do was a ‘prominent buttocks’ adjustment.
I couldn’t find a Youtube video that helped so I used the ‘slash method’ and added room for my ‘buttocks’.

There’s a lot less fabric pooling above my hips now
Simplicity 8334
Once I checked the sizing for this pattern I knew I was bigger than size 16. This meant for the first test version I added 1cm to the side seams.

This dress is meant to be figure hugging and it is. The pattern has 2.5cm ease that’s why I added more than this for size 16.

The plackets were new to me as were adding snaps to the plackets. I love using Prym snaps because they are sturdy and Prym has Youtube videos to support us using their products.
See the neck opening here before applying the snaps.

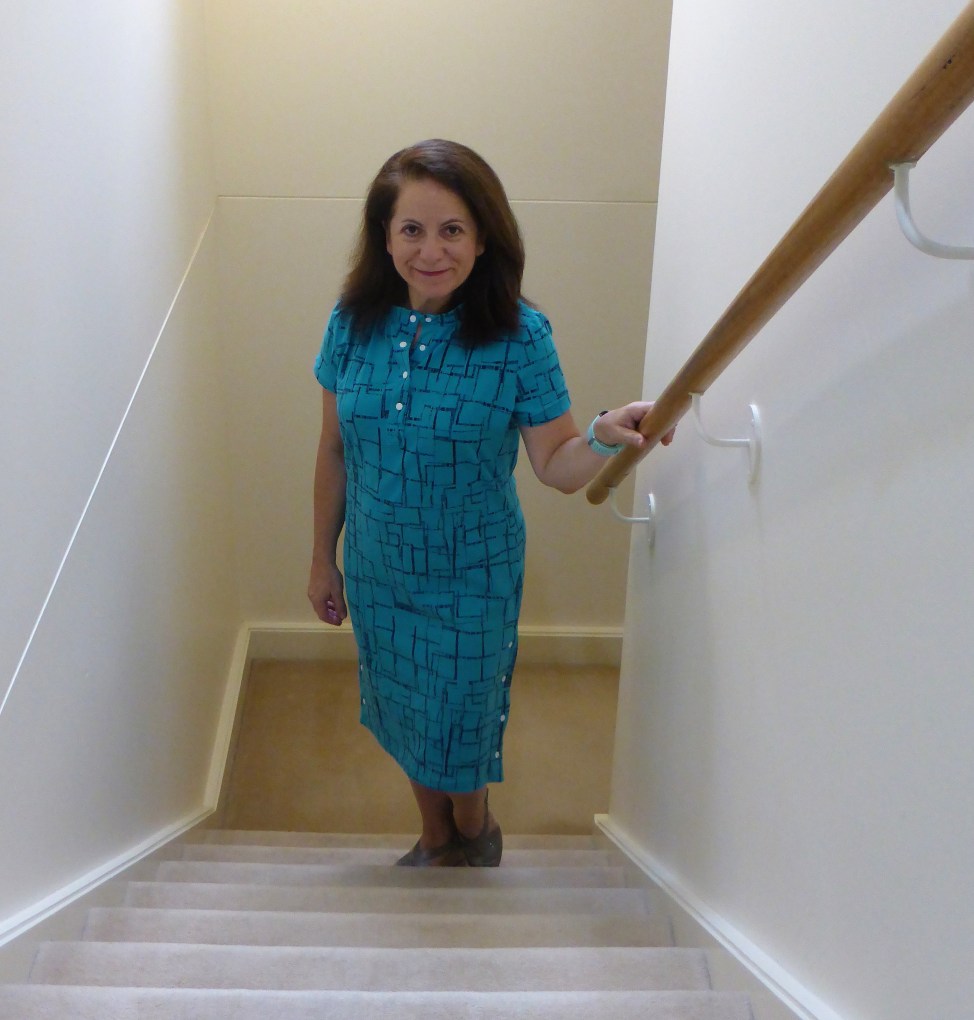
Now have a look at the final version with the snaps from Prym.

Now look at the finished dress with the snap on the side seams too.

Once I made the pattern adjustments, I made a test version and I was really happy with the results.
The pattern comes with a no sleeves version that I want to try next, and a ¾ length sleeve.

After moving the shoulder point forward on the sleeve, I decided to use a short sleeve. This short sleeve pattern was traced off the sleeve pattern provided. No complex drafting needed.

Don’t be put off by the adjustments you need to make so that a pattern fits your shape.
Once you make a test version, you’ll feel more confident about your adjustments and then you’ll go creative crazy and use lots of unique snaps to make your dress suit your lifestyle.

Once you get this pattern to work for you, you’ll love how handy this dress style is when you’re juggling your daily time commitments.
There are so many lovely fabrics to choose from at Minerva that you could make this pattern up just twice and have them ready for any occasion.

This blue maze print suits my lifestyle. What version would you make?
Have fun!

Looks great! Interesting techniques you used to customize the fit, thanks for posting.
LikeLike