Last November I saw Susan Khalje was coming to run her couture workshops in Australia. I booked into the 6-day couture workshop in Sydney and created this strapless dress using Minerva Crafts John Kaldor Floral Print Slinky Satin Dress Fabric.
I have sewn enough now to want to raise my sewing skill and I couldn’t pass up this opportunity to learn from Susan.
Minerva Crafts were happy to supply me with all the couture sewing fabrics and notions to learn couture sewing and make up a fully structured strapless dress. This made me realise how enabling Minerva Crafts is with their range of fabrics and notions and I’ve seen inside Minerva’s amazing warehouse too!
Susan Khalje has worked in a New York couture house and she passes on her couture sewing knowledge through her workshops in Baltimore and now through Craftsy courses.
The dress
Vogue 1174 is a classic strapless dress and reviews of this pattern show it does have its challenges so it made sense to get Susan’s expertise on fit, design balance and construction to come up with this cocktail dress.
For me, the end result is I can use the outer dress and lining patterns for up to four strapless dress variations.
Susan maintains all patterns are a starting point. When you have that philosophy, it becomes easy to make the adjustments you need to have well-fitted clothes.
The fabric
This fabric has a silky feel and it acts like silk even though it’s a polyester fibre. The weave and feel really is silky. I picked this silky feel fabric for this workshop to build my fabric handling skills. I looked at all of the John Kaldor prints on Minerva Crafts website and this classic print was available. Bingo. Choice made!
The lining is a similar weight to the fashion fabric so again, the fabrics I needed were all available through their website.
Foundation bodice
The dress pattern suggests horse hair canvas for the foundation bodice but this felt really harsh against my skin so I used calico to build the foundation bodice.
Calico is easy to get in various weights and this medium-weight calico gave me a firm and seamless structure to the dress bodice.
Once I finalised the foundation bodice, I overlayed the dress fashion fabric and lining to better structure the dress fit. It took 4 fittings to get the bodice shape right.
Couture techniques
Setting up a toile wasn’t my idea of fun but it’s actually worth doing for a great finished product. I’ll normally make a wearable toile but making a toile that you use as your ‘laboratory’ is so much better for a great fitting garment. Putting the time in beforehand pays off.
Thread tracing seam lines and using 2.5cm seam allowances are essential when you are aiming for a great fit too.
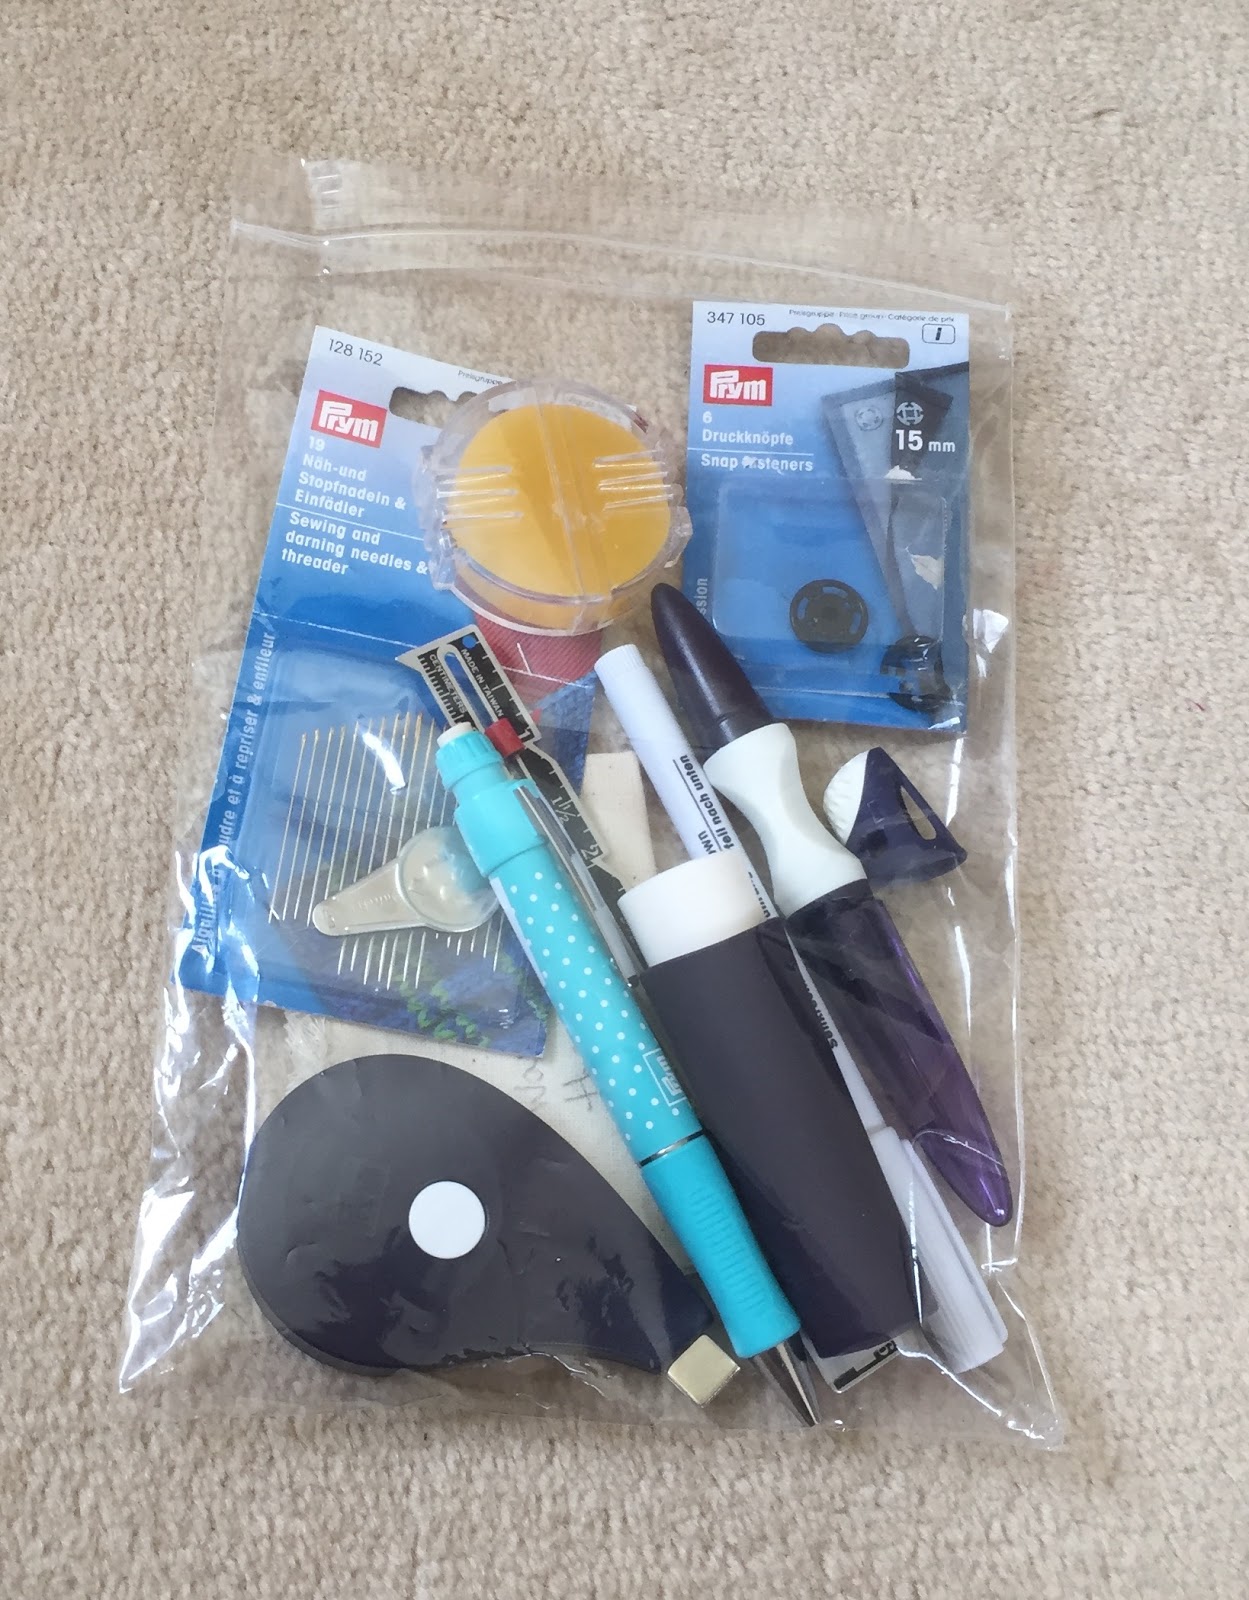
Warning: This pattern has 27 pieces. Just remember that when you’re using an old tracing wheel to trace out your pattern. Do yourself a favour and buy the Prym Tracing wheel. It’s ergonomically designed so your wrist doesn’t get fatigued.
I’ve taken advantage of the Prym products I’ve been given and the ergonomically designed tools are worth treating yourself once you step into couture sewing. The glass head pin, shears, tracing wheel and measuring tools have made a difference to my sewing and I can sew for a long time and not get any muscular strains.
Each fashion fabric piece is interlined with silk organza and I’ve thread-traced every stitching line. The 2.5cm seams act as facings so no pattern facings were included.
Even the skirt pocket pieces are interlined.
Did I say that we basically sewed 10 hours days for this 6-day workshop? The first three days I still did my usual 6am gym workouts before the workshop but by day 4, I needed my energy to get through the final 3 days the gym didn’t happen for the rest of the week. I did use this energy for homework or dinners/breakfasts with some of the ladies who came to Sydney from other parts of Australia.
While I didn’t sew in a hand-picked zipper , Susan demonstrated this and a few other techniques to the class throughout the 6 days.
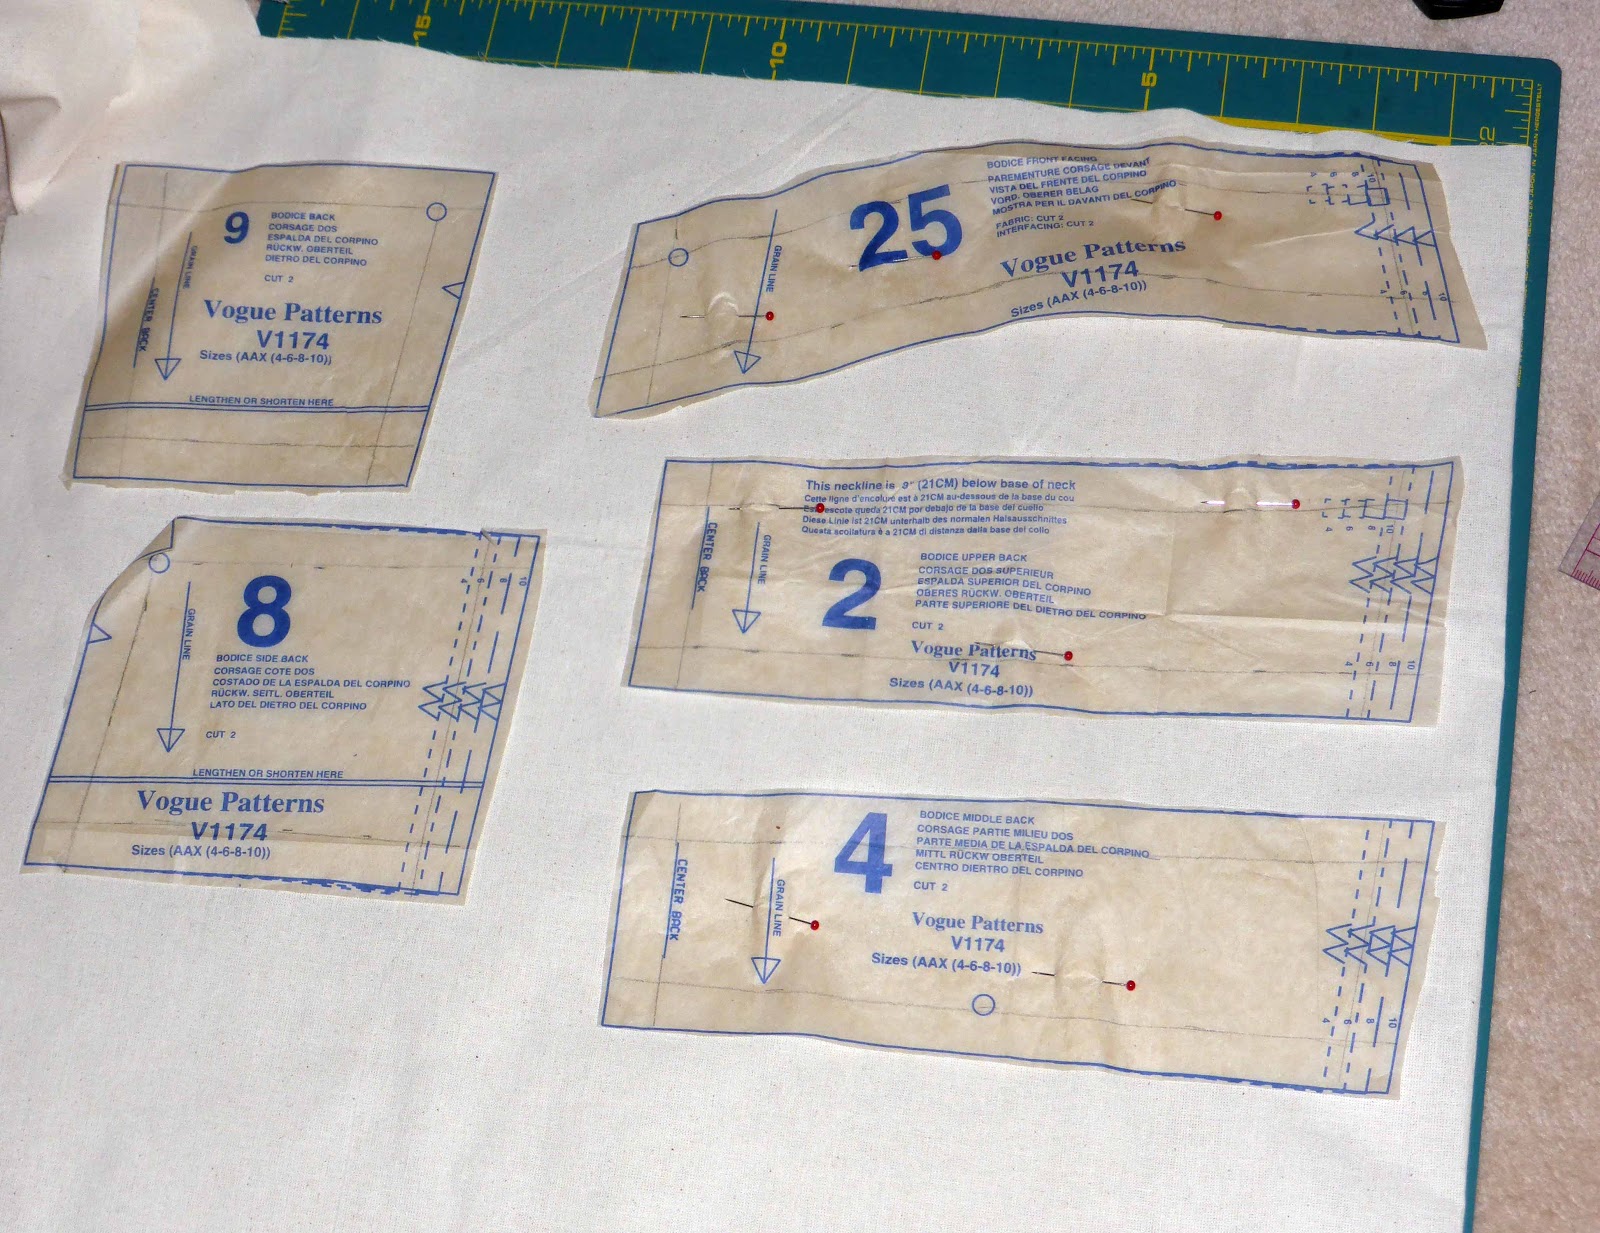
Final pattern pieces
They look something like this…
As you can see, the pattern pieces are on the calico. They’ll remain here for now and I’ll use these again for future strapless dresses.
There are separate pattern pieces for the lining dress and outer dress. This means I can make up to 4 different strapless dresses from these pieces.
After the course
After such an intensive workshop, I found it difficult to come back to reality. I sewed some cozzies and felt more grounded.
However I still needed to finish off the bodice and hems. In a way, sewing cozzies was a way to practice sewing with swimwear elastic for a closer dress bodice fit.
There were 2 issues that needed ‘fixing’ along the top of the bodice.
1 The top of the bodice while keeping me in shape, the bodice was keenly pointing to the sky but not hugging my body.
2 I used calico for the foundation layer and the calico edge was peeking out at the top of the dress bodice.
Solution to issue 1: I machine sewed swimwear elastic across the front of the bodice. This meant I had to unpick my hand stitching; machine sew on the elastic; re-hand stitch the foundation to the bodice while pulling it taunt.
Solution to issue 2: I hand-stitched self made bias using the John Kaldor fabric. This has resulted is a really lovely internal finish as well as resolving issue 2. If the foundation layer peeks above the dress, you’ll only see more of the fashion fabric. I’m happy with this result.
Watching Netflix helped me stay focused while hand stitching the bias to the top of the bodice.
Issue 3: There was one other issue…hooking up the foundation layer…by Mr V. I used pliers to adjust the hooks so Mr V can help me dress. So you could say, there’s a reality aspect to this dress aside from couture sewing I had to resolve.
Hemming
Having an organza layer under the fashion fabric is really useful. I hand sewed the hem onto the organza layer. This also keep the shape of dress skirt. The lining is hemmed separately.
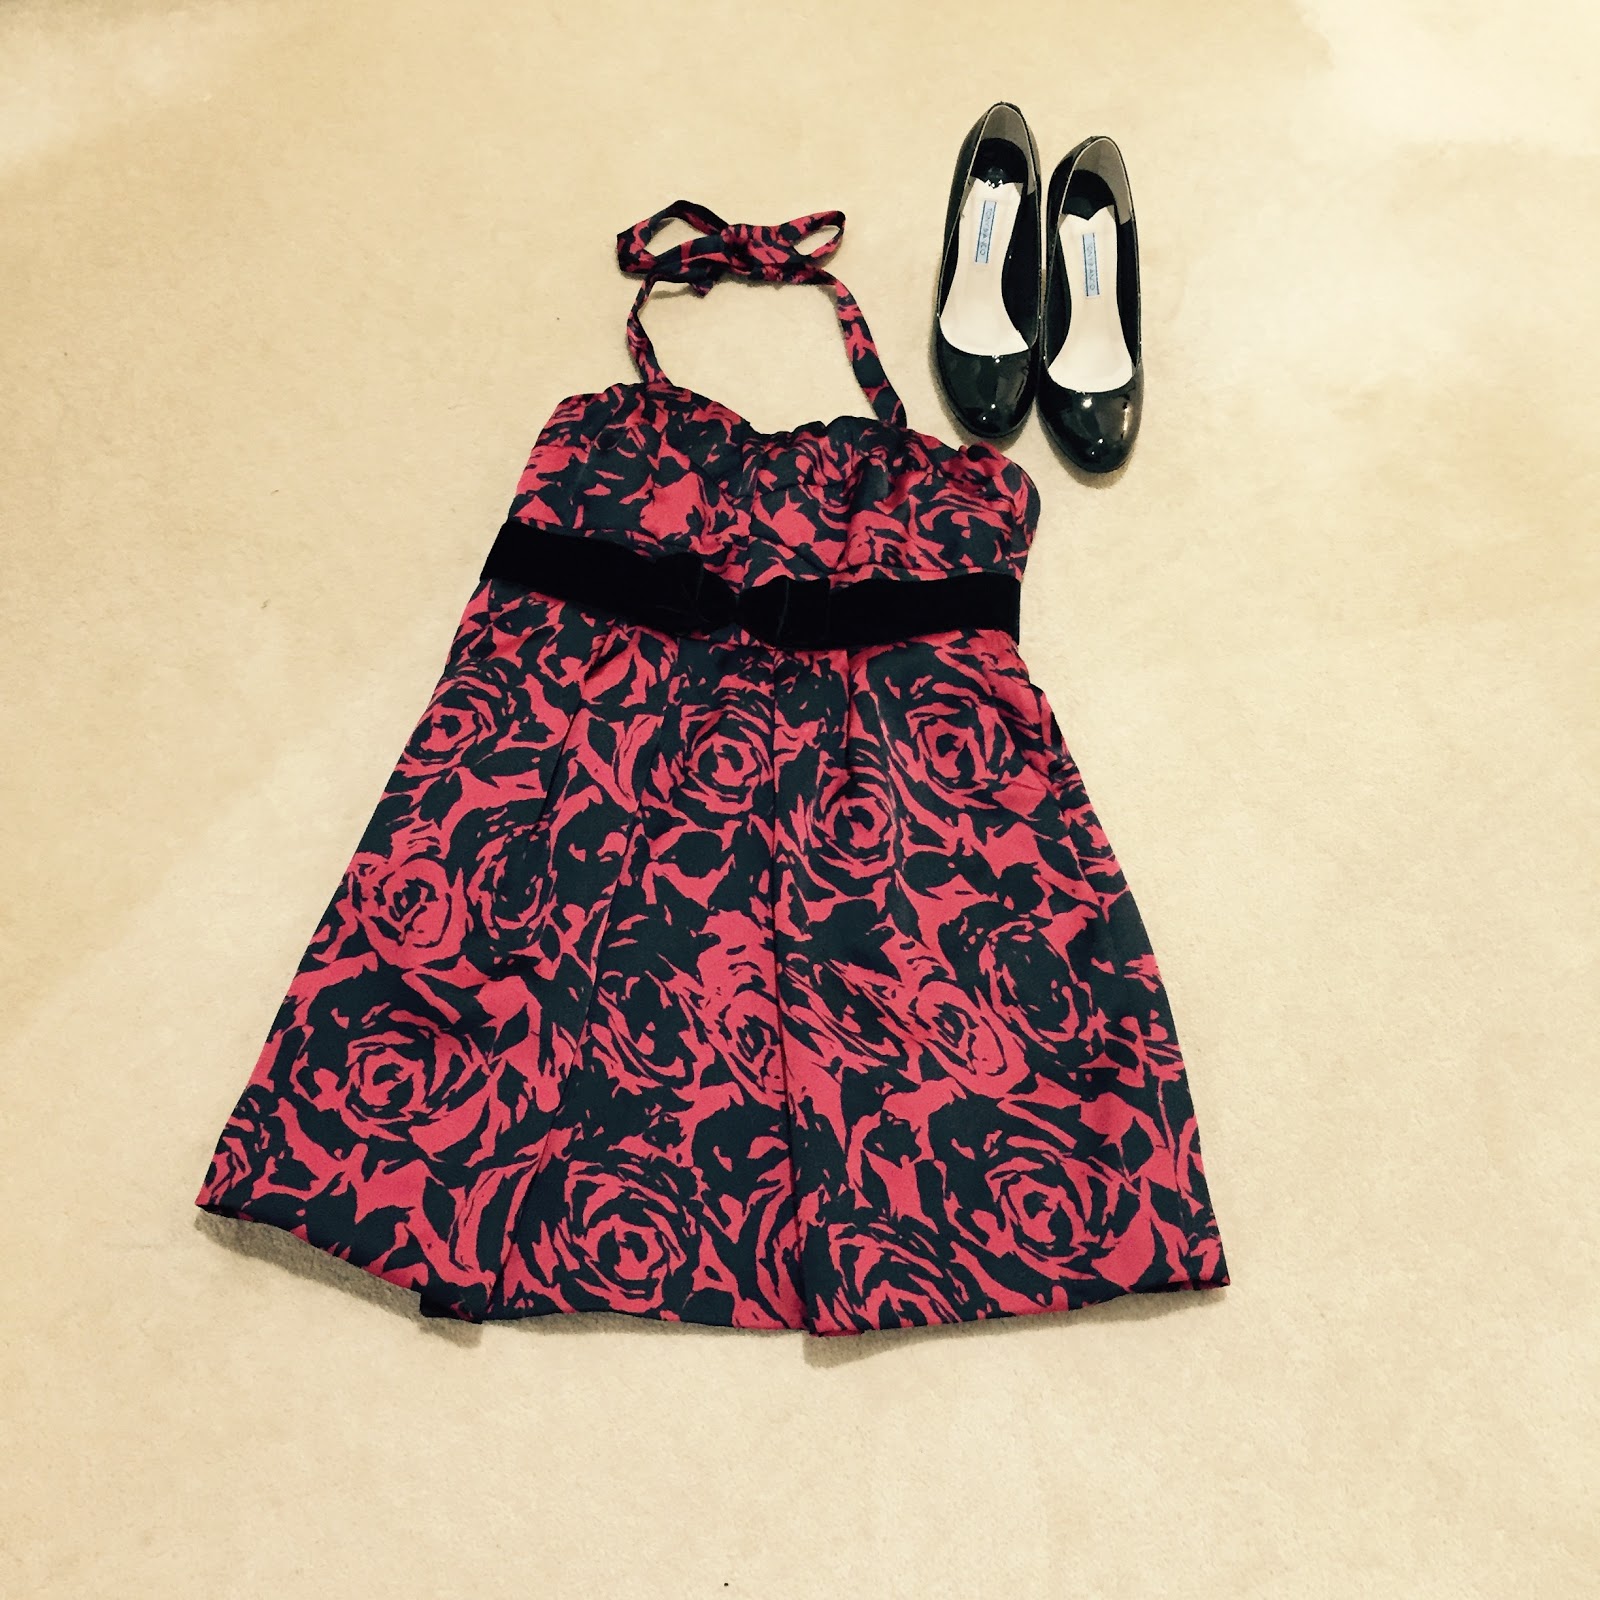
My initial idea was to play a velvet trim somewhere on the dress for some definition. Susan placed the trim on the waist and fashioned a bow for me. I’ve now hand sewn this on the dress.
There are faux straps that I’ve also prepared for a different feel to the dress. These faux bra straps are made from the fashion fabric and give the dress a subtle change.
This wider fashion fabric ribbon gives this dress a ‘50s vibe to it.
So this same dress, with the same shoes can be worn at least three different ways.
I hope you’ve enjoyed the first part of my couture sewing journey. Thanks to Susan for travelling to Australia and running these workshops.
A big thank you to Vicki and the team at Minerva Crafts for providing me with all the fabrics and notions for this workshop. The name of everyone who packs each online order is on the label of your purchase.
Also a big shout out to Prym products for providing me with all their ergonomic sewing tools that have made this workshop more enjoyable. Remember there’s a 10% discount on all Prym products when you apply the discount code ‘maria’.
Next month, I’ll be making the couture lace skirt in Susan’s class and sharing what I learnt with you. You’ll love the fabrics I’ve chosen too!


