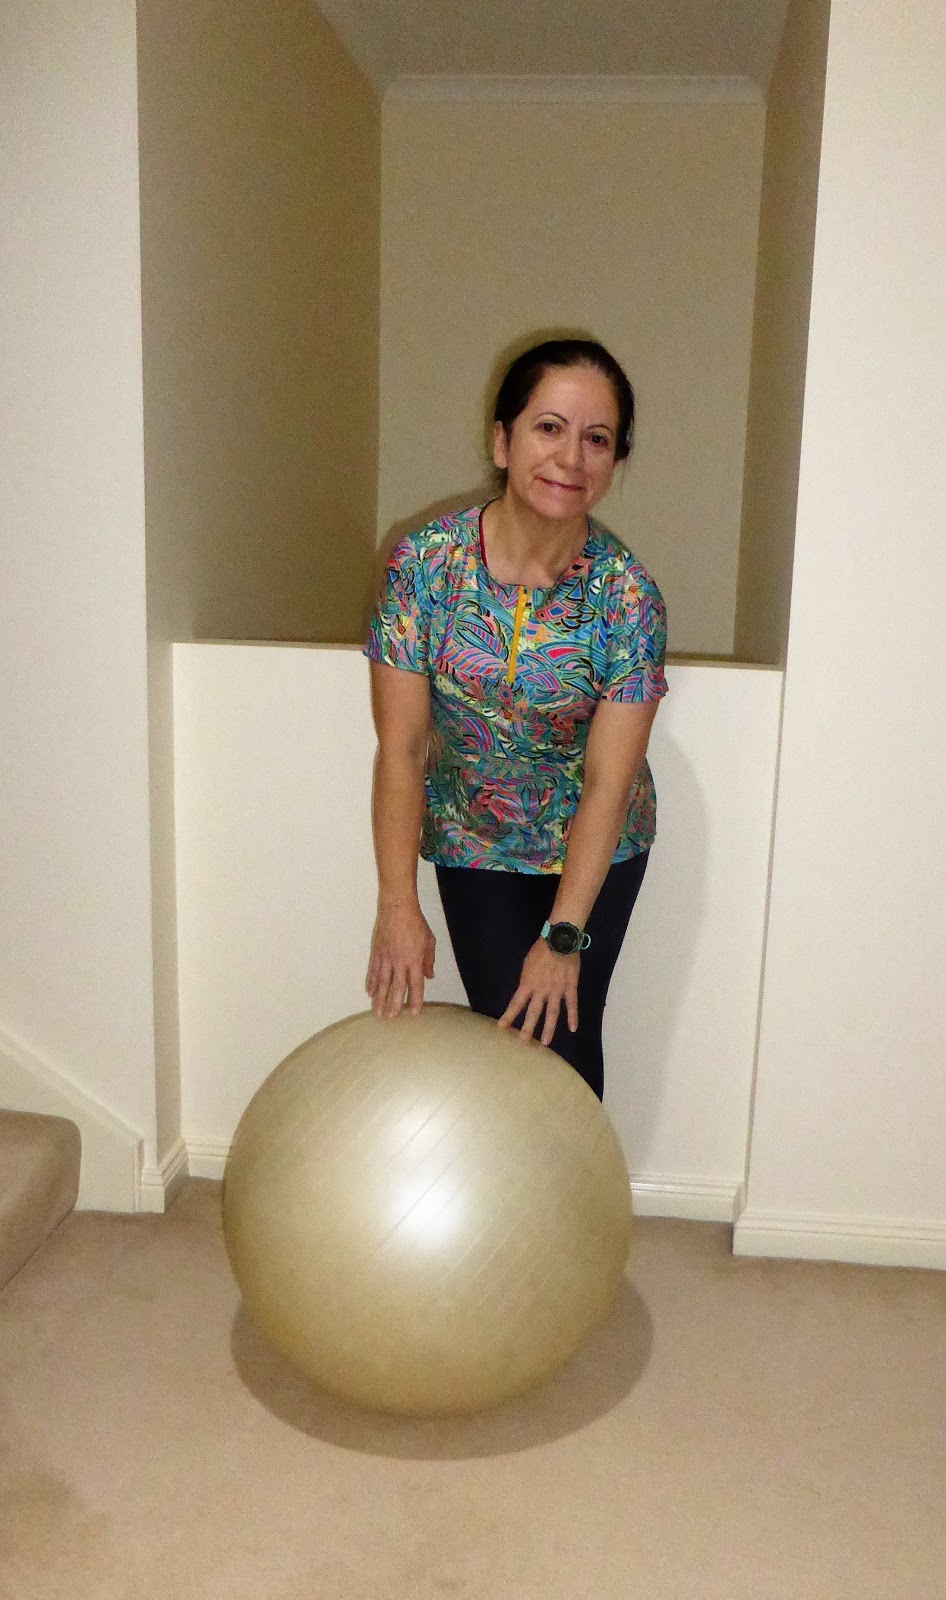
My focus right now is on post-op recovery so of course, new activewear is a bonus outcome. Recovery ie, keeping your foot elevated, means I have a lot of time to research and plan in between taking pain medication and napping during the day.
In between naps, I have enough concentration to review a couple of activewear books.
Book review
This post begins with a review of ‘Sew your own Activewear‘ by Melissa Fehr.

I’ve pattern tested many of Fehr Trade patterns after following Melissa’s blogs for over 10 years now. Melissa sent a copy of her ‘Sew your own Activewear’ book as a thank you for our support of her pattern development and online promotion.
My main activewear reference book had been and still is Kwik Sew’s ‘Swim and Action wear’. This book has been all I had as reference when I first started to sew activewear and I’ve kept going back to the basic patterns of this book. This book contains timeless block patterns that I keep using.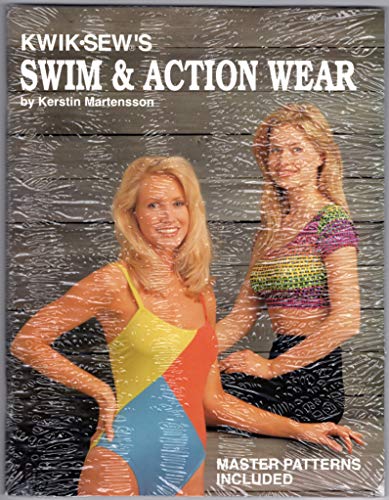
My original project idea was to make the raglan tee from Melissa’s book. Marie had already posted her experience about making her loose fitting raglan tee. I changed tact when I did a pattern check and I already own raglan tee patterns that work.
Bear in mind that when I received Melissa’s book, I was in a lot of pain post surgery, so my concentration span was almost nil.
New activewear supplier
Next up, in Australia we have a new activewear fabric supplier – Sew Active Fabrics.
Activewear fabrics are a niche product so I was thrilled when I saw this new online supplier. 
A couple of things caught my eye with the fabrics offered by Sew Active Fabrics.
Sew Active Fabrics sells wicking compression fabric.
This is a heavy weight knit with a very smooth feel and good recovery/stretch. You can read more about this fabric on Laura’s website.
The other goodie that caught my eye was their gripper elastic.
This elastic is 2cm wide and has two swirls of silicon on one side. When this is sewn to a hem, the silicon grips ‘you’ (your skin and clothes) and keeps the hem in place.
Now I’ve tried to sew previous gripper elastics by machine before and failed dismally.
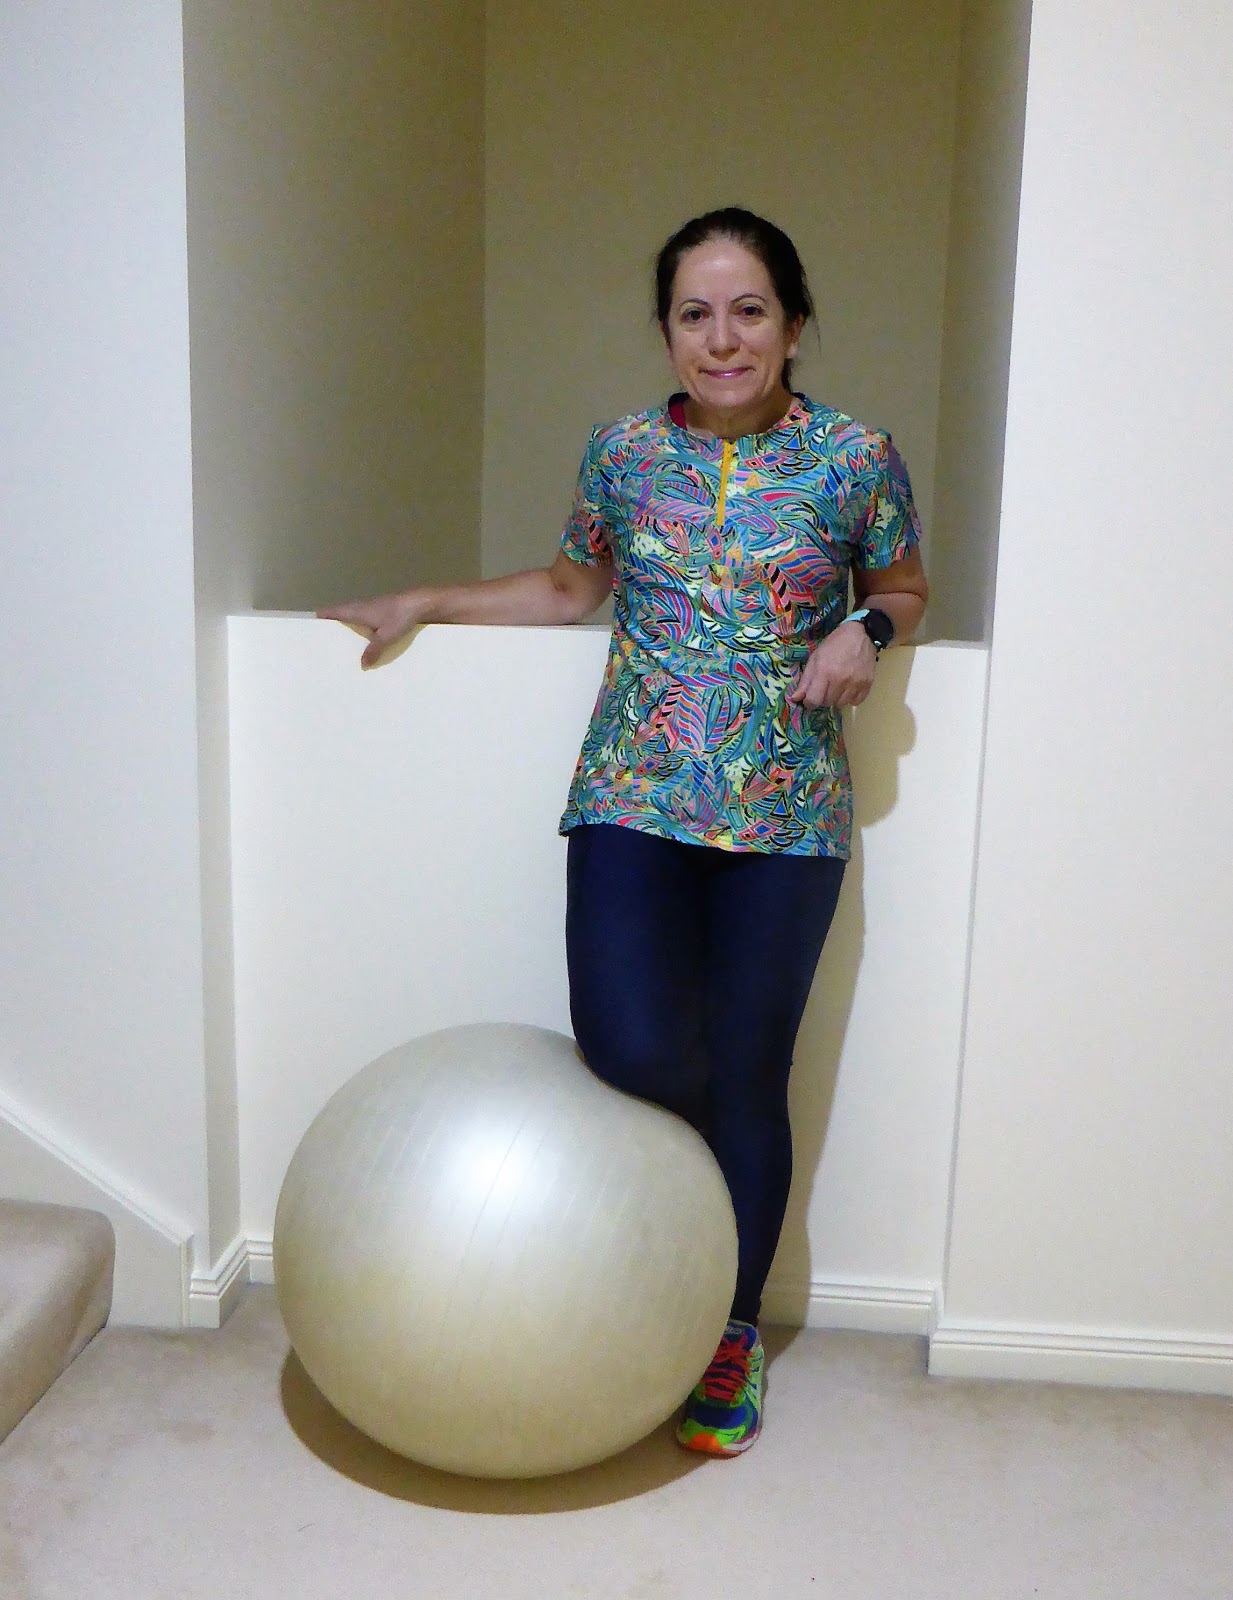
When Laura sponsored me to make two activewear pieces while I was recovering, I automatically decided to make the cycling top and a pair of compression tights.

Local cycling gear designer
There’s a great local cycling gear brand called STeLF cycling.
“STëLF is … Designed in Australia & Made in Italy”
Have a closer look at how STeLF began.
I’ve met the founder of STeLF and he’s a clever cyclist who is committed to designing good cycling kits with unique fabrics.
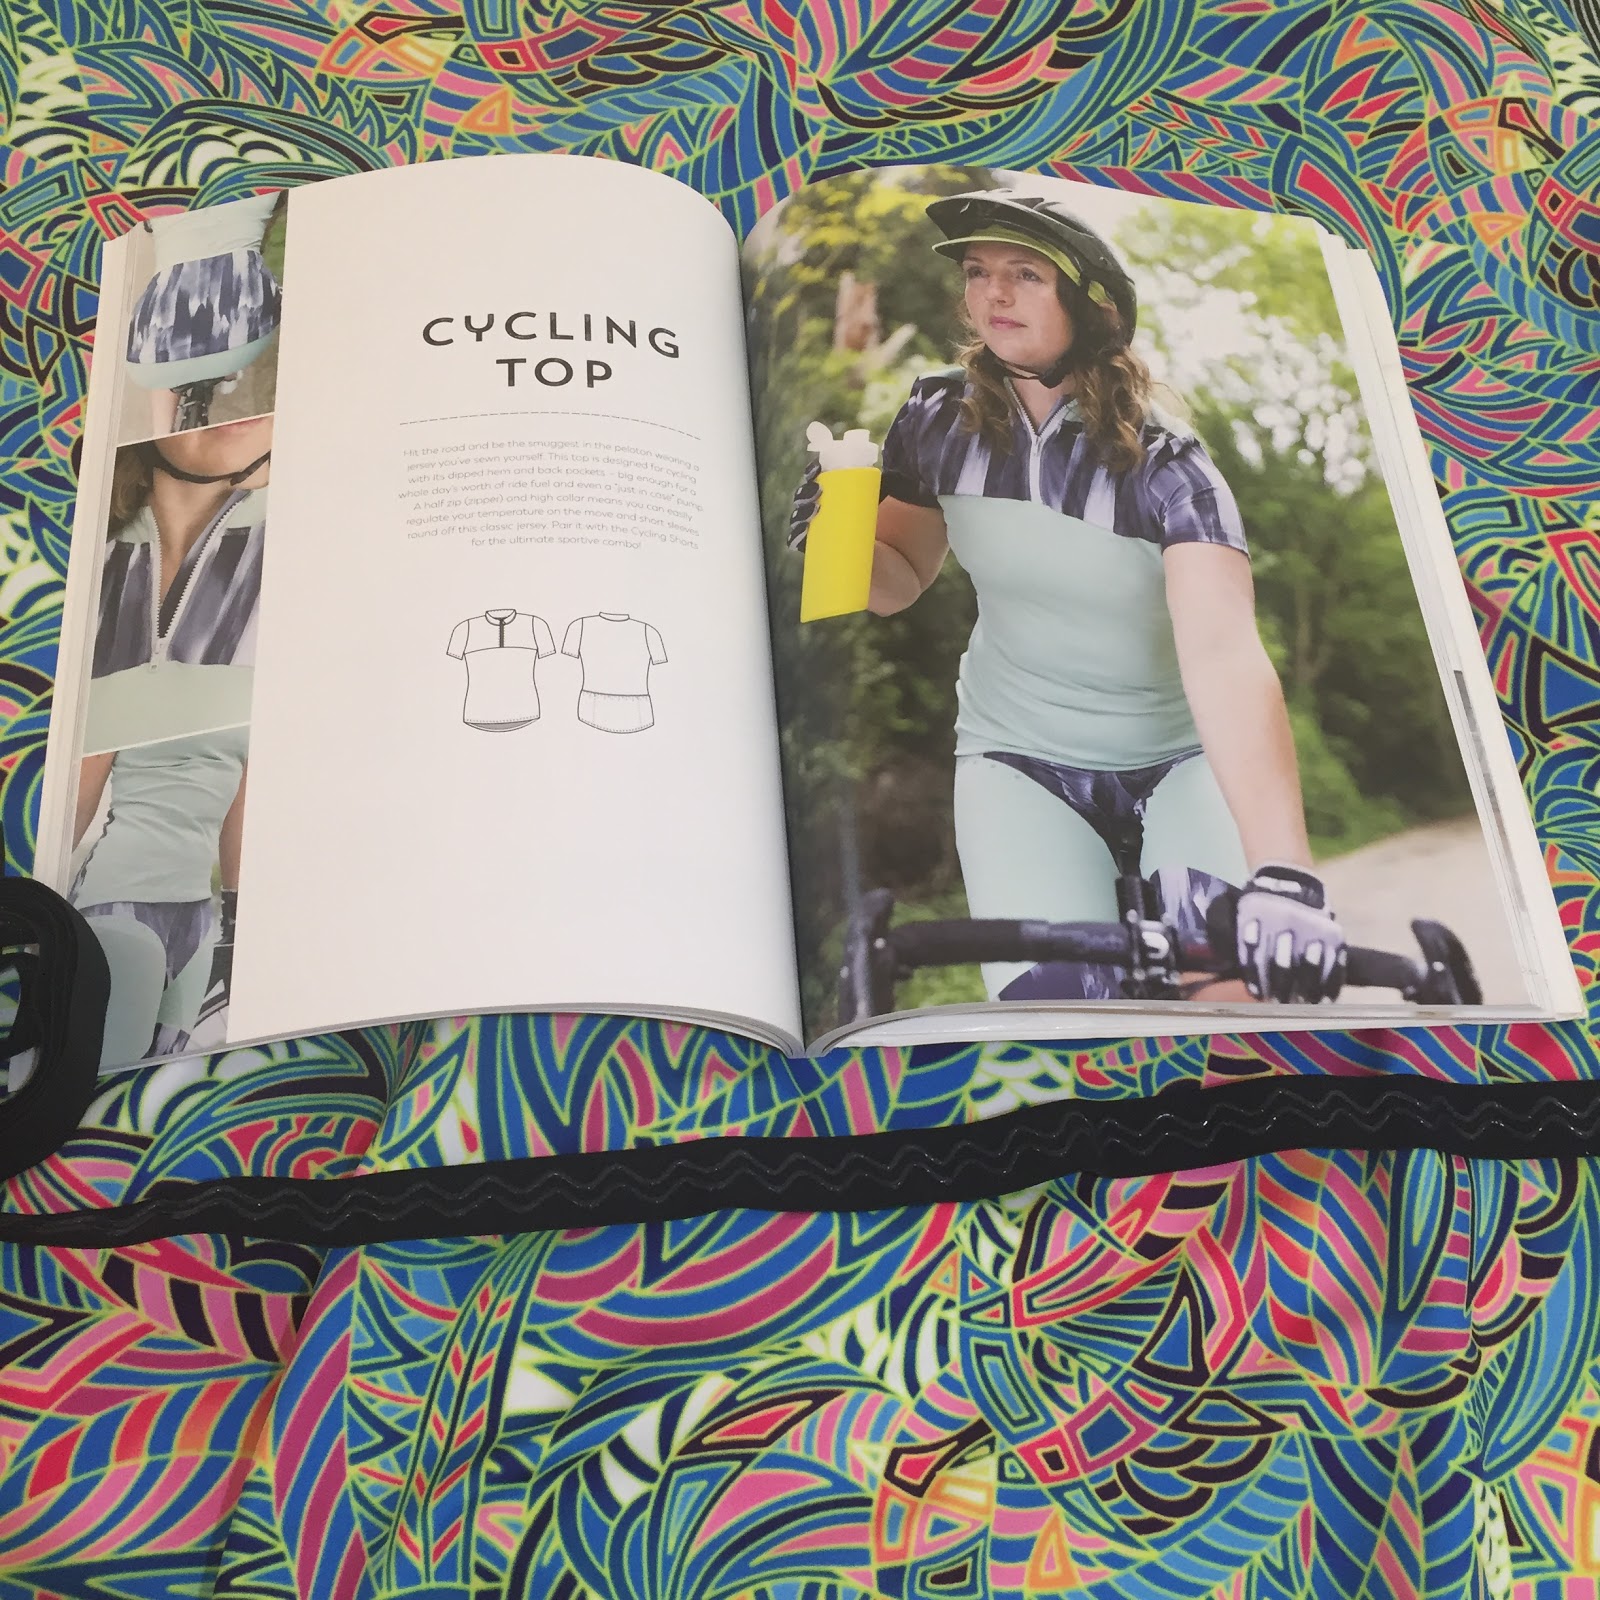
Cycling jersey
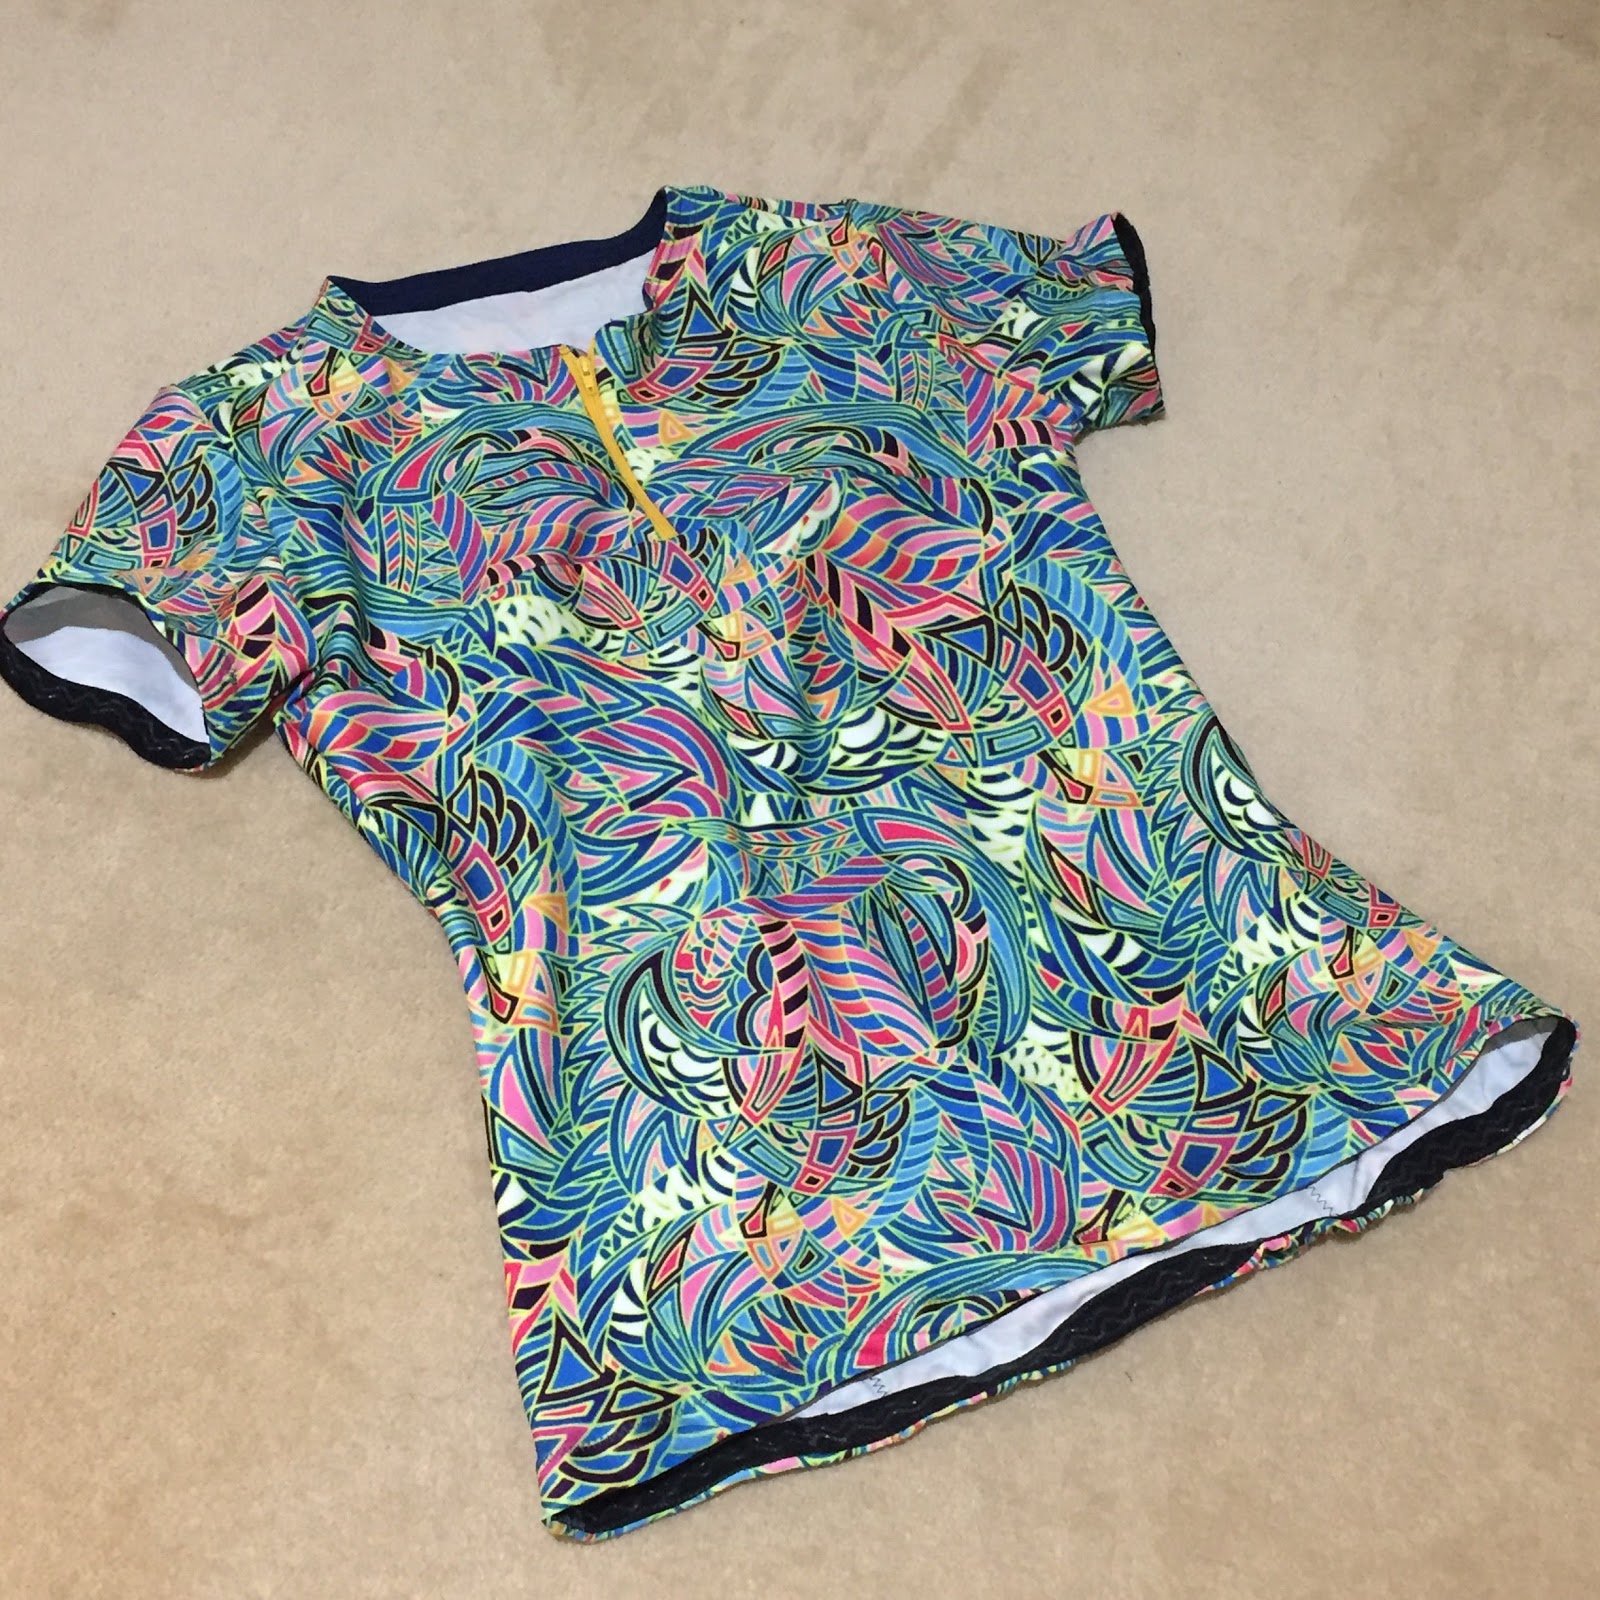
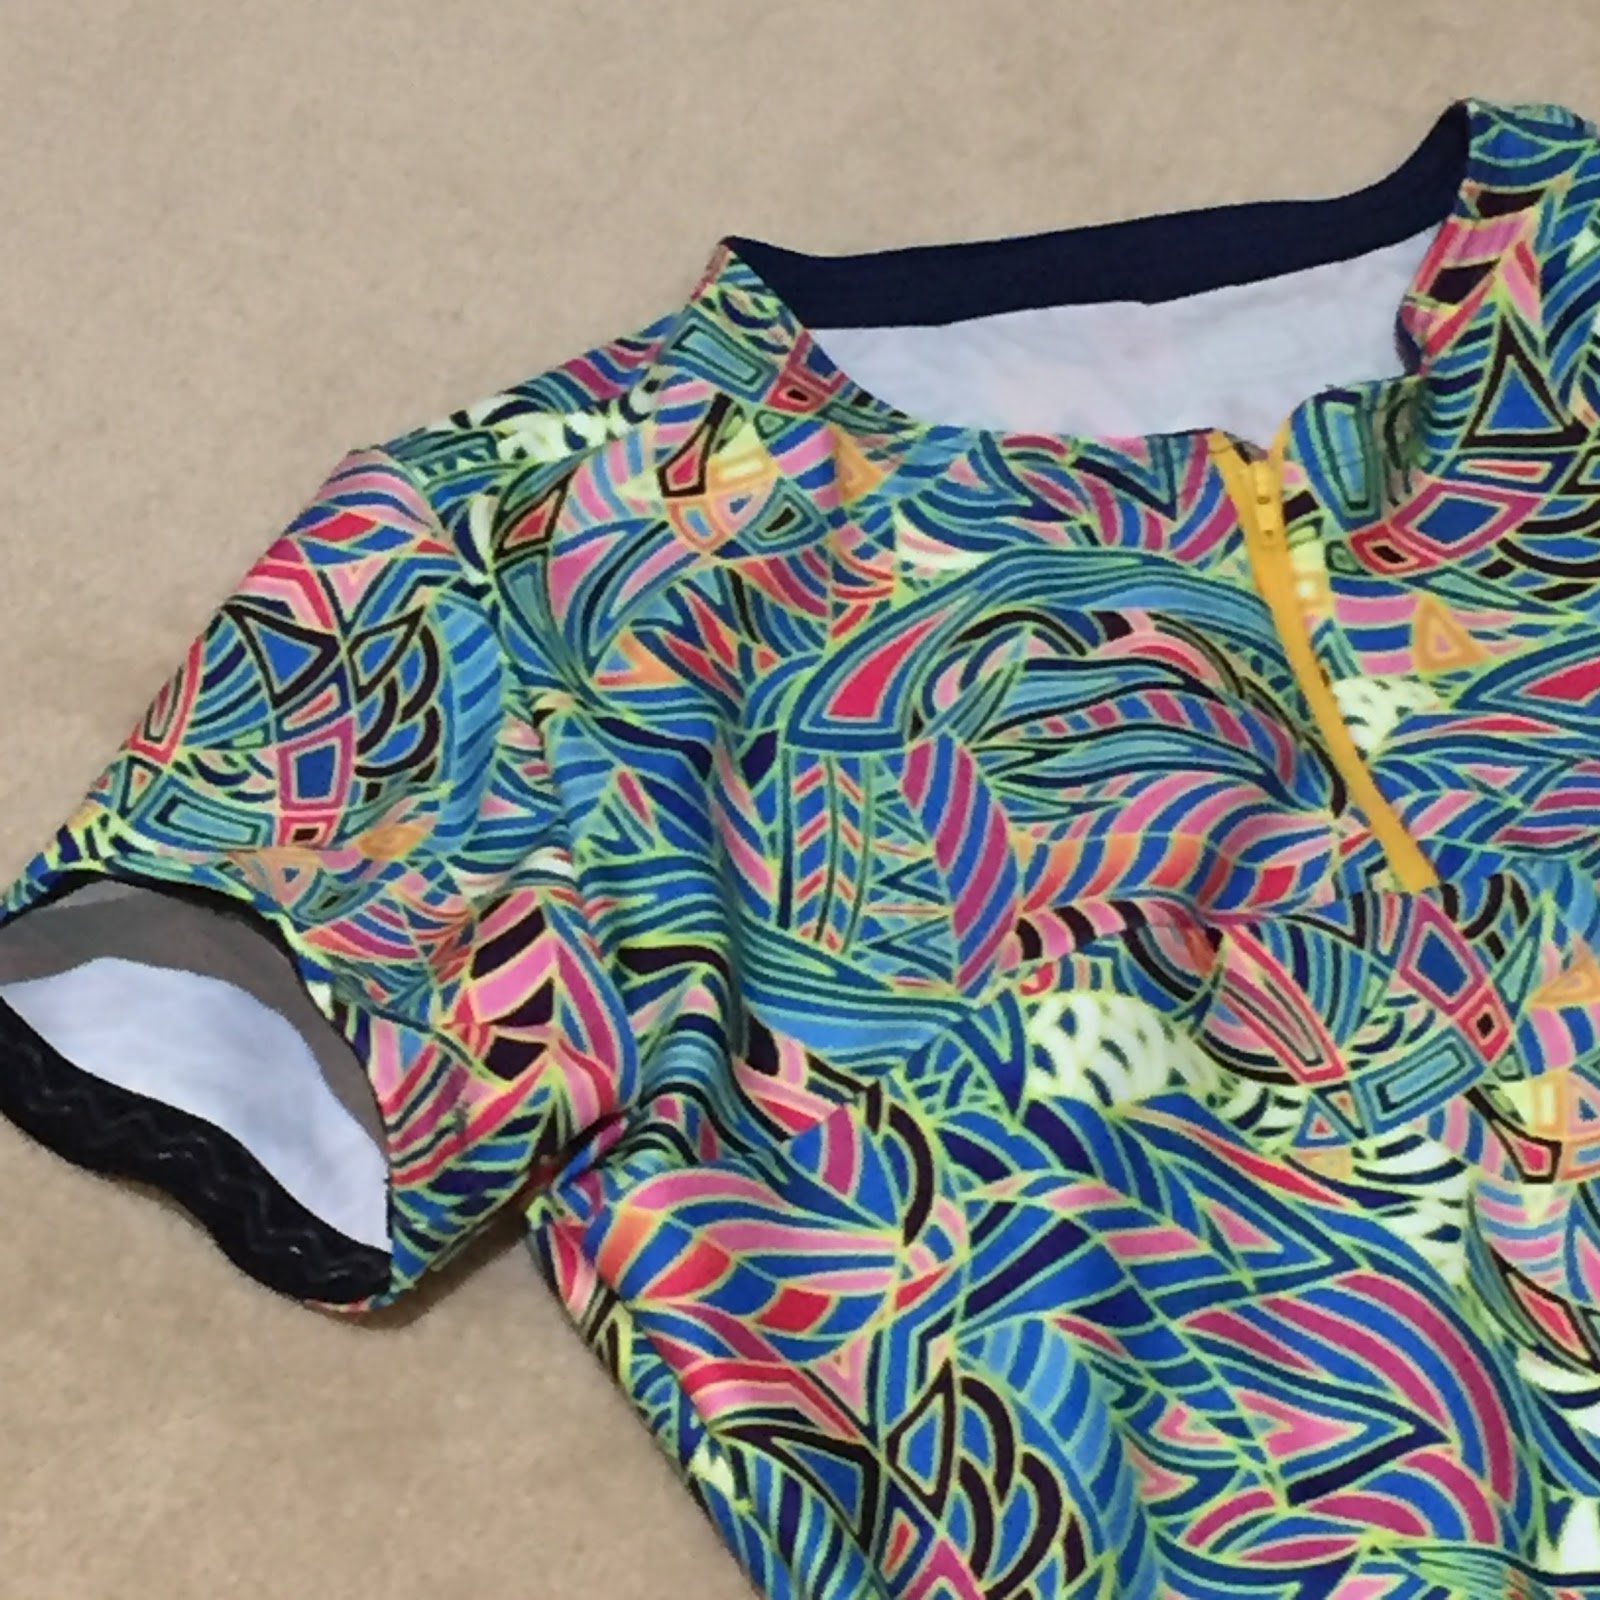
I chose the loudest print from Laura – Mint Madness – to make a cycling jersey. if you’re interested, have a read of the properties this quick dry cooling stretch fabric offers.
Mint Madness has all over print. I didn’t need to be match the print on this jersey so I had fun pairing this print with bright zippers and reflective tape placement.
 |
| WIP back view |

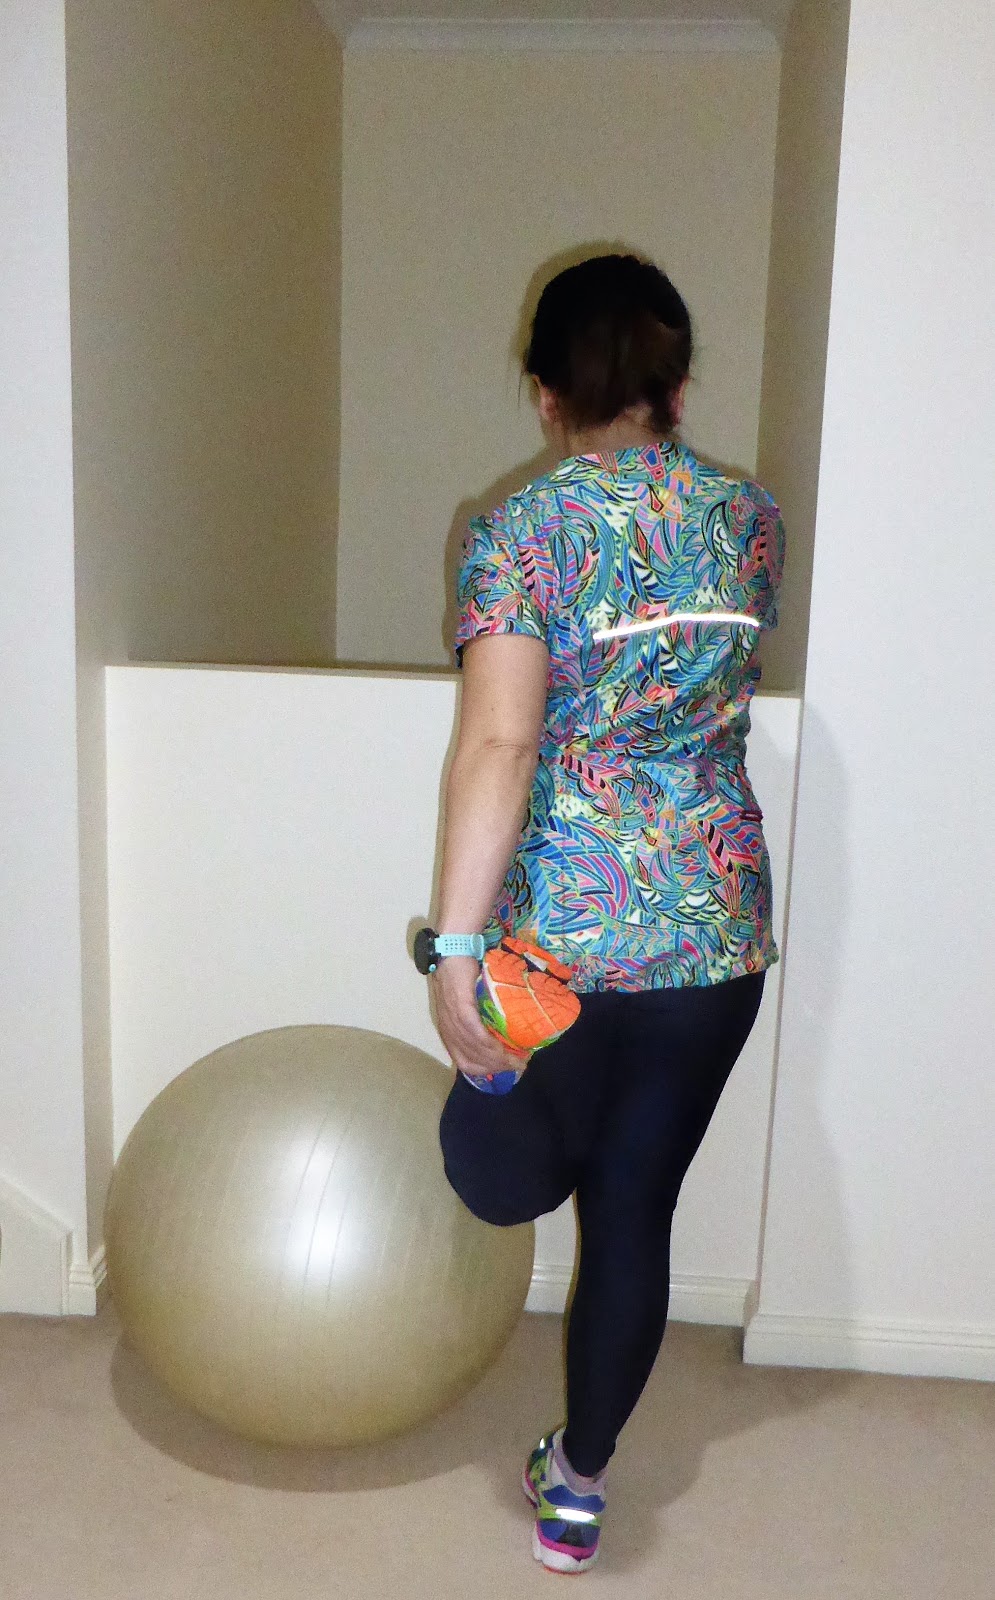
This jersey was too big on me. The shoulder line was too long so the sleeves were sewn off the shoulders. The neckband was sort of ‘ok’, but sort of ‘not ok’.

I was able to practice adding the reflective tape across the back of the jersey. Johanna Lundström’s book ‘Sewing activewear: How to make your own professional looking athletic wear’ suggests hand sewing in the reflective tape before sewing it and it worked a dream.

Don’t be afraid of this zipper insertion method.
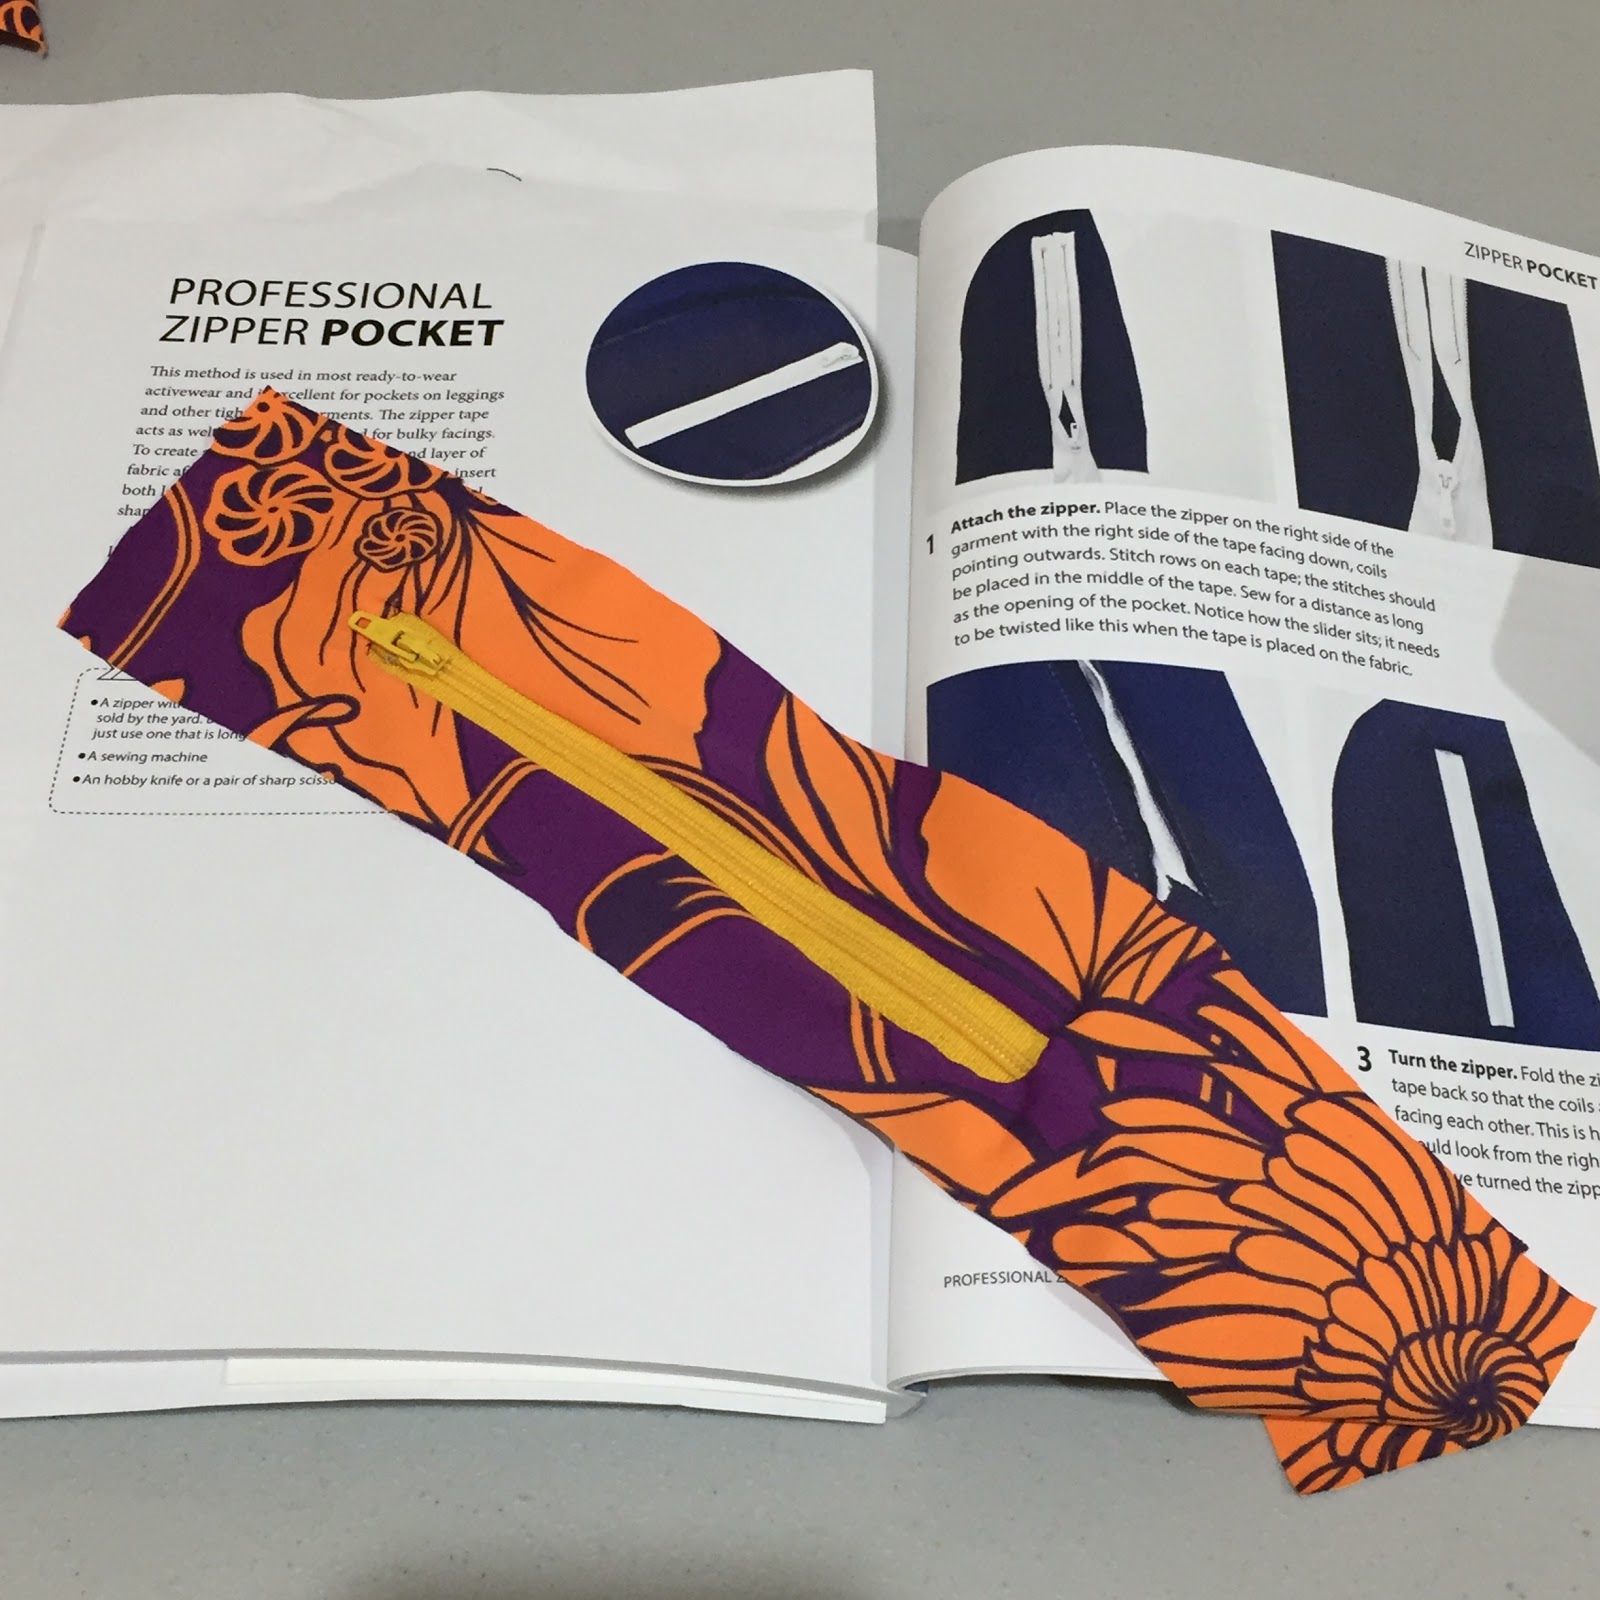
This is such a no-nonsense method of sewing in a zipper again by Johanna Lundström.
I only discovered Johanna because her book was recently published.
I’ll show you the techniques I’ve been working through that Johanna has in her book. Johanna sent me her book to review hence my interest in her sewing work.

What you’re looking at above are the updated pattern pieces for the cycling top. It was worth testing with remnant lycra.
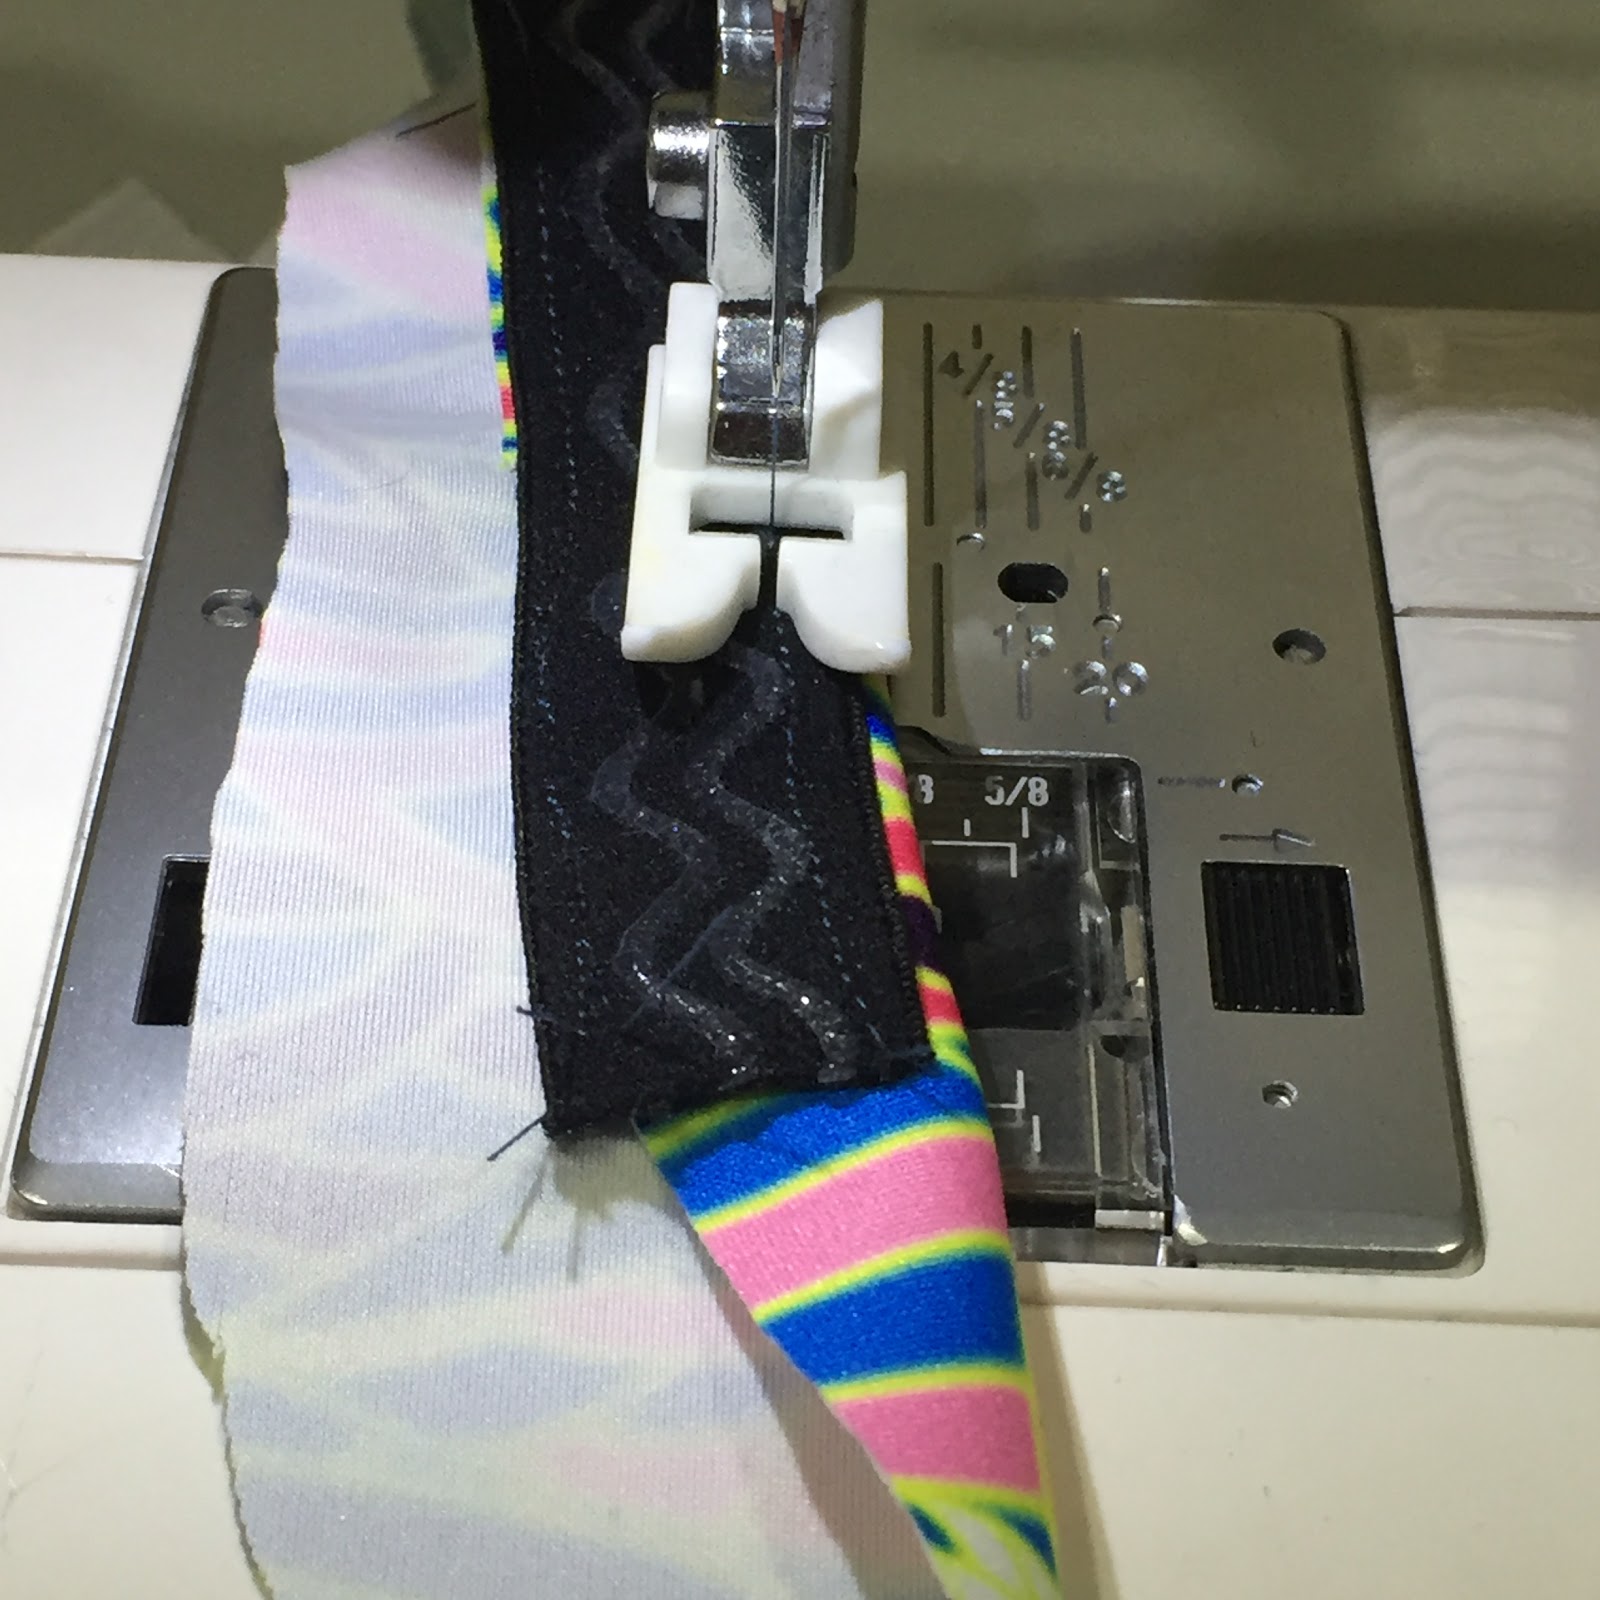
It was also worth testing sewing the gripper elastic on a strip of fabric using a Teflon foot too.

The stitching on the left hand side was achieved by sewing with a Teflon foot.
By the time I sewed on the black gripper elastic I could see how the weight and composition of this fabric would make it perfect for cycling or running training.
The cycling jersey instructions in Melissa’s book to draft this jersey from the close fitting block patterns were good as were the construction notes. The notes for sewing gripper elastic was good too.
I couldn’t make the neckband on this pattern work for me so I decided to bind the neckline with a strip of lycra. You can go to the effort to make the neckband more fitted but I honestly didn’t have the concentration to work it out.
The main thing that would have made pattern drafting faster was to have
– pattern pieces numbered separately and identified with each project
– a guide of what pattern pieces was on each pattern master sheet.
Compression tights
After looking at the designs offered in the book I decided to take a closer look at the compression tights that I’ve bought and work well for me.
There’s a Pearl Izumi pair of compression tights and 2XU pair that I love wearing when training for a half marathon. I wear compression long tights over short cycling knicks in the winter so I wasn’t going to try making cycling specific knicks with a chamoix. That’s never worked for me in the past.
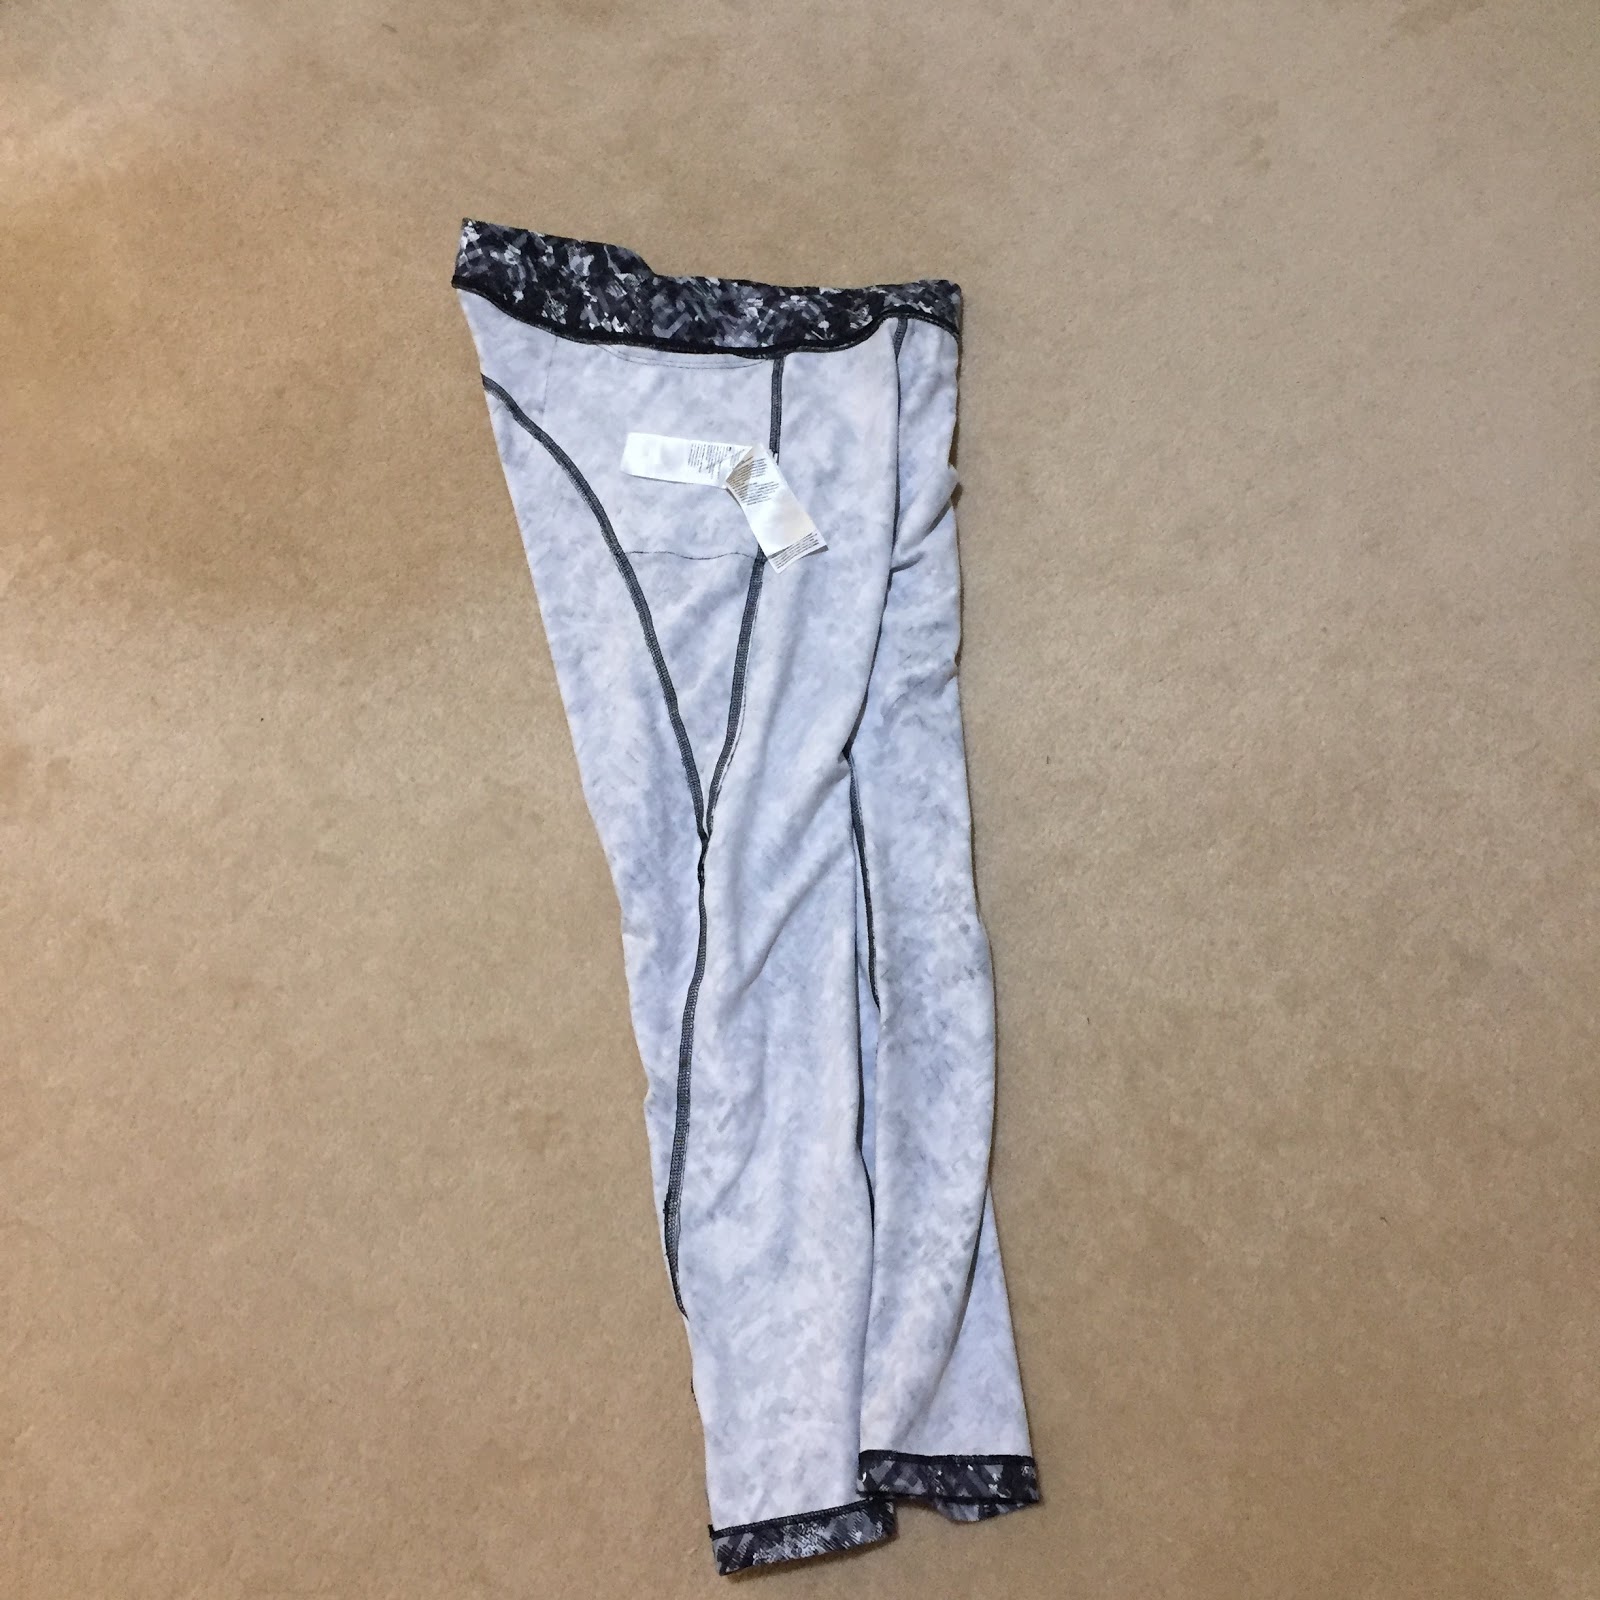
I decided the easiest thing to do was to trace off the 2XU compression tights and use the compression fabric from Sew Activewear fabrics.
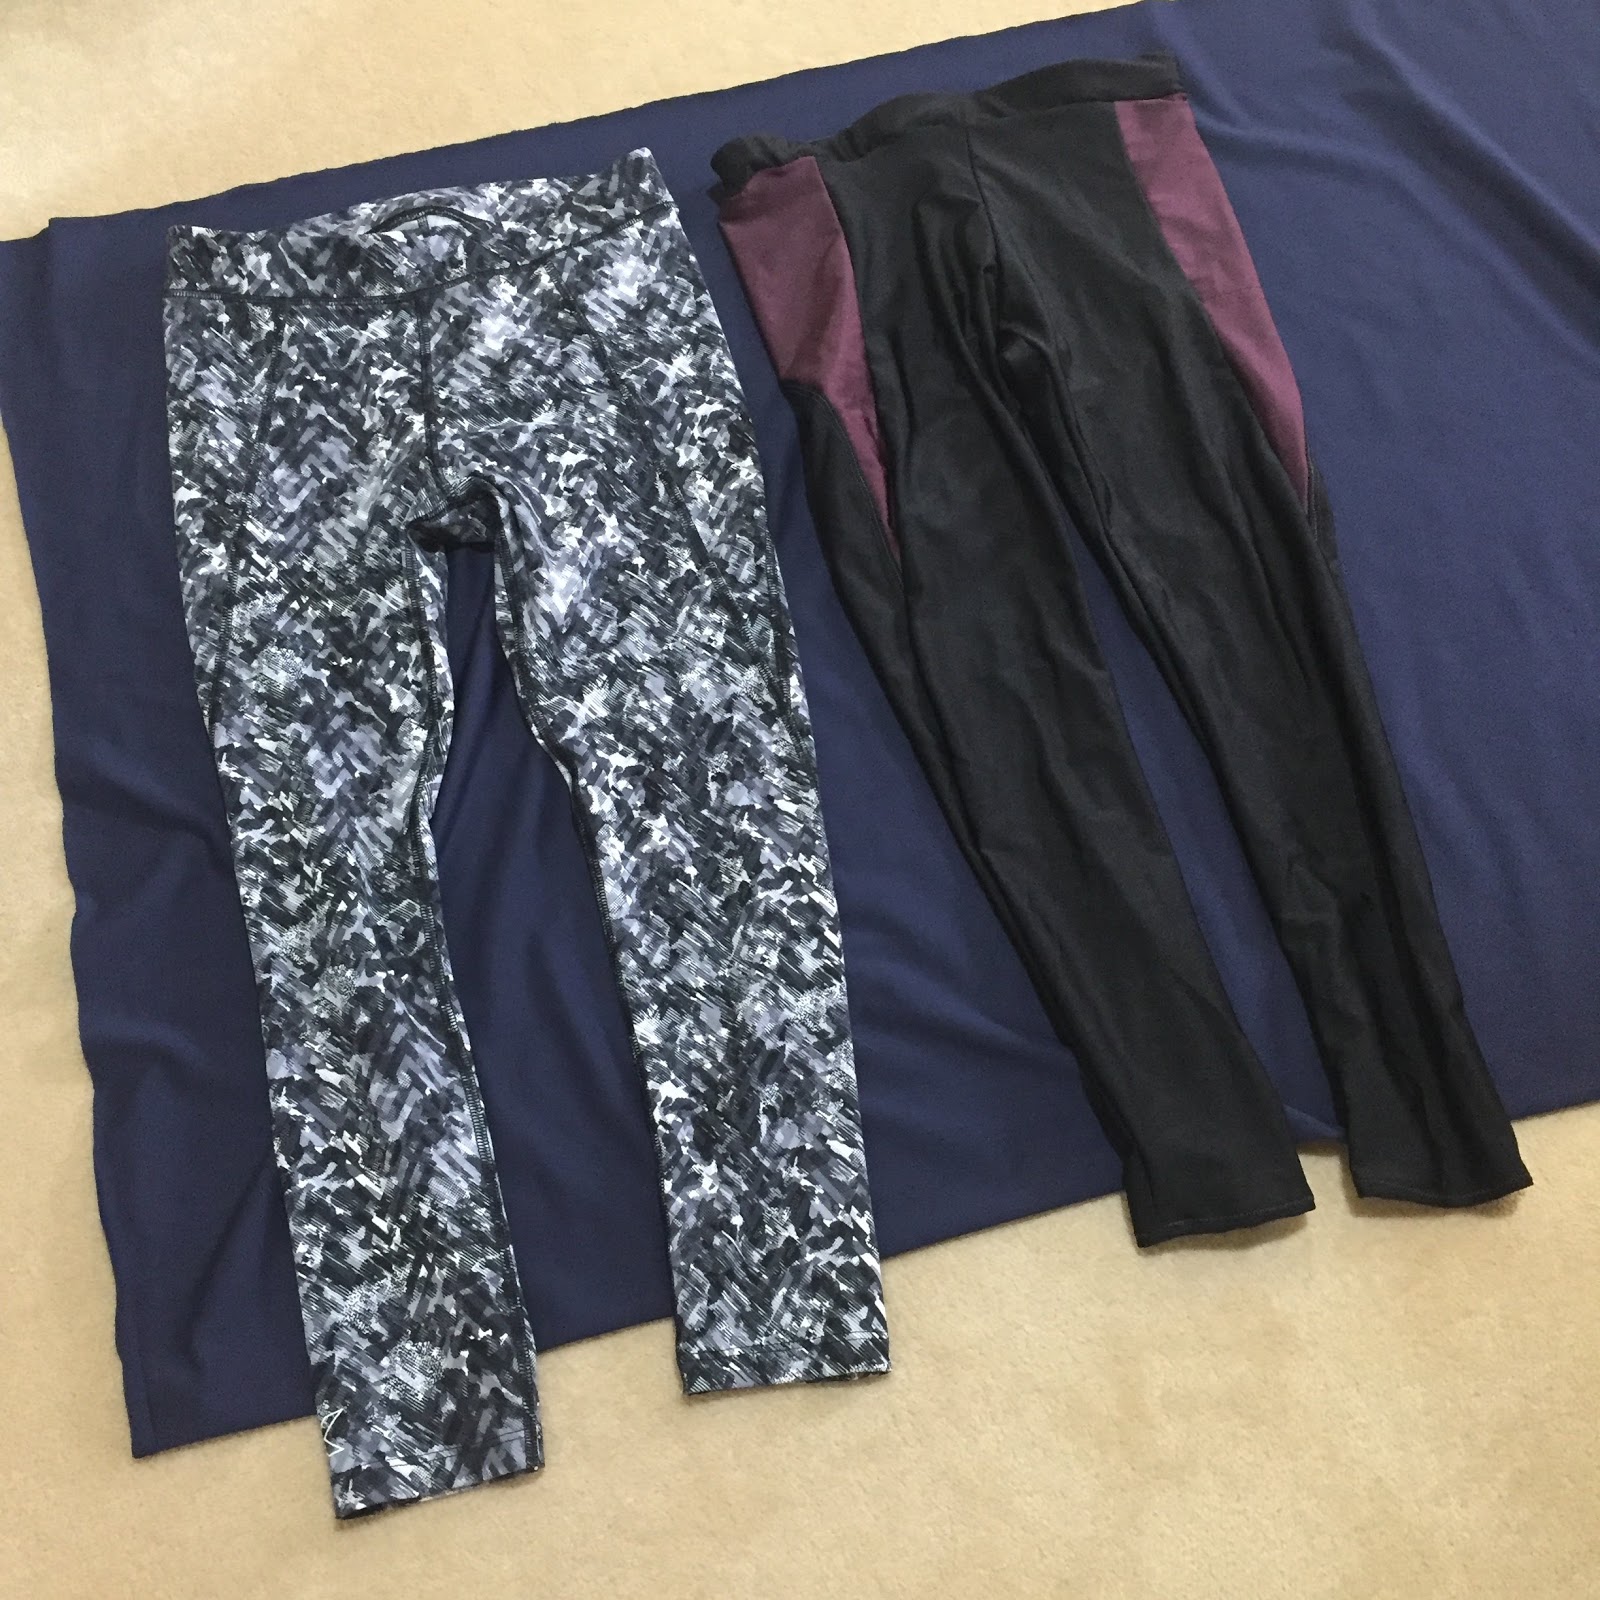
As you can see above, I made a test pair using lycra from my stash.

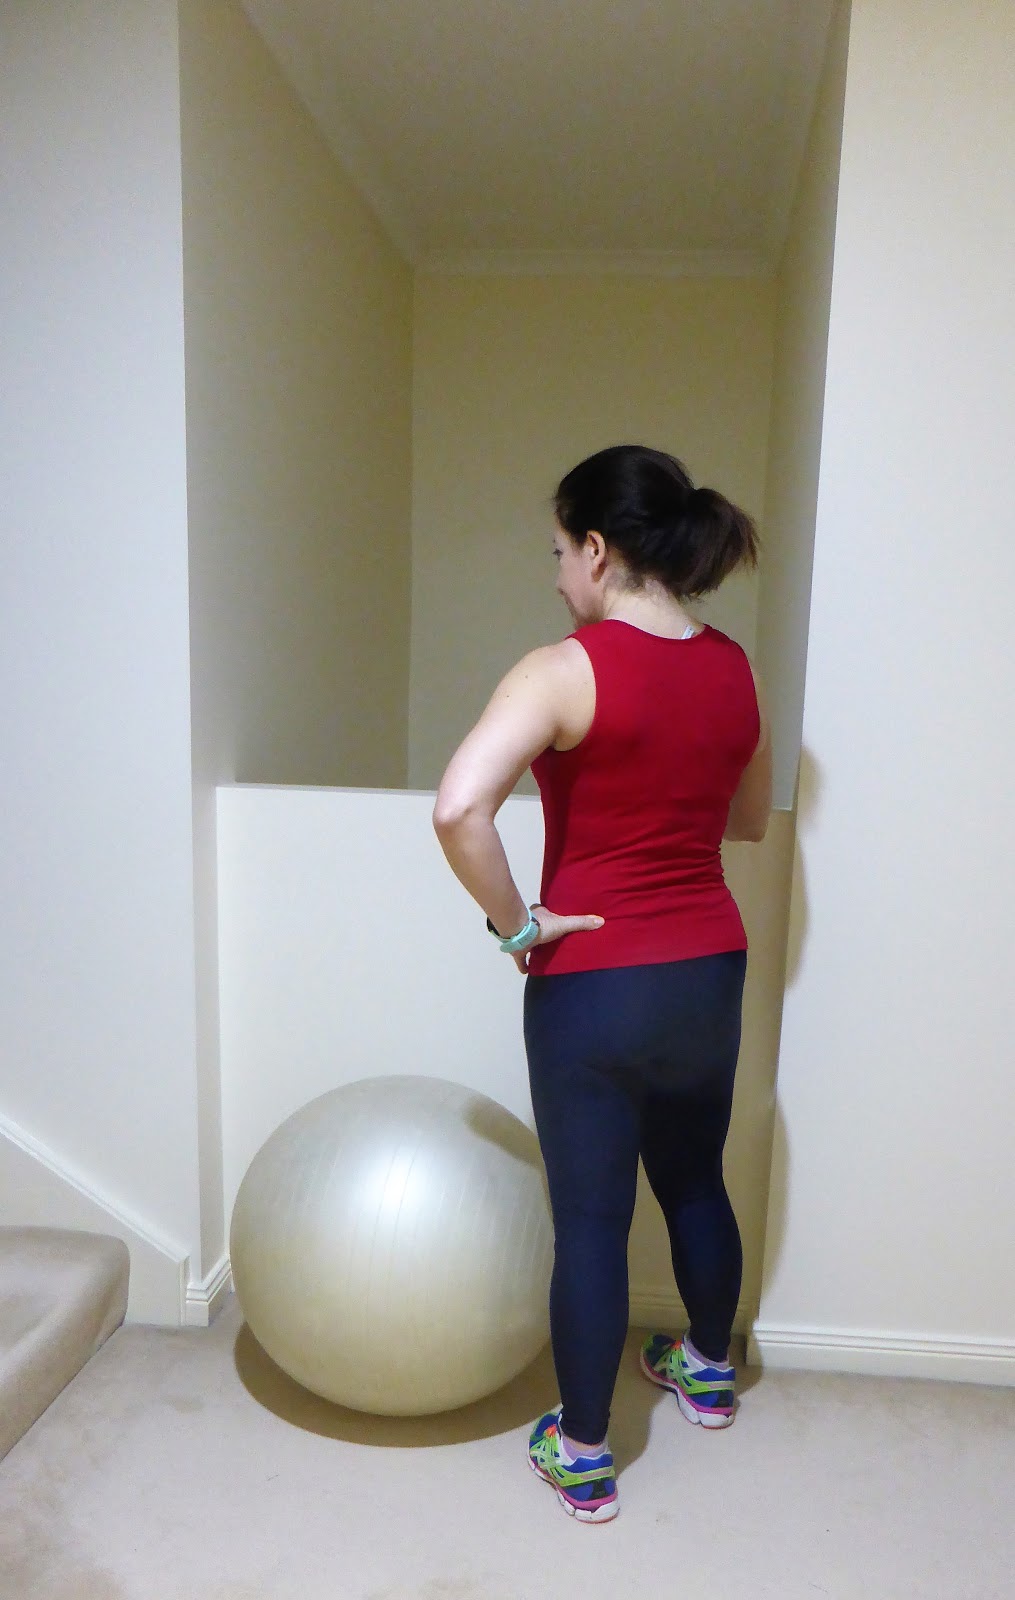
Here’s the top down view.
After making a test pair out of very average poly/lycra, I was able to make a brilliant pair of compression tights just below 2XU quality.

The finishing touch was to use a 32mm wide elastic in the waistband.

This 2XU pair has an internal pocket so I didn’t have to ‘faff’ around with a zipper.

Conclusion
There’s a lot to learn as I work through the techniques offered in ‘Sew your own activewear’ and practiced techniques from ‘Sewing activewear’.
Having access to really good fabric makes the outcome worth making.
It has taken time to build my knowledge of making the right pattern adjustments. I can now appreciate the technology behind good quality custom made gear and try to make my own activewear that works for my shape.
I’ll trace off the Pearl Izumi compression tights as the weather cools down and use another piece of fabric I bought from Sew Active Fabrics (precious quest) on sale for a different pair.
However then to build your skills to sew your own activewear is another couple of hurdles.

Follow(function(d, s, id) {var js, fjs = d.getElementsByTagName(s)[0];if (d.getElementById(id)) return;js = d.createElement(s);js.id = id;js.src = “https://www.bloglovin.com/widget/js/loader.js?v=1”;fjs.parentNode.insertBefore(js, fjs);}(document, “script”, “bloglovin-sdk”))
