
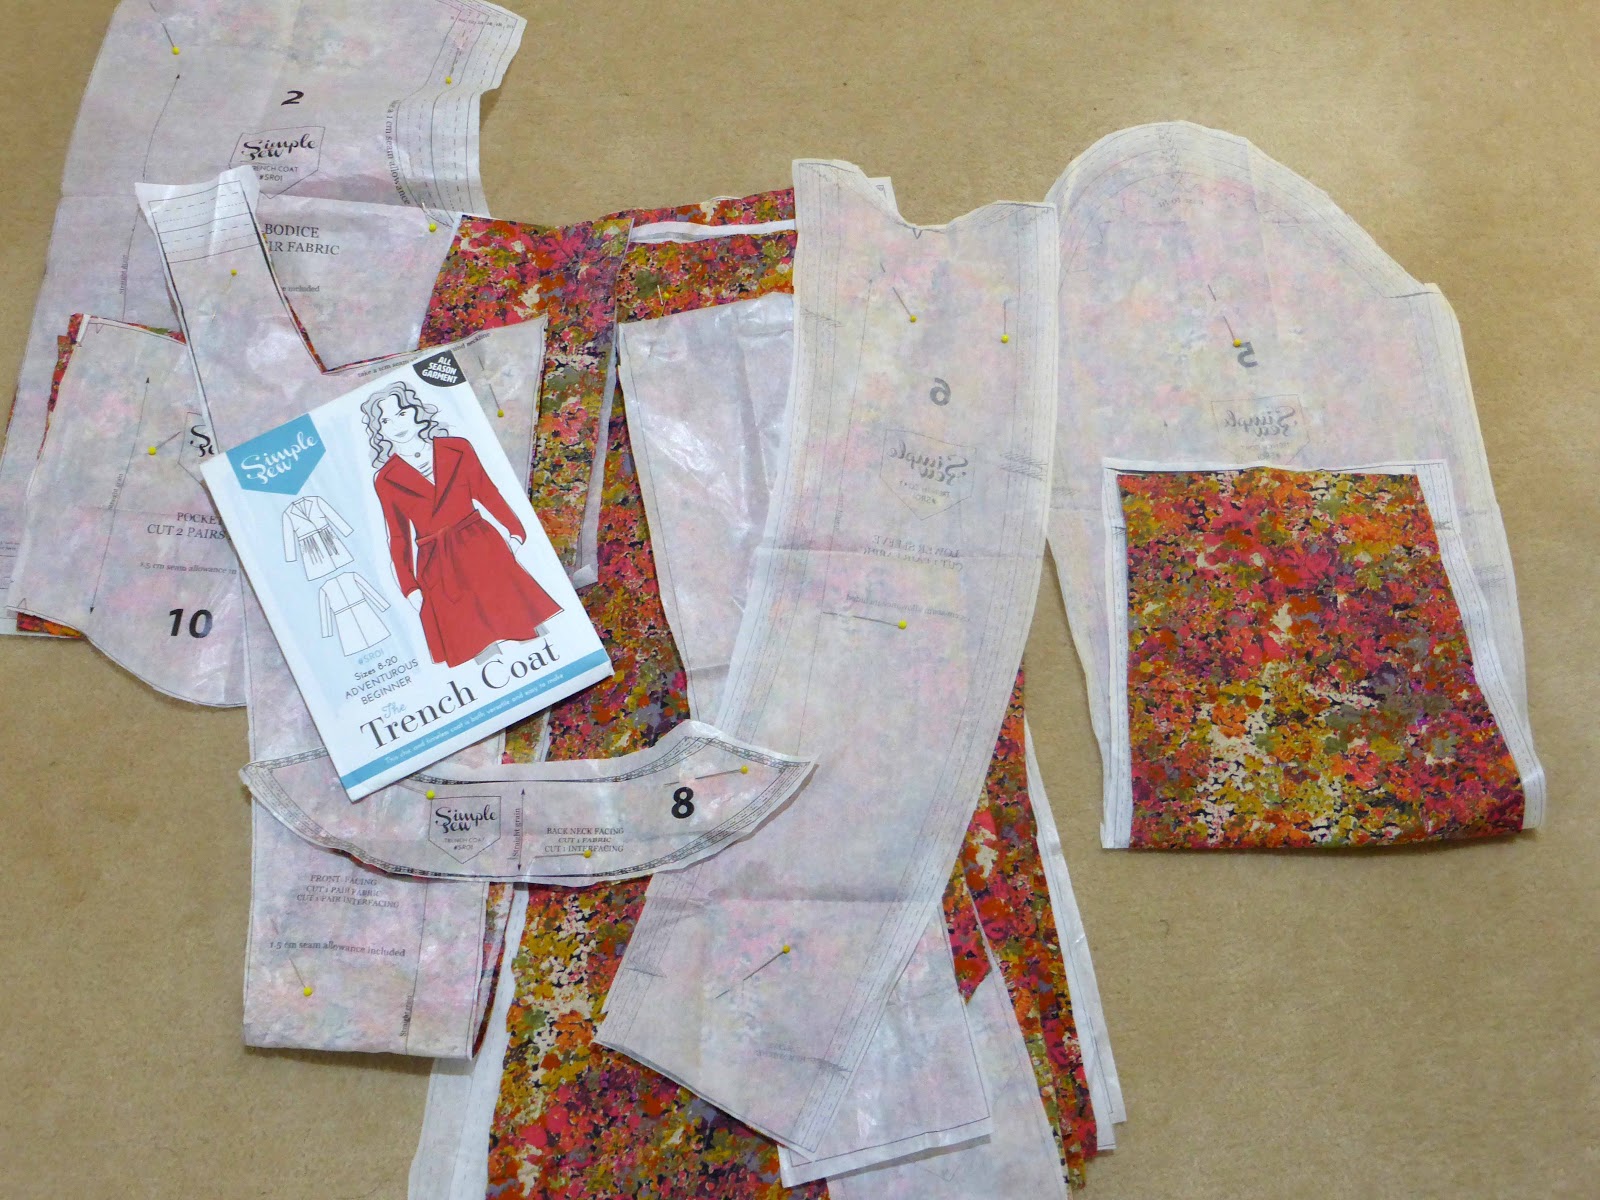
I love strong colours so I zeroed into the strongest Liberty colour-way print (MILLINERB) from White Tree Fabrics UK as the basis of this trench.

Granted, this lawn wouldn’t be a coat choice fabric. It’s true to say an Australian Spring can be quite hot so I only needed a light layer and this fabric works.

Oh. The print doesn’t readily show creasing and that’s the other reason I chose this fabric.
I really should have read the suitable fabrics list, but now this coat is finished, I’m glad I didn’t (Breathable waterproof fabrics, heavyweight cotton, suiting, tweed, taffeta, denim,boiled wool).
Planning:
With that in mind, the two aspects I kept in mind was to ensure the:
- inside finishes would show and
- need for interfacing and reinforced seams were a must.
Reinforces seaming = fake machine felled seams
Interfacing for the facings, pocket opening and the belt.
Remember, if you don’t want to do this type of work, this coat is simple to sew by using a medium-weight fabric with overlocked seams.
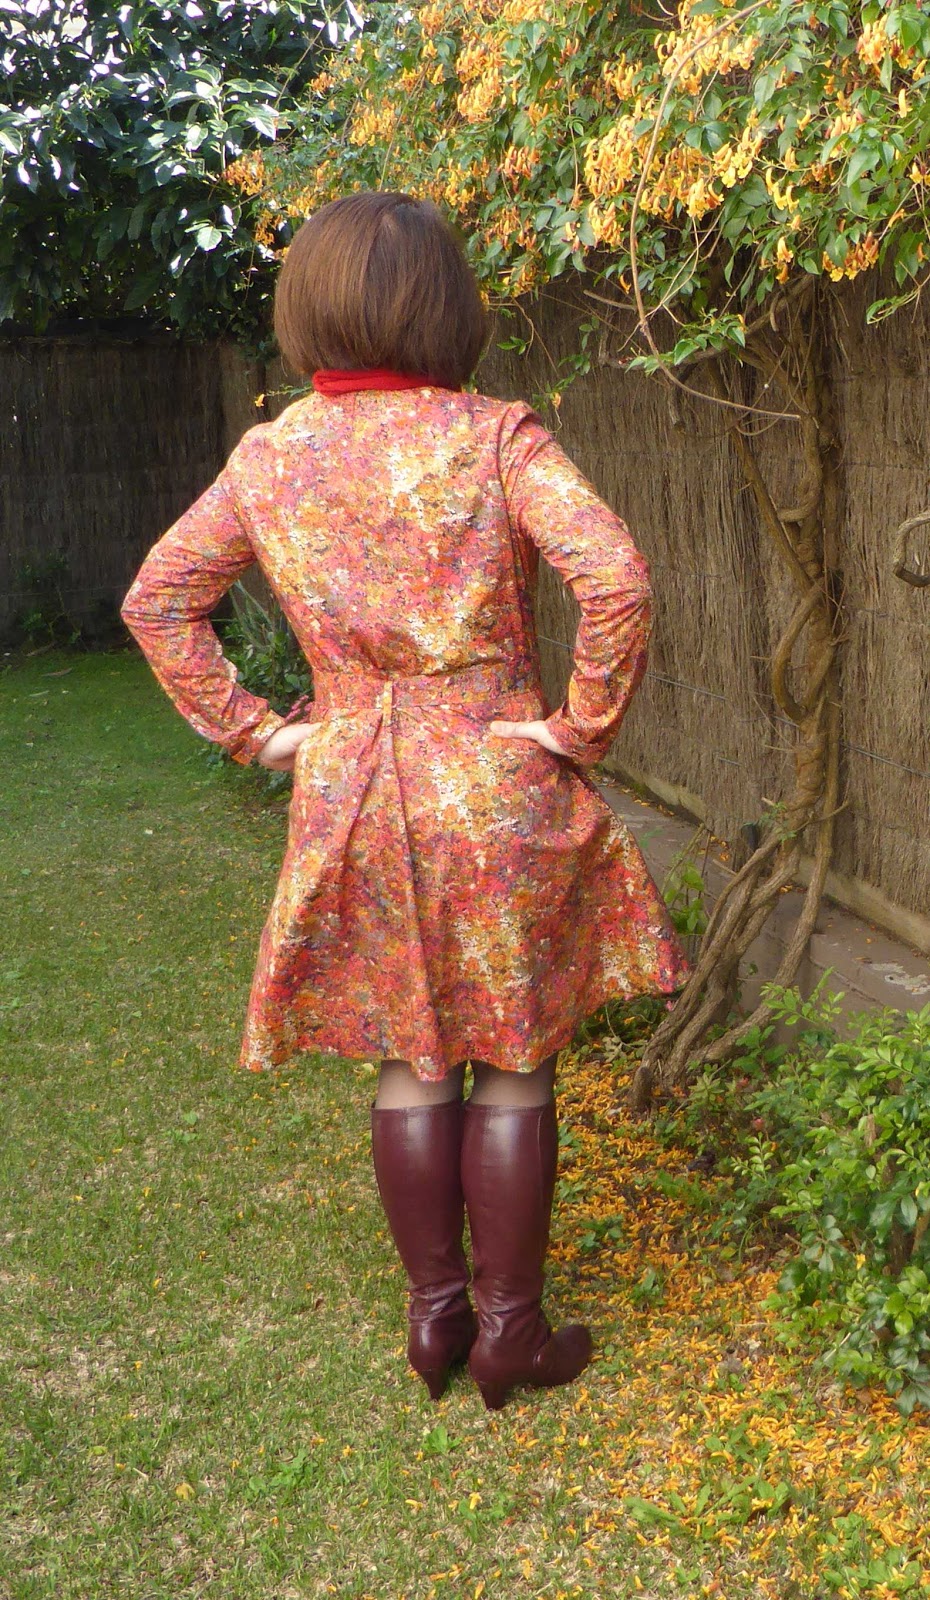
Because the fabric is cotton, I ironed the front pleats from the waist to the hem. The skirt of this coat now sits better on me and is more balanced for my height.
The coat facings are interfaced.

The pocket openings are also interfaced because I use coat pockets a lot, so I felt it worth the effort to reinforce them.
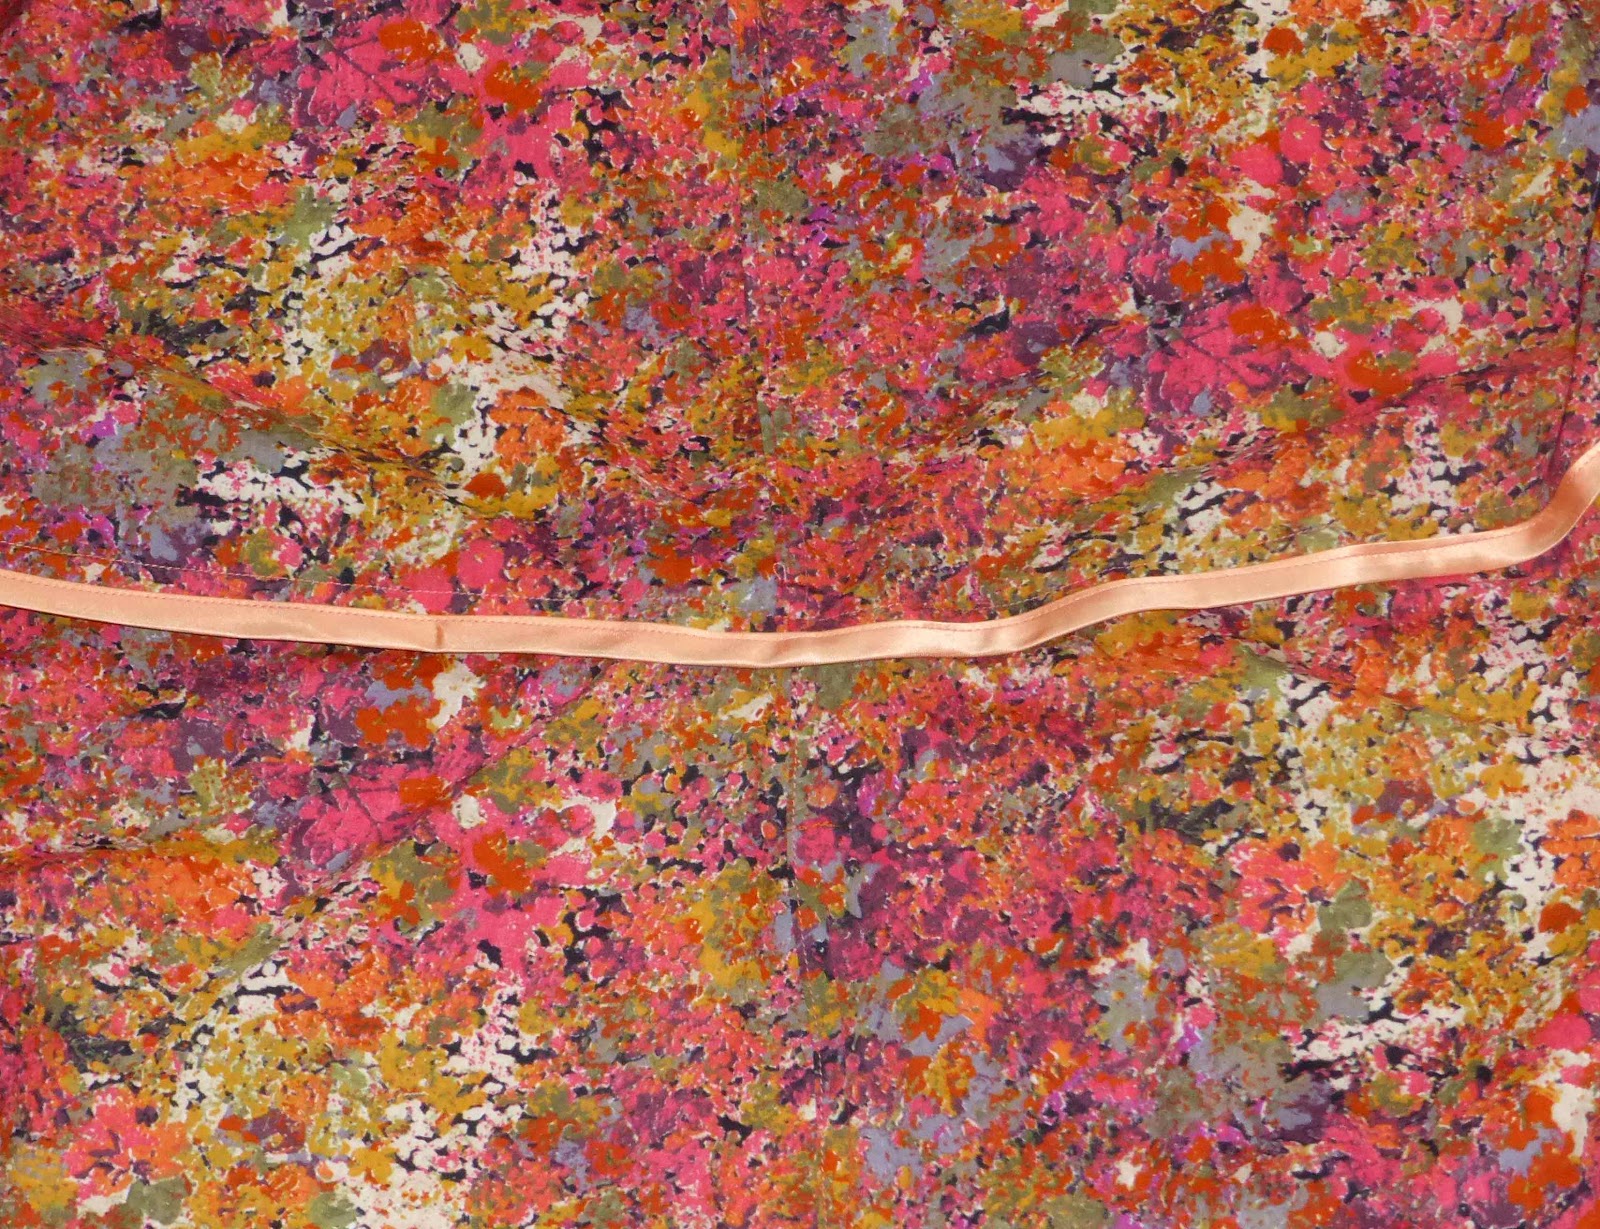
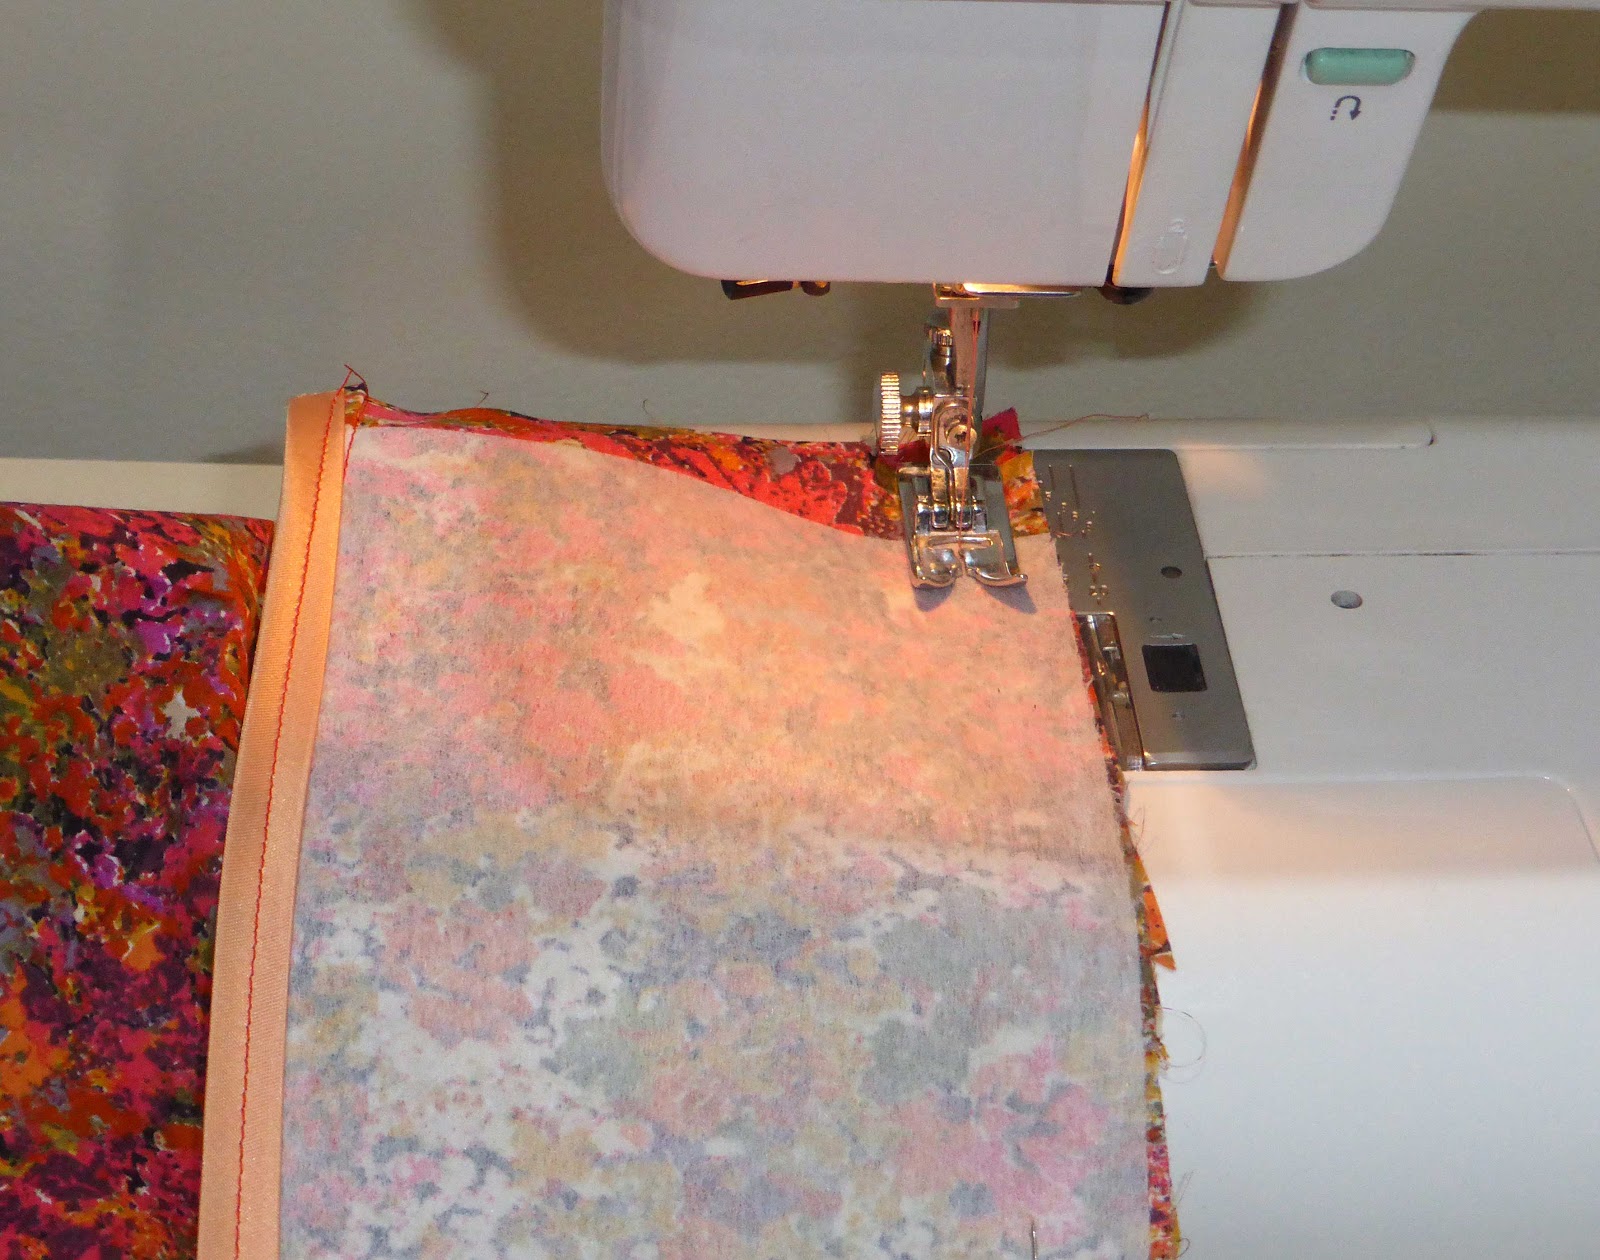
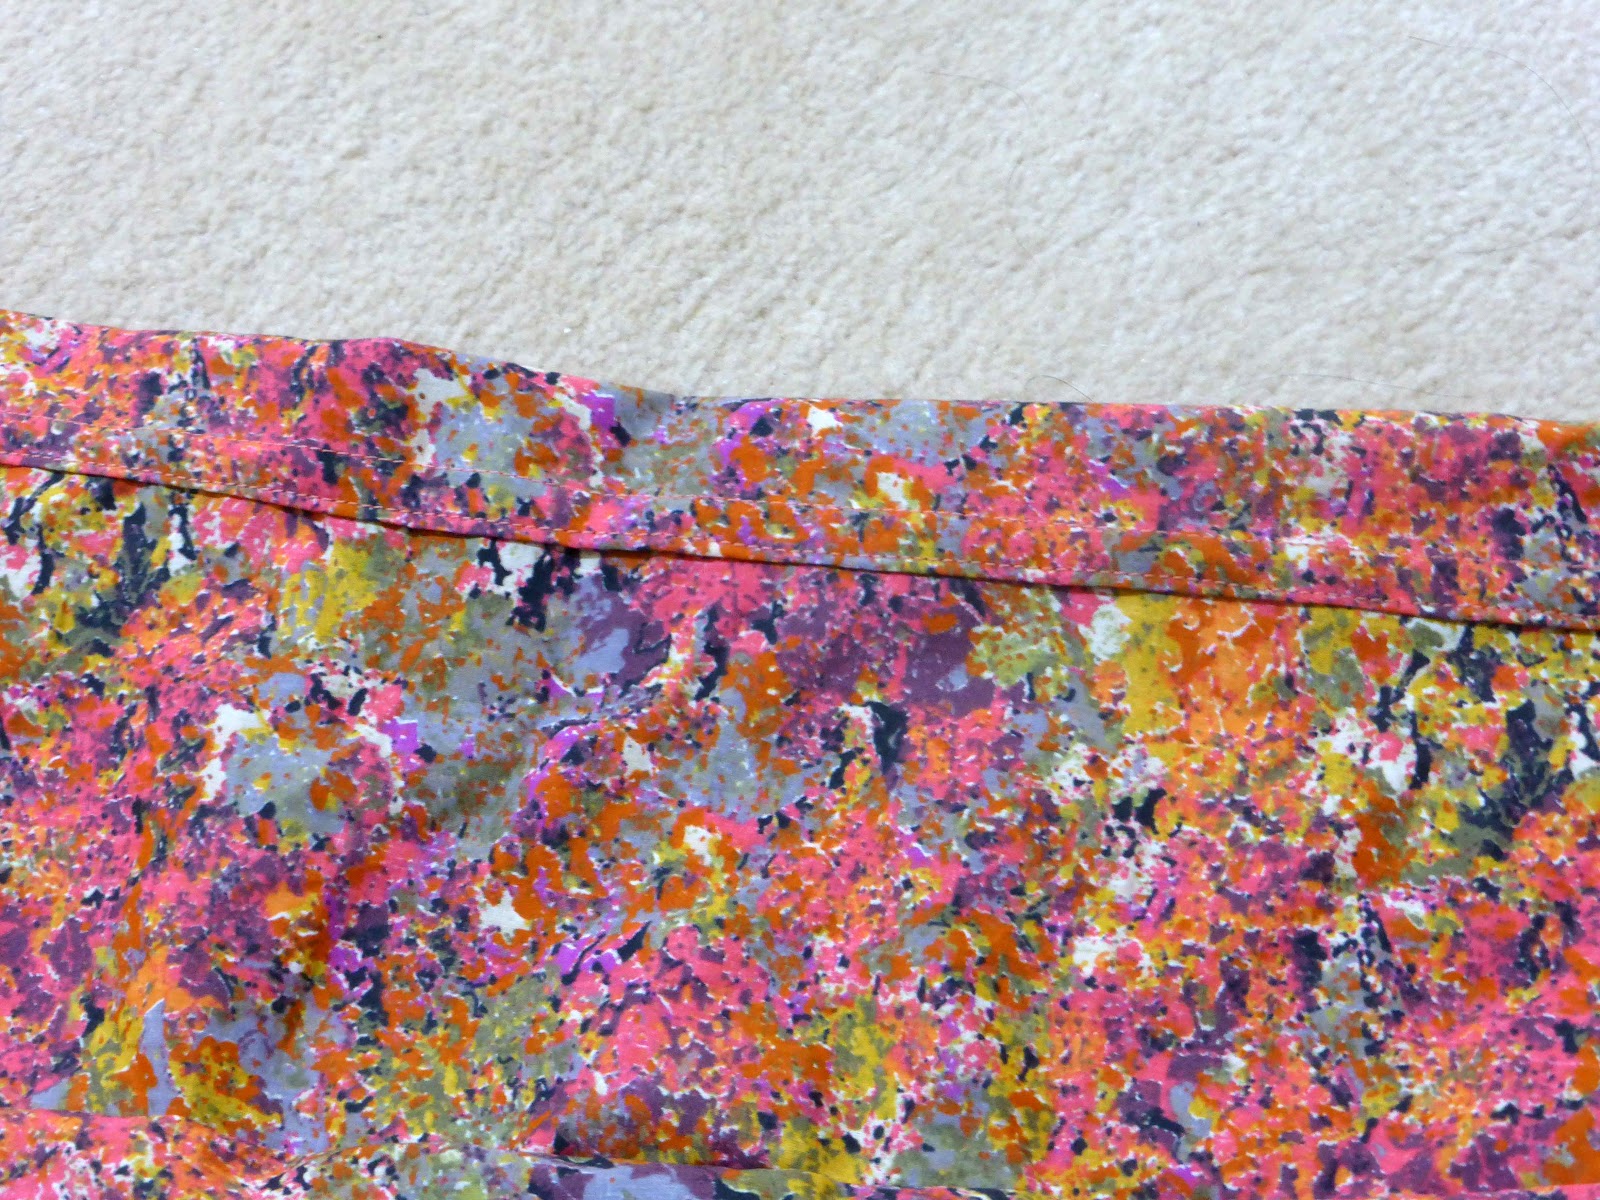
I used bias binding to finish the pocket seams, facings and the waist join.
As the coat came together I kept thinking this trench coat could be a fab wrap dress. Is that crazy? The front bodice has bust darts and all you’d need are a couple of snaps at the waistline and ‘bam‘, there’s your wrap dress.
Construction:
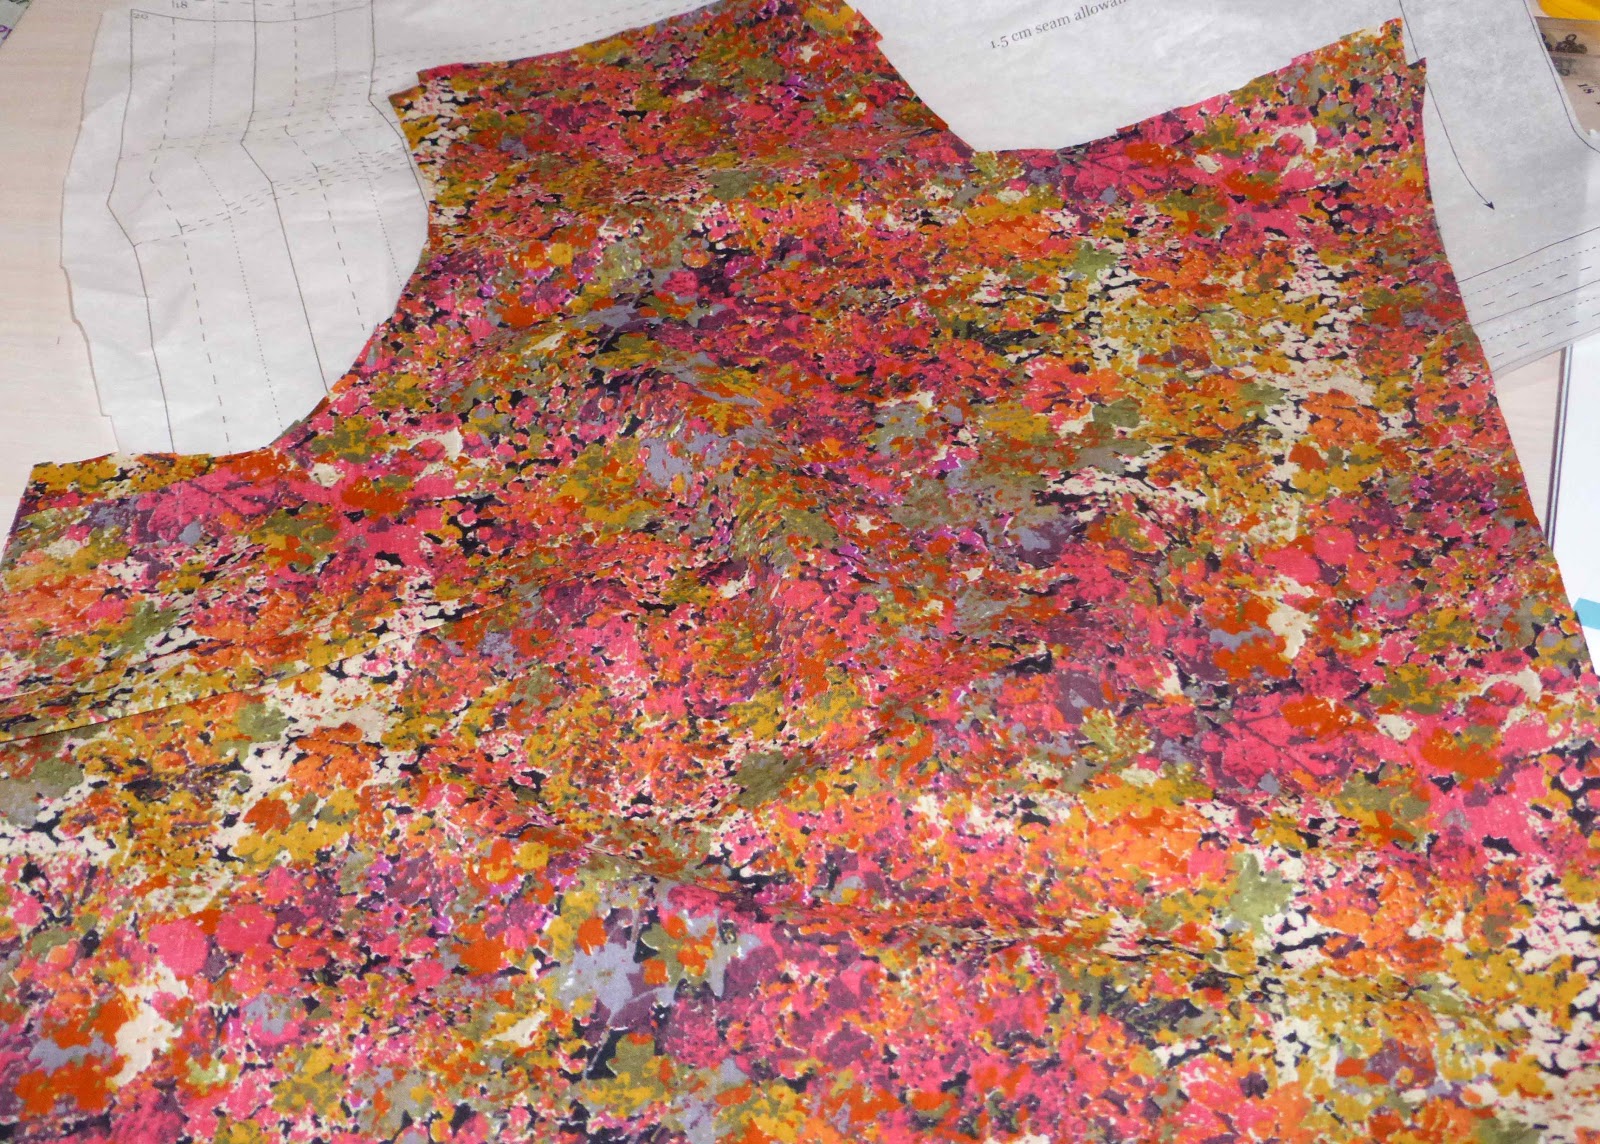
1. Mark and sew in bust darts in front bodice pieces.

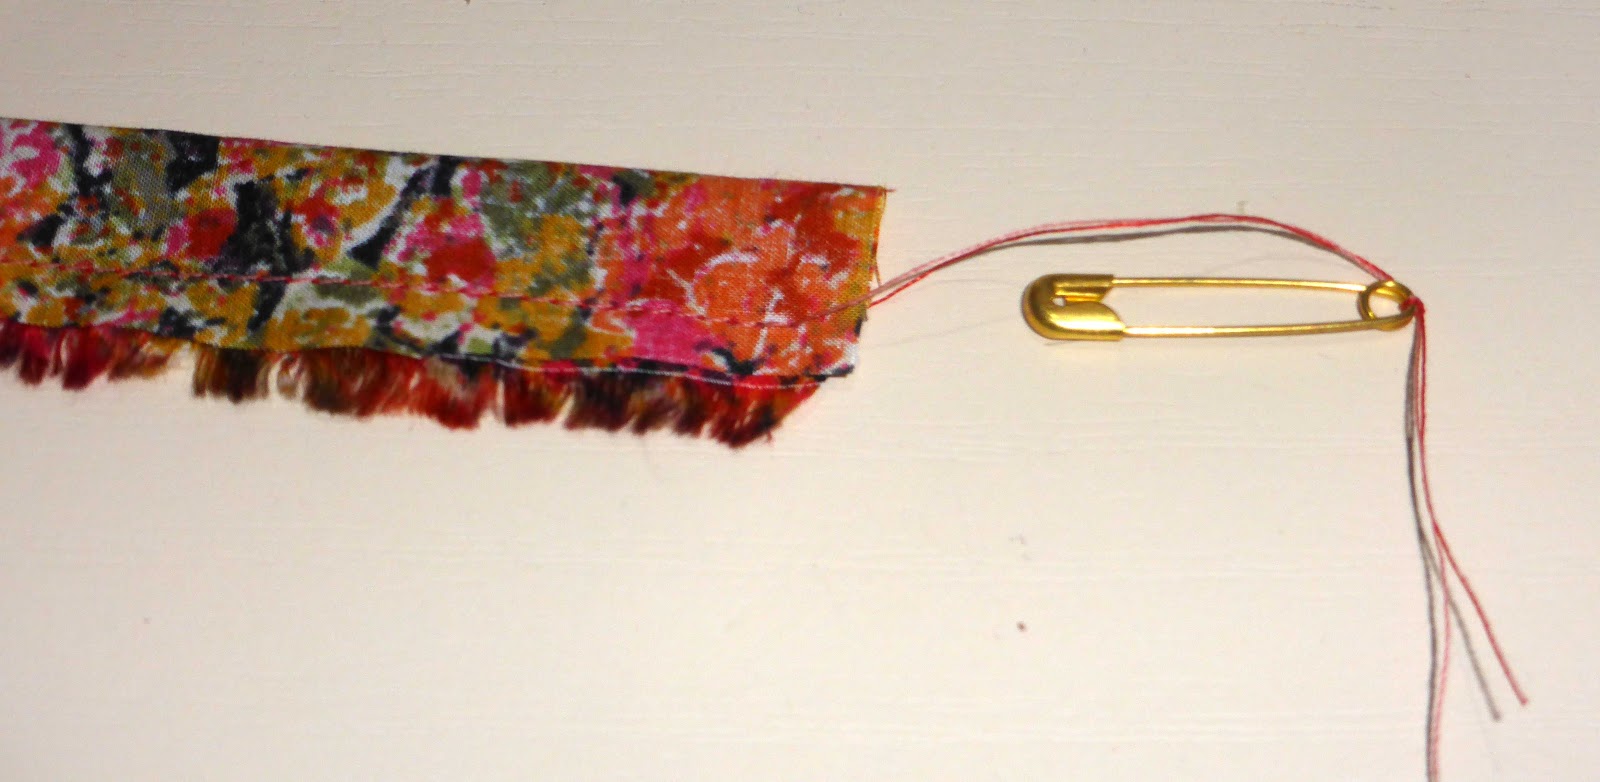
2. Sew in a know and thread at end of dart, do not back stitch. Press dart downwards.
3. Right sides together, join back bodice pieces together. Press seam open. I used fake machine felled seams to reinforce this fabric.

4. Join and sew front and back bodice together at the shoulders. Press seams open or finish using fake machine felled finish. Join and sew front and back side seams. Press seams open and finish them.
5. Join back skirt pieces together and sew at the centre back seam.
6. Press open. I finished this seam with fake machine felled finish.
7. Take two pocket pieces and with right sides together sew them where the pocket markings should be. I finished the pocket seams with fake machine felling.
My pattern didn’t have the pocket markings on the back skirt pattern so I traced off this marking from the front skirt pocket markings. Claire knows about this issue and the pocket markings will be on the next print run of this pattern.
8. Moving onto the from skirt pieces and mark in your pleats along the skirt waist. Hand tack or pin them in place. Claire recommends hand tacking and pressing them in.

My fabric was a cotton so I was able to simply use pins and the iron. The fabric is great to work with.
8a. On the right side of the fabric, machine stitch the pleats in place and press them.
I pressed my pleats from the waist to the hem.


9. Take two pocket pieces and with right sides together sew them where the pocket markings are. Make sure these pockets align with the bottom pocket piece.
I finished the pocket seams with fake machine felling.
10. Pin your front skirt in place on top of the back skirt with right sides together. Match up the opening of the pockets.
11. Stitch from the top of waist to the start of the pocket opening. Back stitch and cut thread. Start stitching again from the bottom of the pocket opening all the way down to the hem. Press the seam open. Now stitch all the way around the curve of the pocket. You can overlock or zigzag stitch the pocket curves. I used bias binding for a neater look.

12. Your coat skirt will look like a wrap skirt.

13. With right sides together, join and sew the skirt and bodice together, aligning the side seams. Press open. I finished the seams with bias binding.
14. With right sides together, join back neck facing to front facing. Press seams open. I finished the seams with bias binding.

15. With right sides together, pin the facing onto the coat and stitch it in place all the way around from one hem to the other. The seam allowance here is 1cm.
Press seams open. Snip around the neckline curves. Then turn facing inside the coat and press flat.
16. With right sides together, attach and sew under-sleeve to top-sleeve. Press sleeve seam open. I finished the seams with fake machine felling. Attach remaining side of the under-sleeve to the remaining side of the top-sleeve. I did a french seam here. Turn up the sleeve hem, press and stitch in place.
17. Fit sleeve head into armhole right sides together and ease sleeve in to fit. The seam allowance here is 1cm. Stitch in place. Press.

I finished the seams with bias binding.

18. Right sides together, join belt pieces together. Start sewing from one side and sew all the way around, leaving a turning opening along one side. Turn through to right sides, press and the slip-stitch the opening closed. I machine finished this opening.

Fold the edges of the belt loops flat, top stitch the edges down carefully and then machine stitch the first side onto your coat right side together where marked on the pattern.

19. Turn up the hem all the way around, press flat and stitch in place.

While I like fitted styles, this wrap trench has a great shape to it.

Cheers and thanks Claire and White Tree Fabrics Uk for this coat.
