Yep. That’s what this post is about – making a bra from the store-bought bra I loved.
 |
| This is the second bra and it’s got all the kinks ironed out of the pattern pieces. |
I made this pink rose lace bra based on the black lace ‘zombie’ bra below.
 |
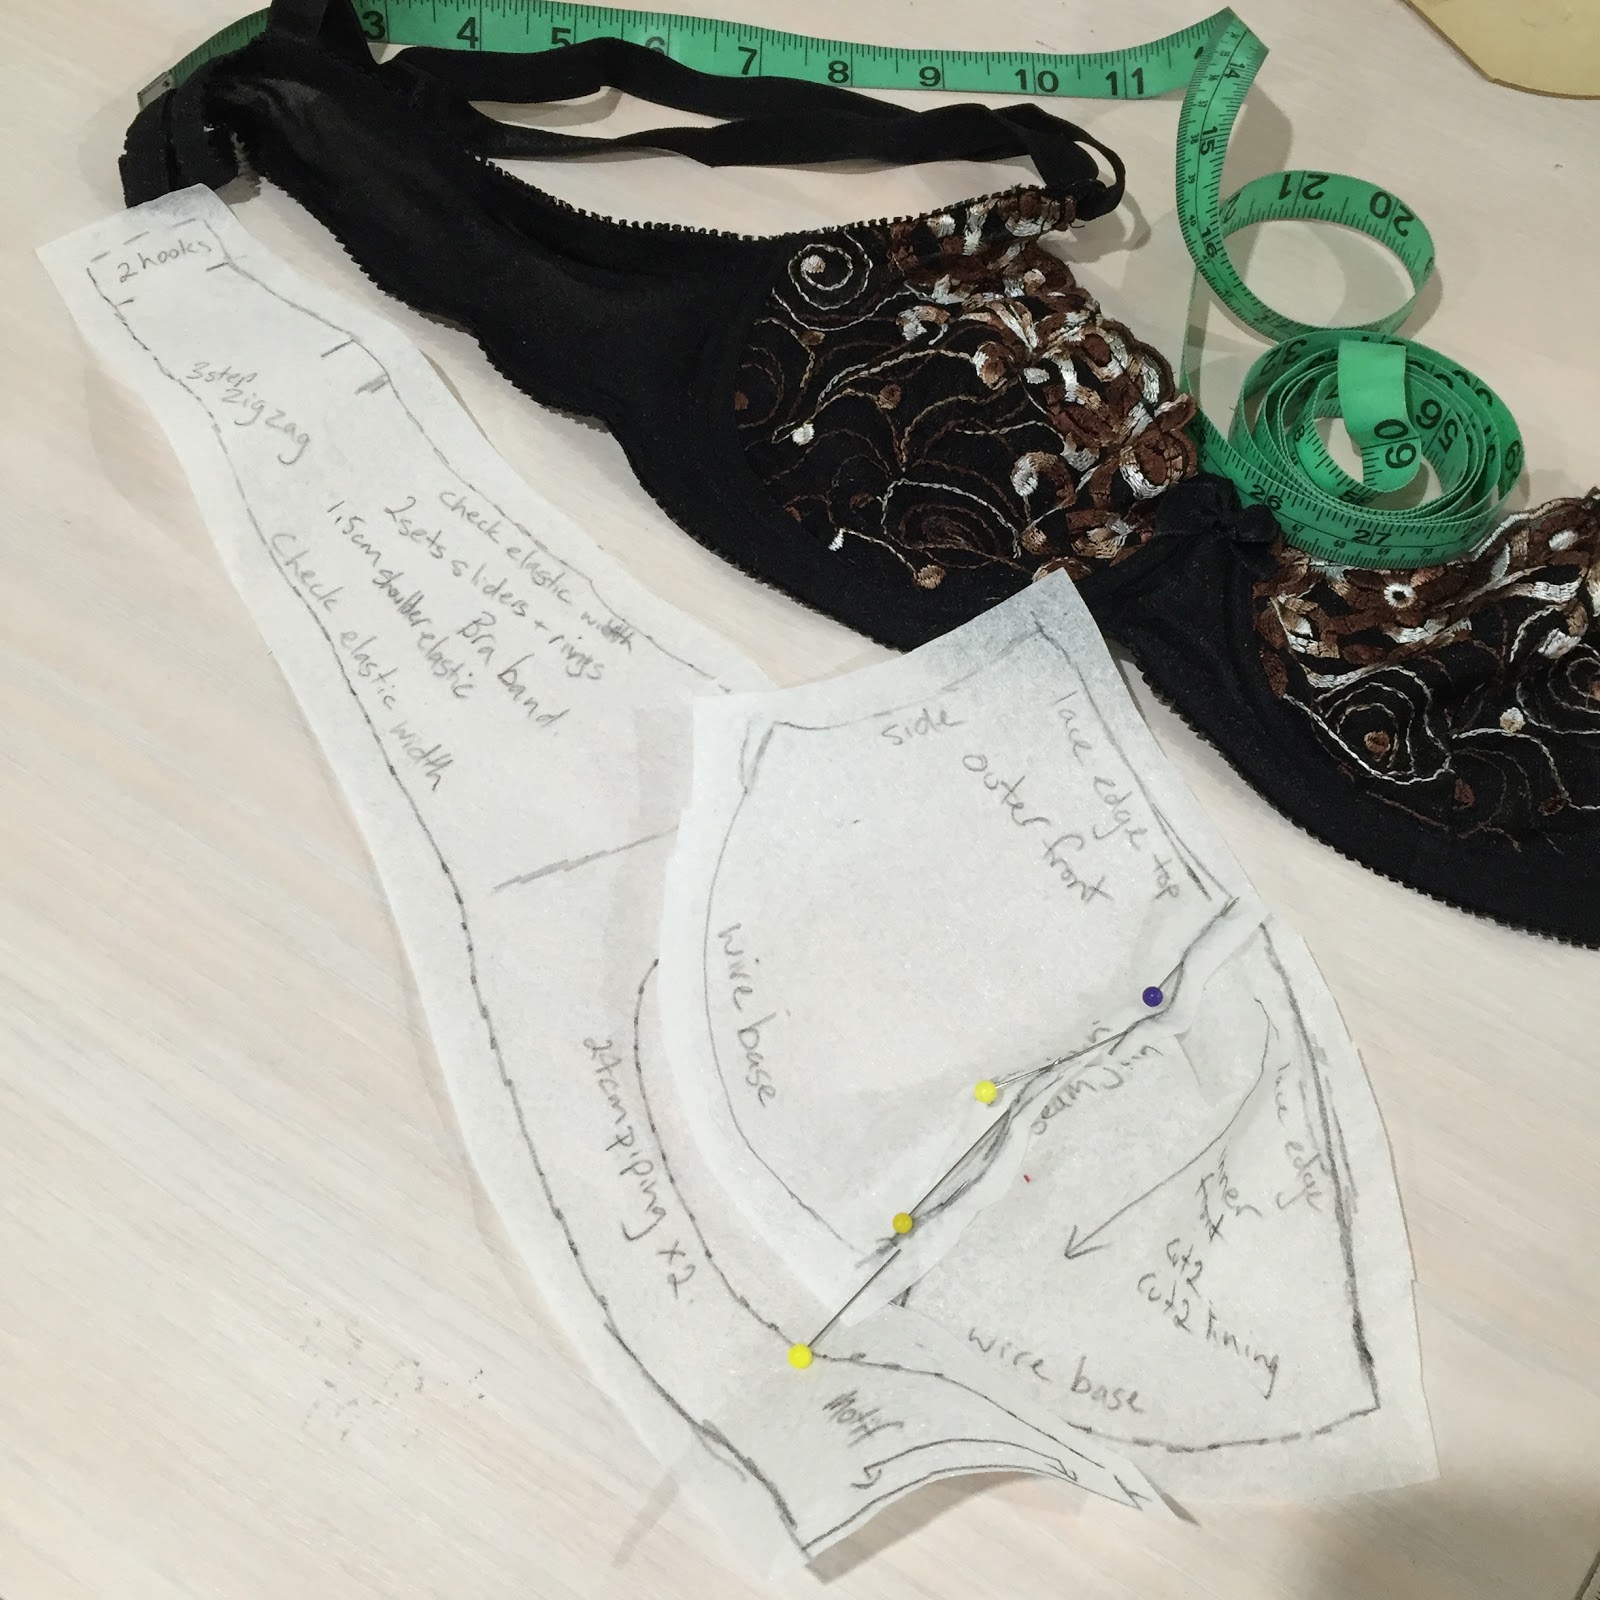
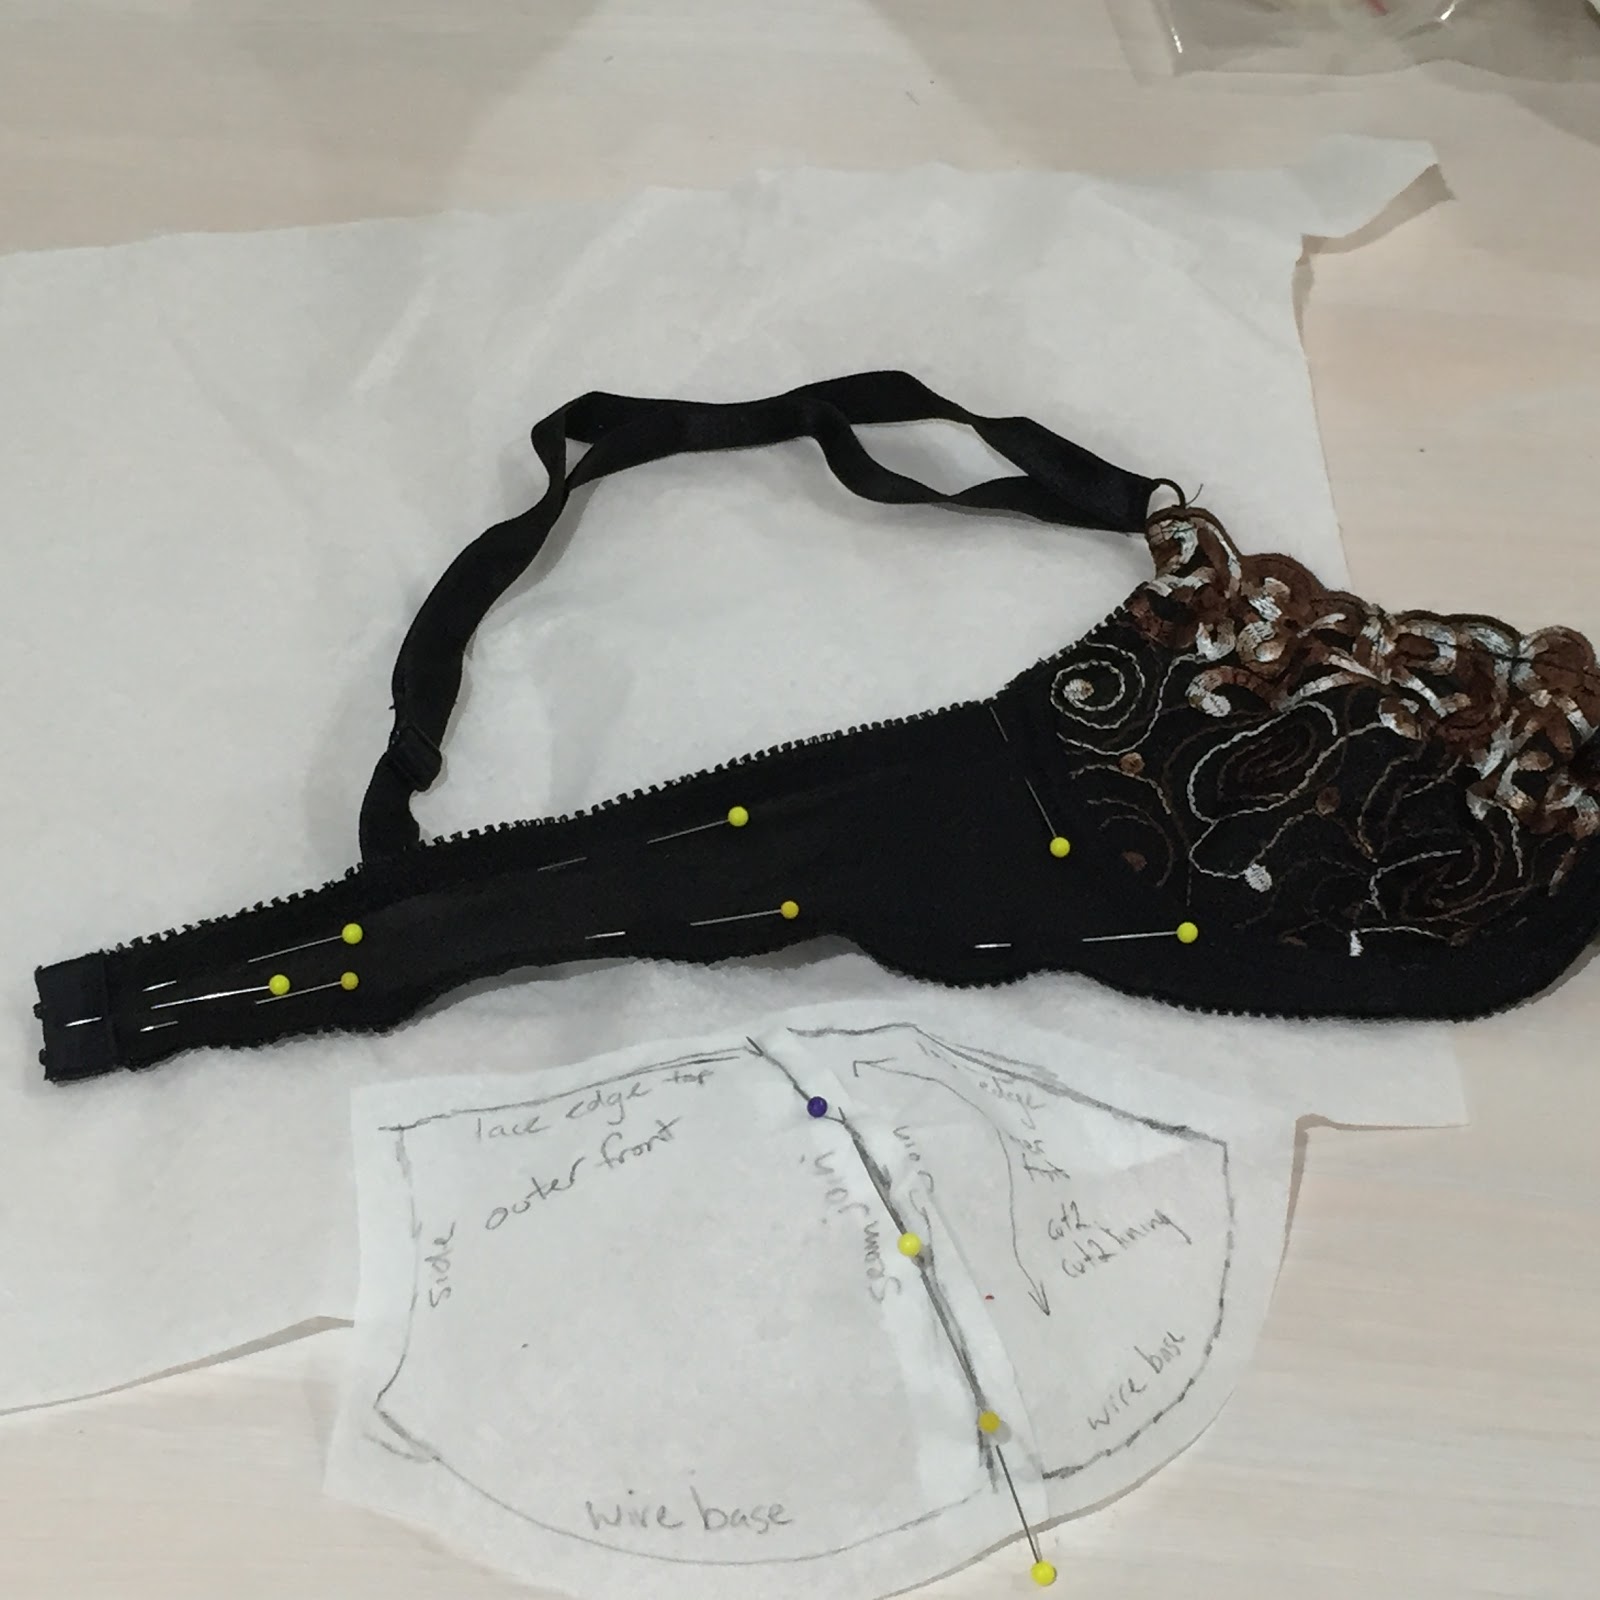
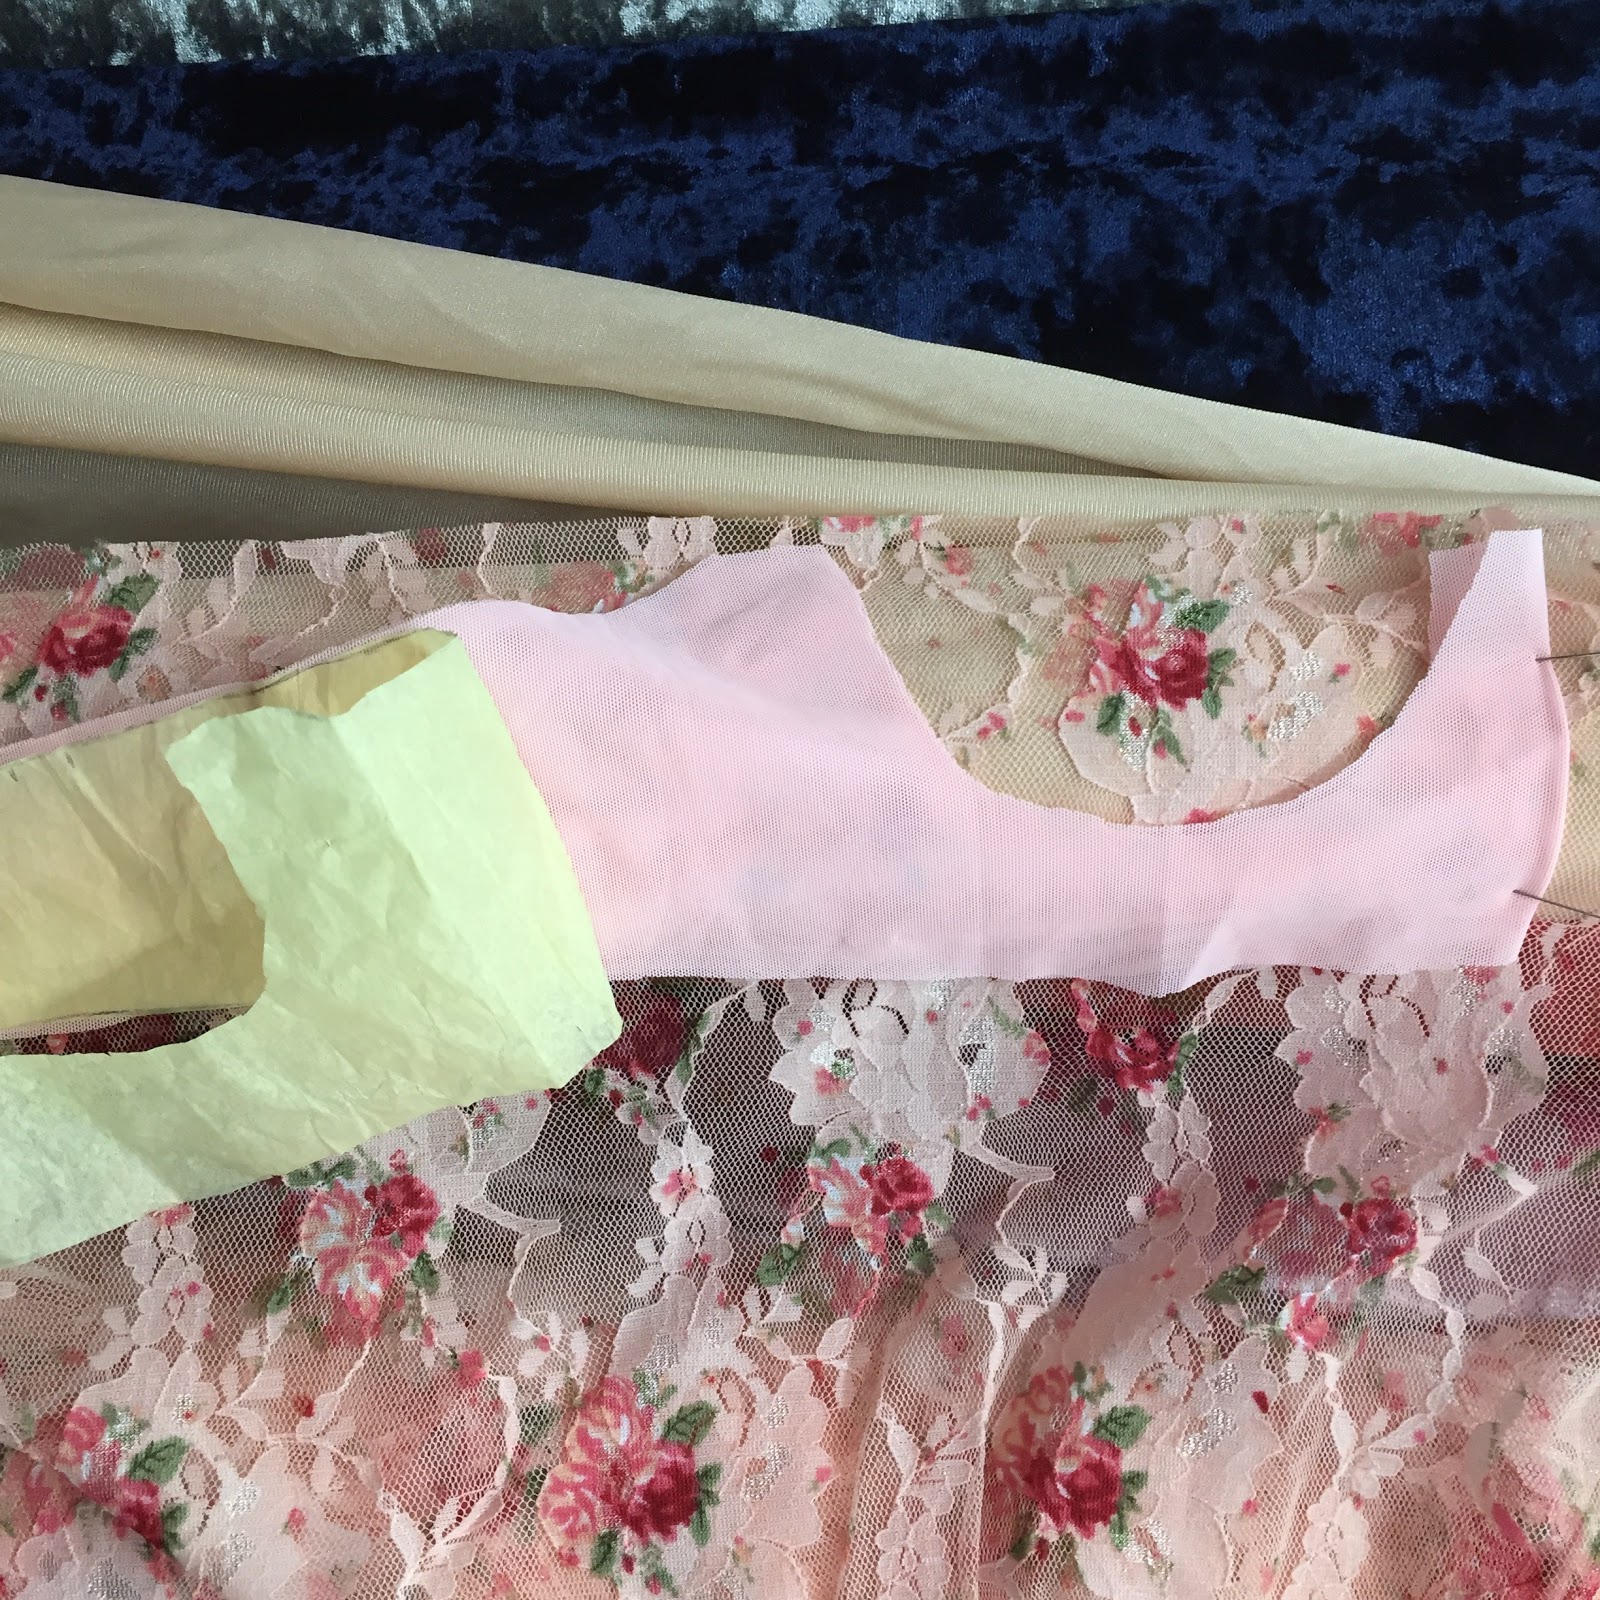
| These are the initial bra pieces from the black lace bra. |
Susan of Measure Twice Cut Once has a really good series of posts on her blog that you really should bookmark if you want to do this like a real professional.
 |
| You can see how I’ve pinned the bra to paper to trace it without unpicking it. |
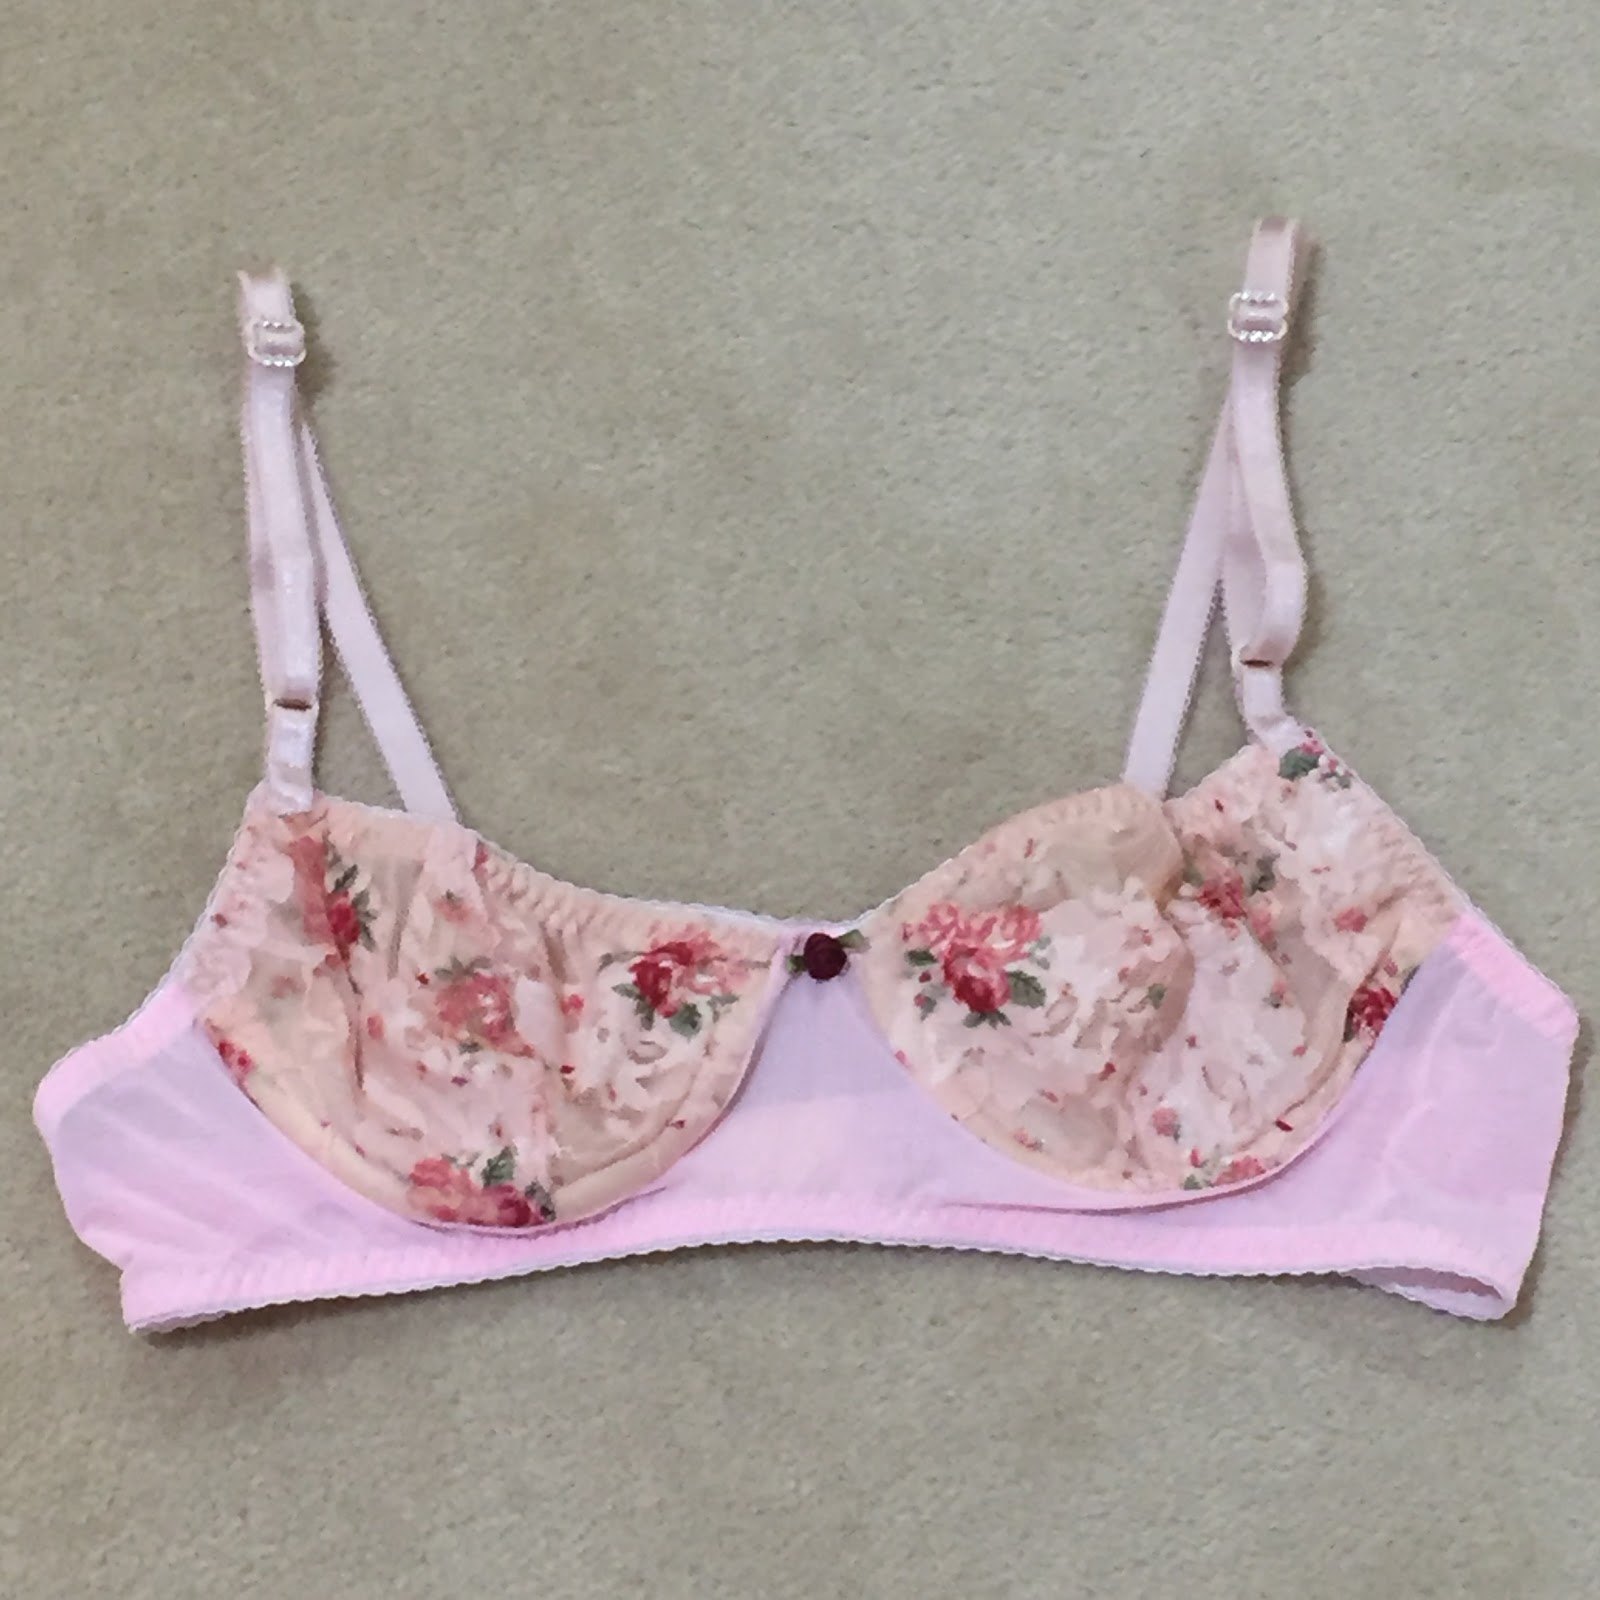
The first rose lace bra was the test bra and the second one is the ‘bra of success’.
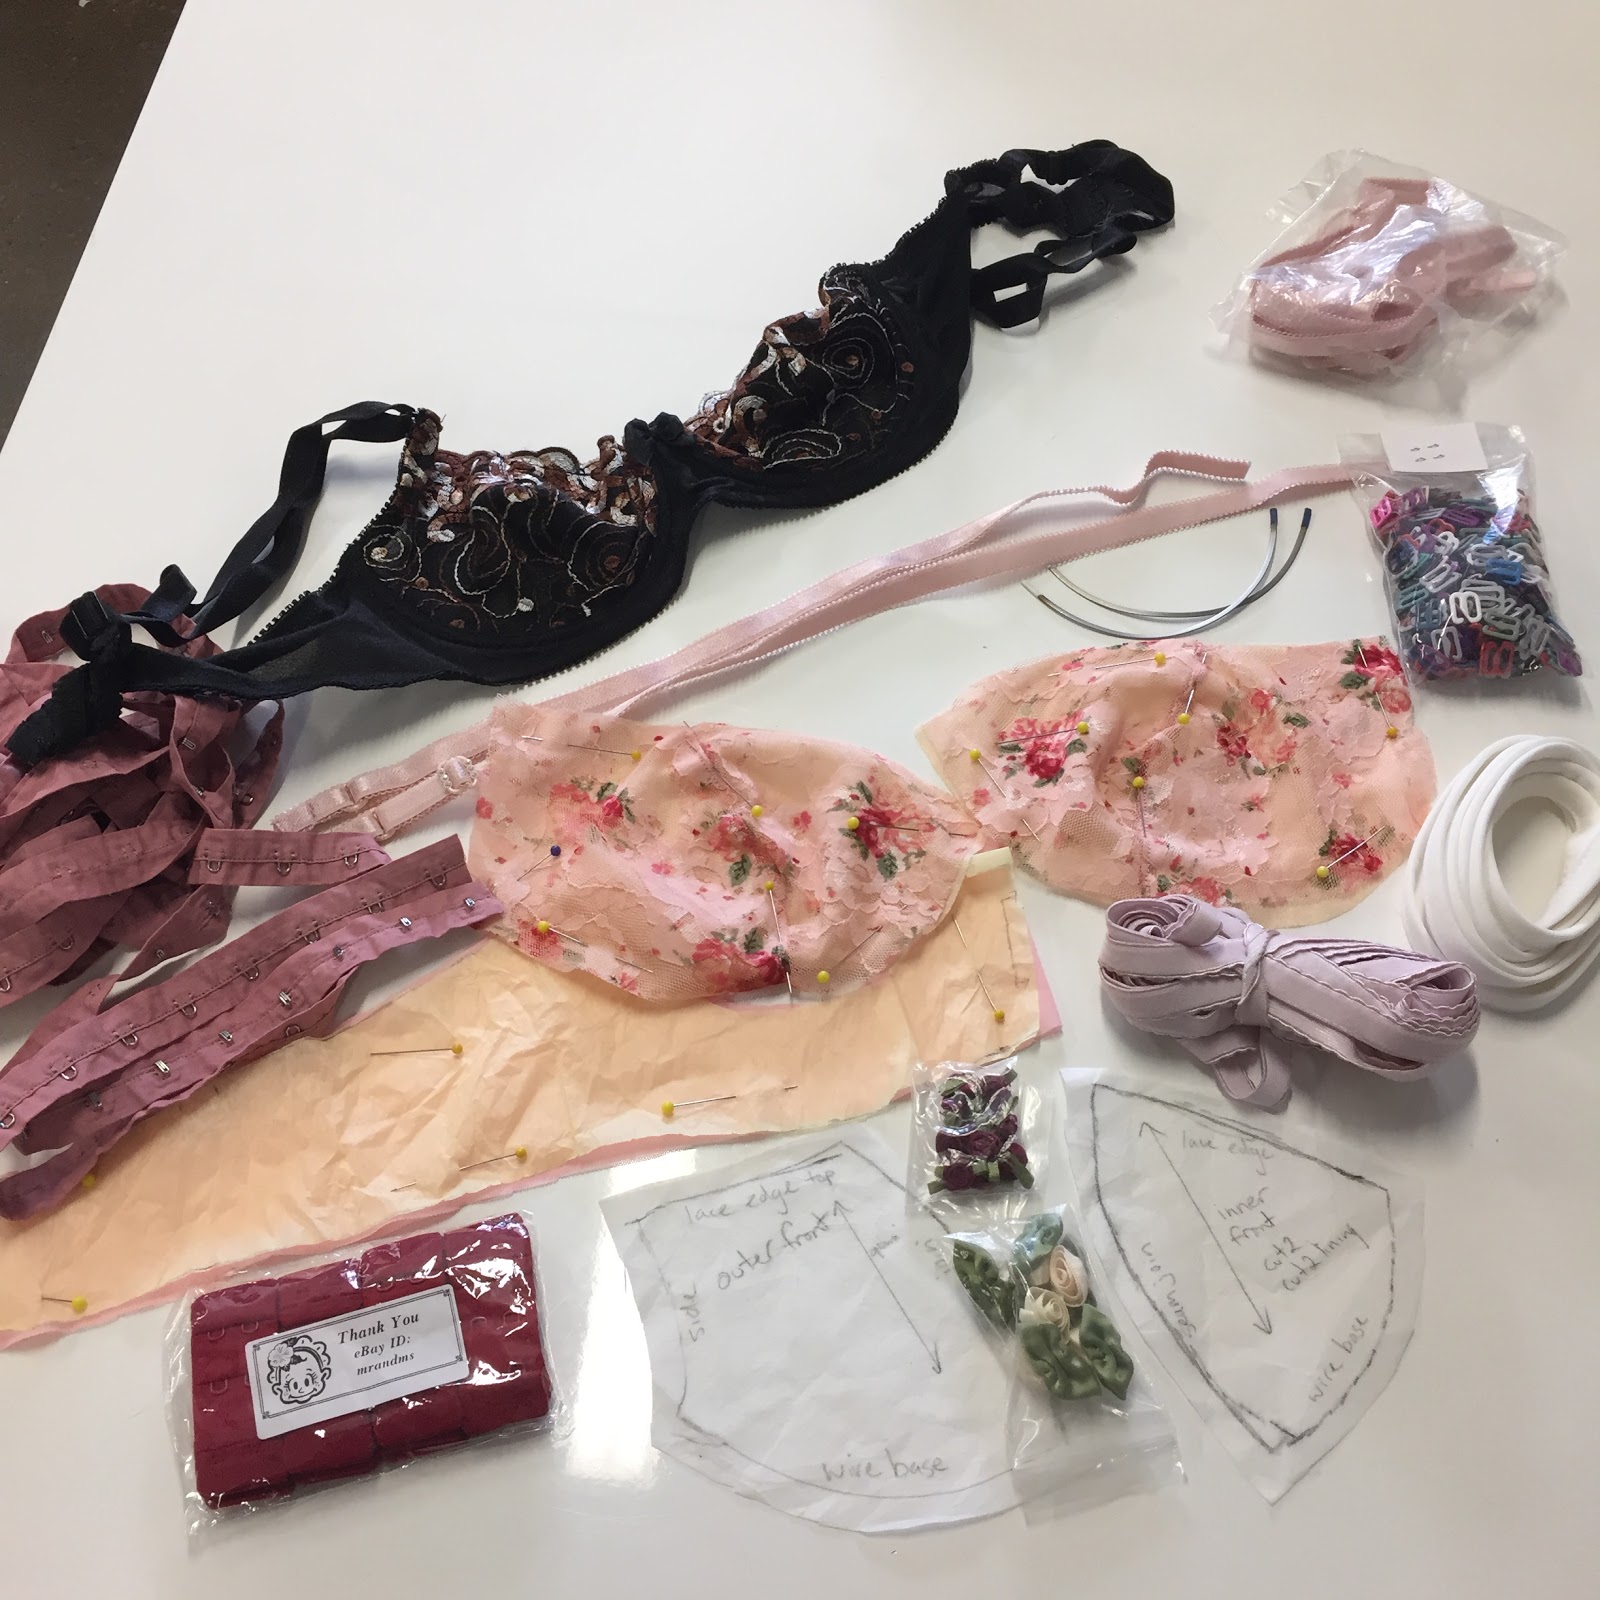
Notions list for two bras:
· Sliders and bra strapping or buy premade bra straps
· Lace for the bra cups
· Power mesh for the bra band
· Plush elastic
· Premade 2 hook fastener
· A floral motif or fine ribbon as your centre front ‘cake topping”
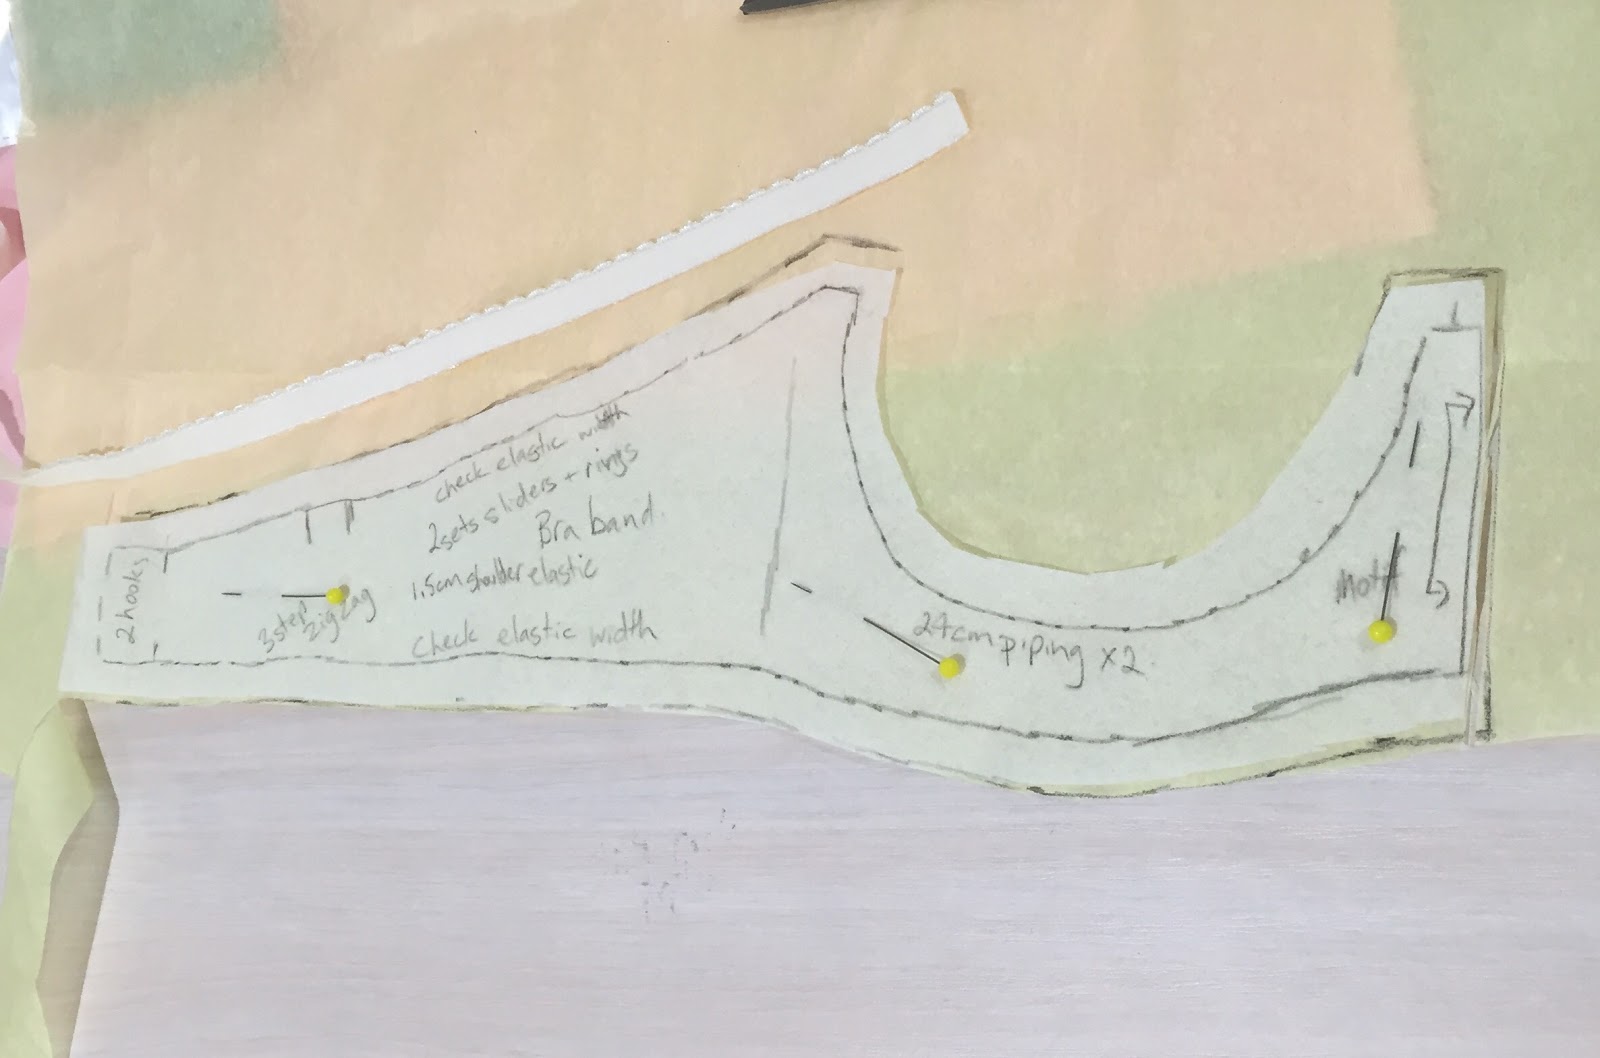
The bra band has all the notion and cutting instructions on it
This was the first lace option I thought about buying.
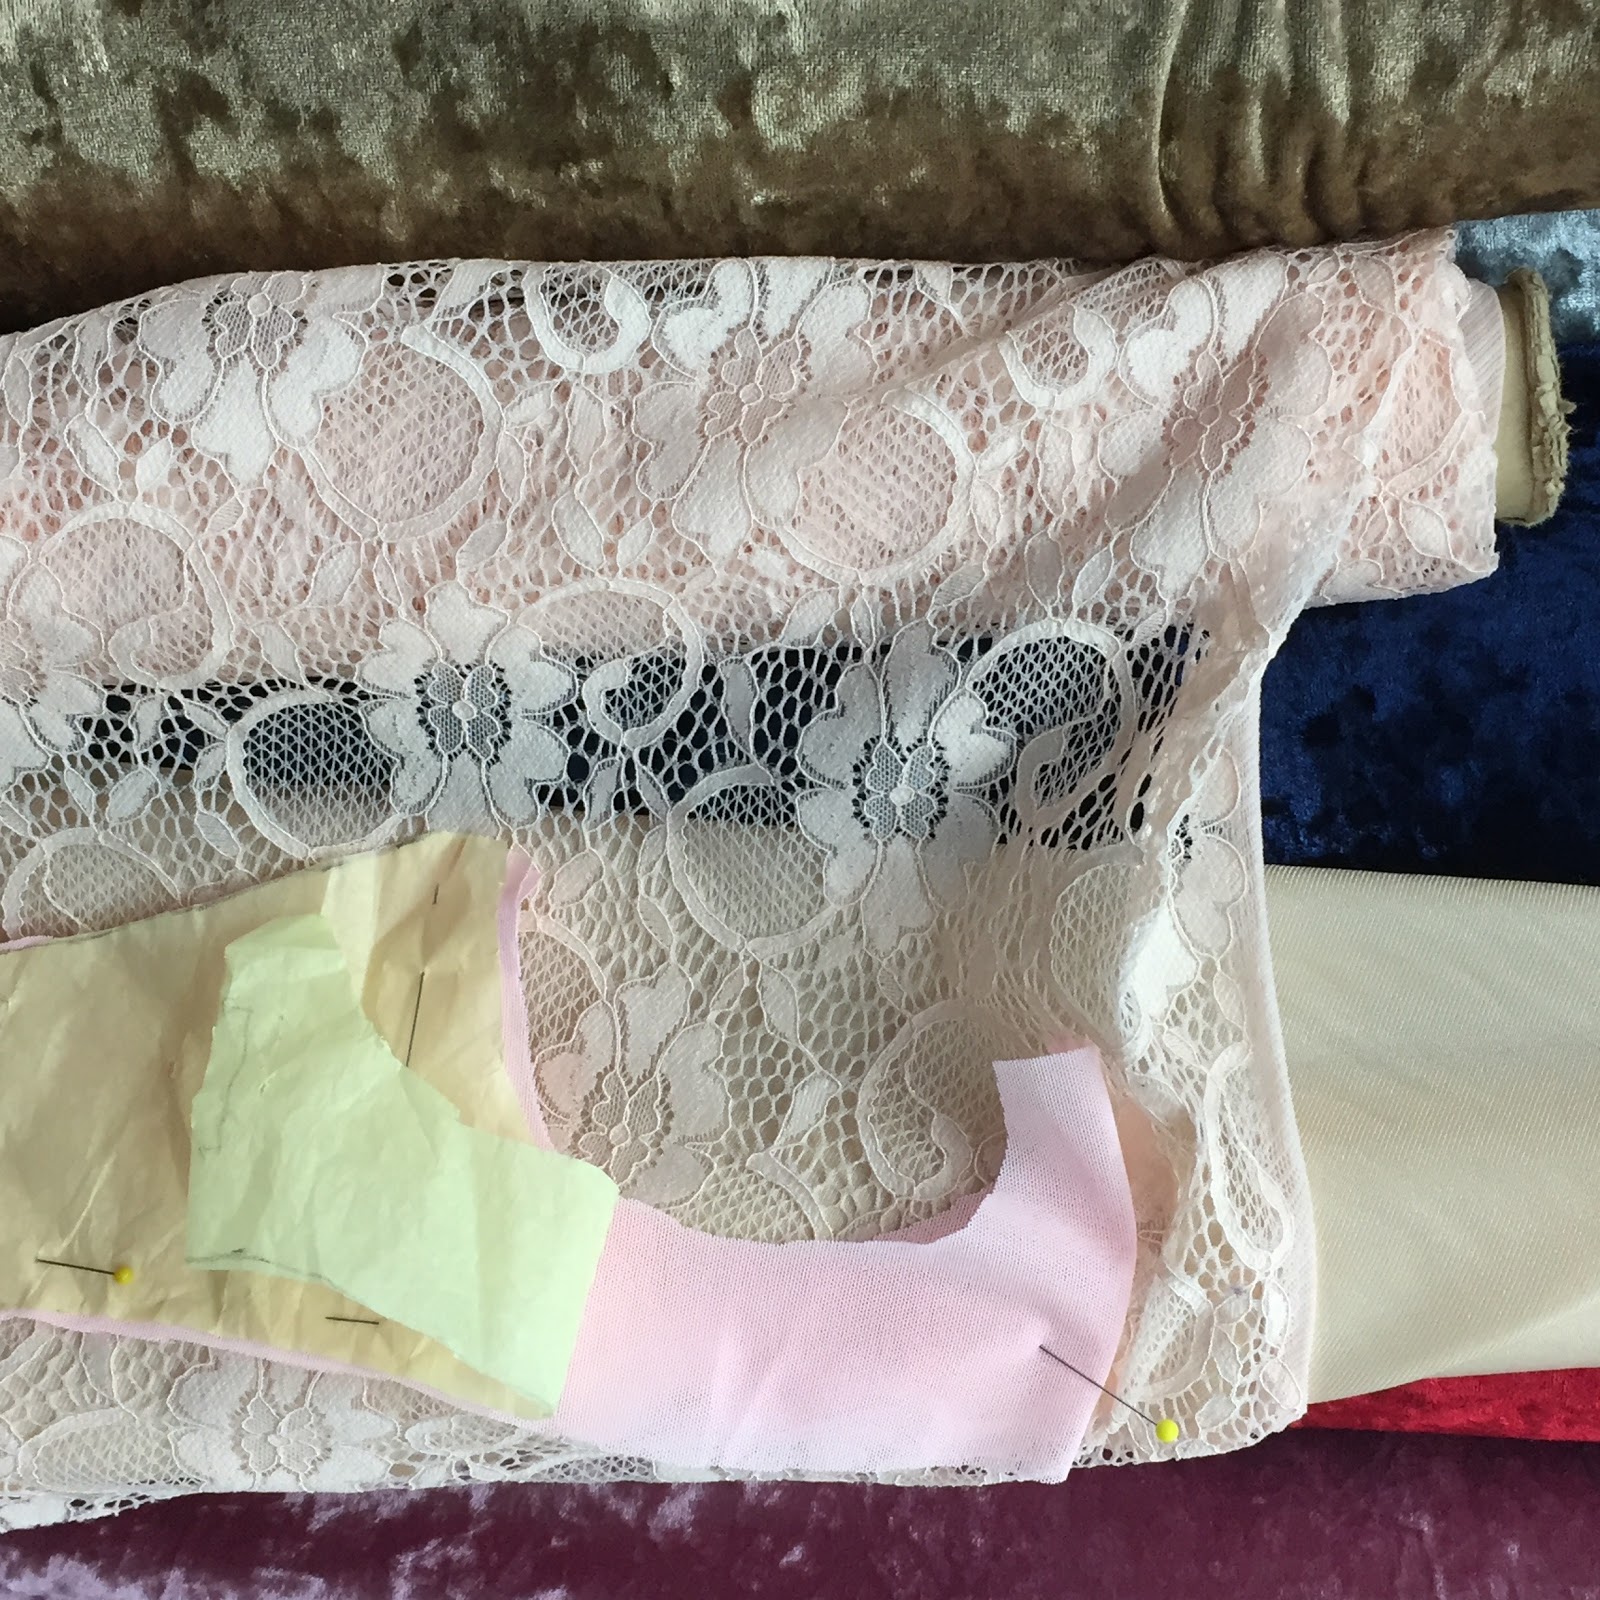
This rose lace mesh was my choice because you could see the flowers over the tricot layer.
These are all the bits and pieces I had to work with.
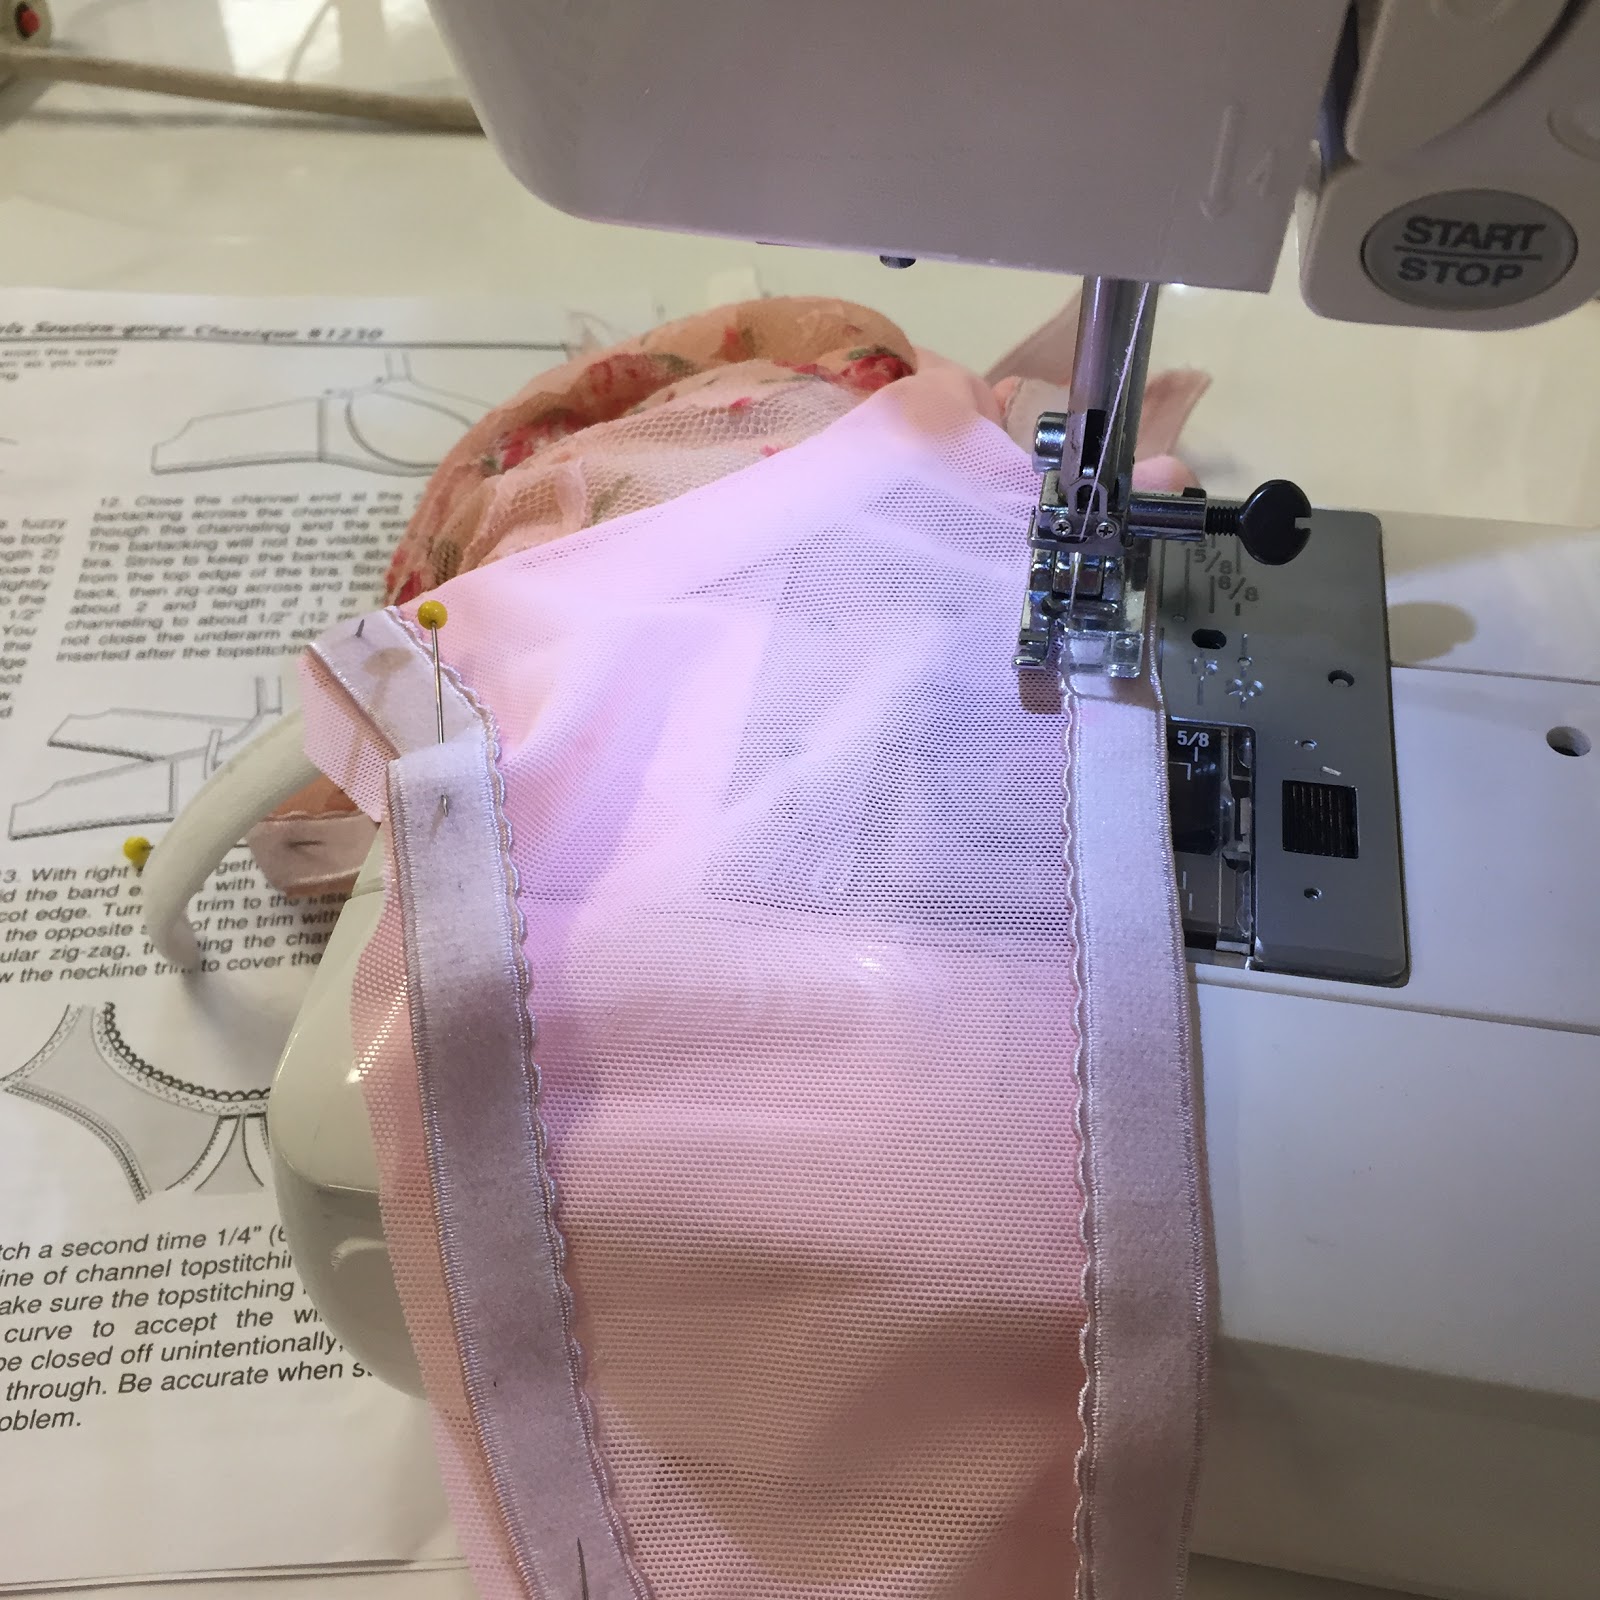
Beverly’s craftsy bra class suggests ironing the under wire casing into a curve before sewing it in.
Sewing the bra strap elastic works well using three step zig zag stitching.
Above is where I had to figure out if the bra band matched the hook size. The plush elastic I used added width to the band so I had to adjust the back bra band to work with the hook fasteners I had on hand.
Here’s the final test bra with pre-made straps.
Below are the construction steps I’ve made for myself that I’m happy for you to use.
Construction steps:
Step 1: Pin tracing paper to each bra piece and roughly draw the pattern shapes #wingedit
Step 2: Add 6mm seams on all pieces and mark the grainline, if you can figure out where it is #wingedit
Step 3: Keep the zombie bra with you while you follow pattern instructions from a similar pattern. I used Beverly Johnson’s Pin Up Girls pattern that I bought from Sarah of Sew Squirrel.
Step 4: Take a deep breath and make up the first bra.
Step 5: Try it on and then adjust the pattern pieces.
Step 6: Cut out and make up your ‘bra of success’.
Caveat: If you ask your partner what they think of your first test bra, their smile and lack of words will indicate they’re your partner for life…and that’s all I’m saying.
Want to make a matching set?
Make sure you buy enough lace for to sew up 2 ‘bottoms’ of your choosing, as well as cotton lining and matching elastic and follow the same steps.


