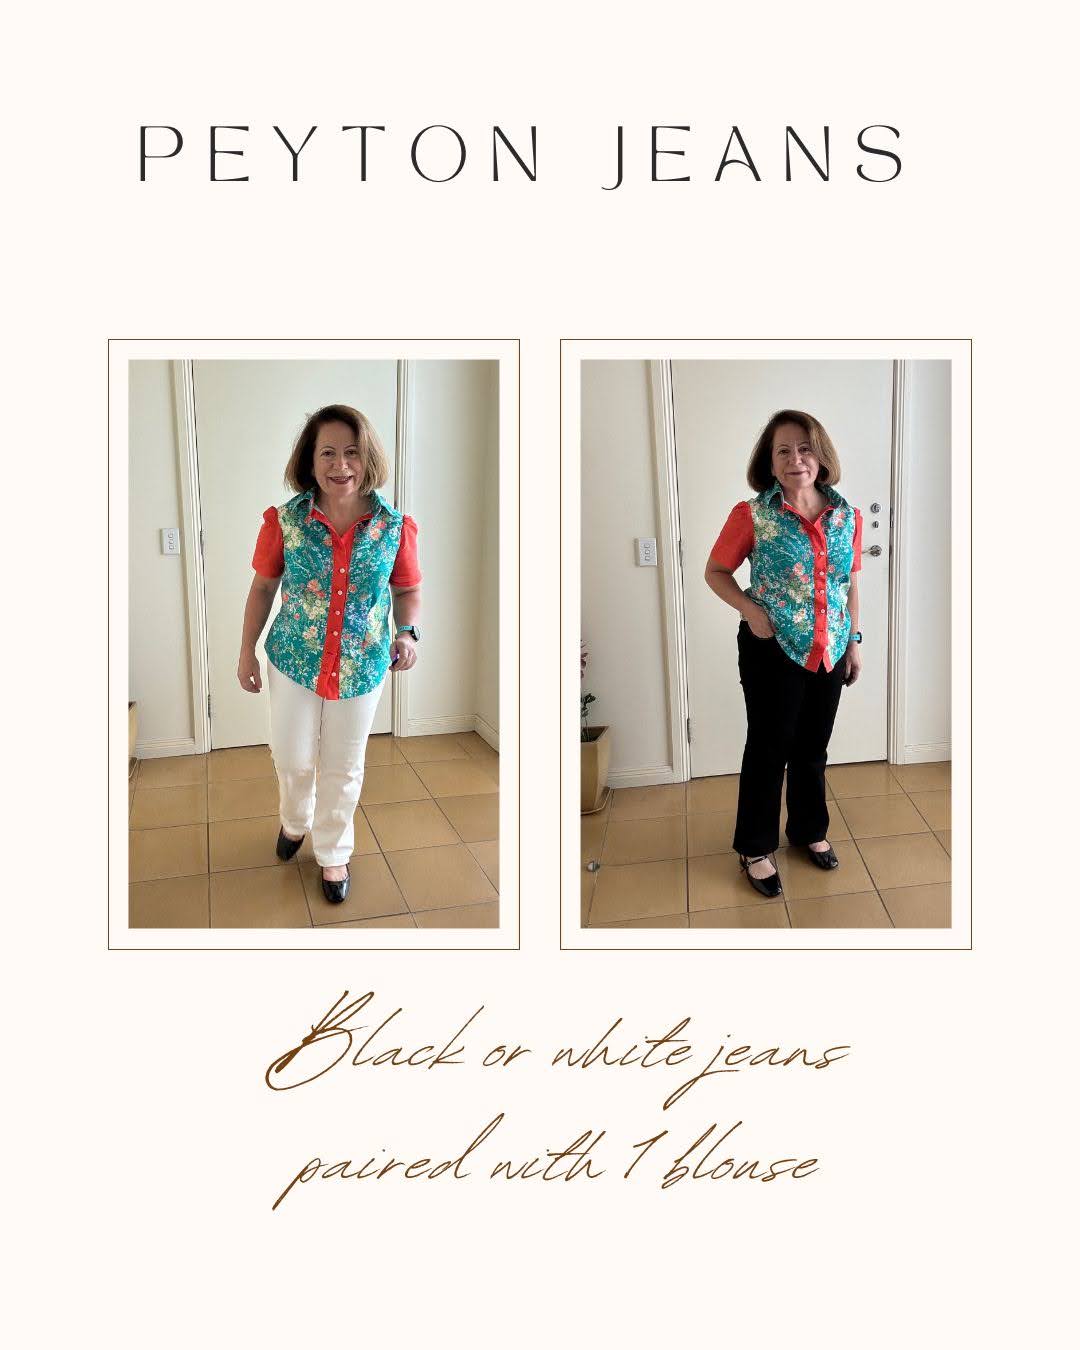
Black or white?
Ann of Designer Stitch patterns published her latest pattern – Peyton Jeans.
There were a few pieces of stretch denim in my stash and this was ‘the’ time to sew them. The white denim was a Super Cheap Fabrics online purchase from a while ago.


Of course there was also the issue of making sure the tops I’d sewn this Summer got some jeans to pair them with.
Peyton Jeans are designed for curves.
Narrow leg, boot or flared leg styles are available including 3 back pocket styles.
The shirt details
In this post you can see I’m wearing the black jeans and white jeans with a shirt using Spring Garden print from Minerva’s Bower. I didn’t buy enough of this great print at the time so I used a red/orange silk that was in my stash for the sleeves, and button placket.

This shirt/dress pattern is my fav, McCalls 5433 The first time I sewed this pattern was in 2010. Have you noticed the shirtdresses in ready to wear this Summer? Lots of style inspo.
I did buy a bit more the Spring Garden print month when Minerva’s Bower had a birthday sale. But that was after sewing up McCalls 5433.
Below you can see this print on my sewing table with a few more projects underway. That green linen is one I bought from Minerva’s Bower last year at Blue Mountains Frocktails.

Interfacing details
The other thing I used was Vlieseline G 785 for the collar and button placket.

I used the white version so the fabric colour stayed vibrant and firm for these parts of the shirt. The white version is great for Summer fabric colours.
It comes in black and that will interfacing will get used once I start sewing Winter fabrics.
You’ll be reading more about the interfacings I’ve now got to road test.
Thanks to Aussie wholesalers The Shann Group for bringing in Prym, Freudenberg and Mettler products recently.


If you’ve been attending any Australian Frocktails, you would have noticed the Shann Group has been donating prizes to the groups that organise these sewing events. They love helping people who sew to sew with great products.
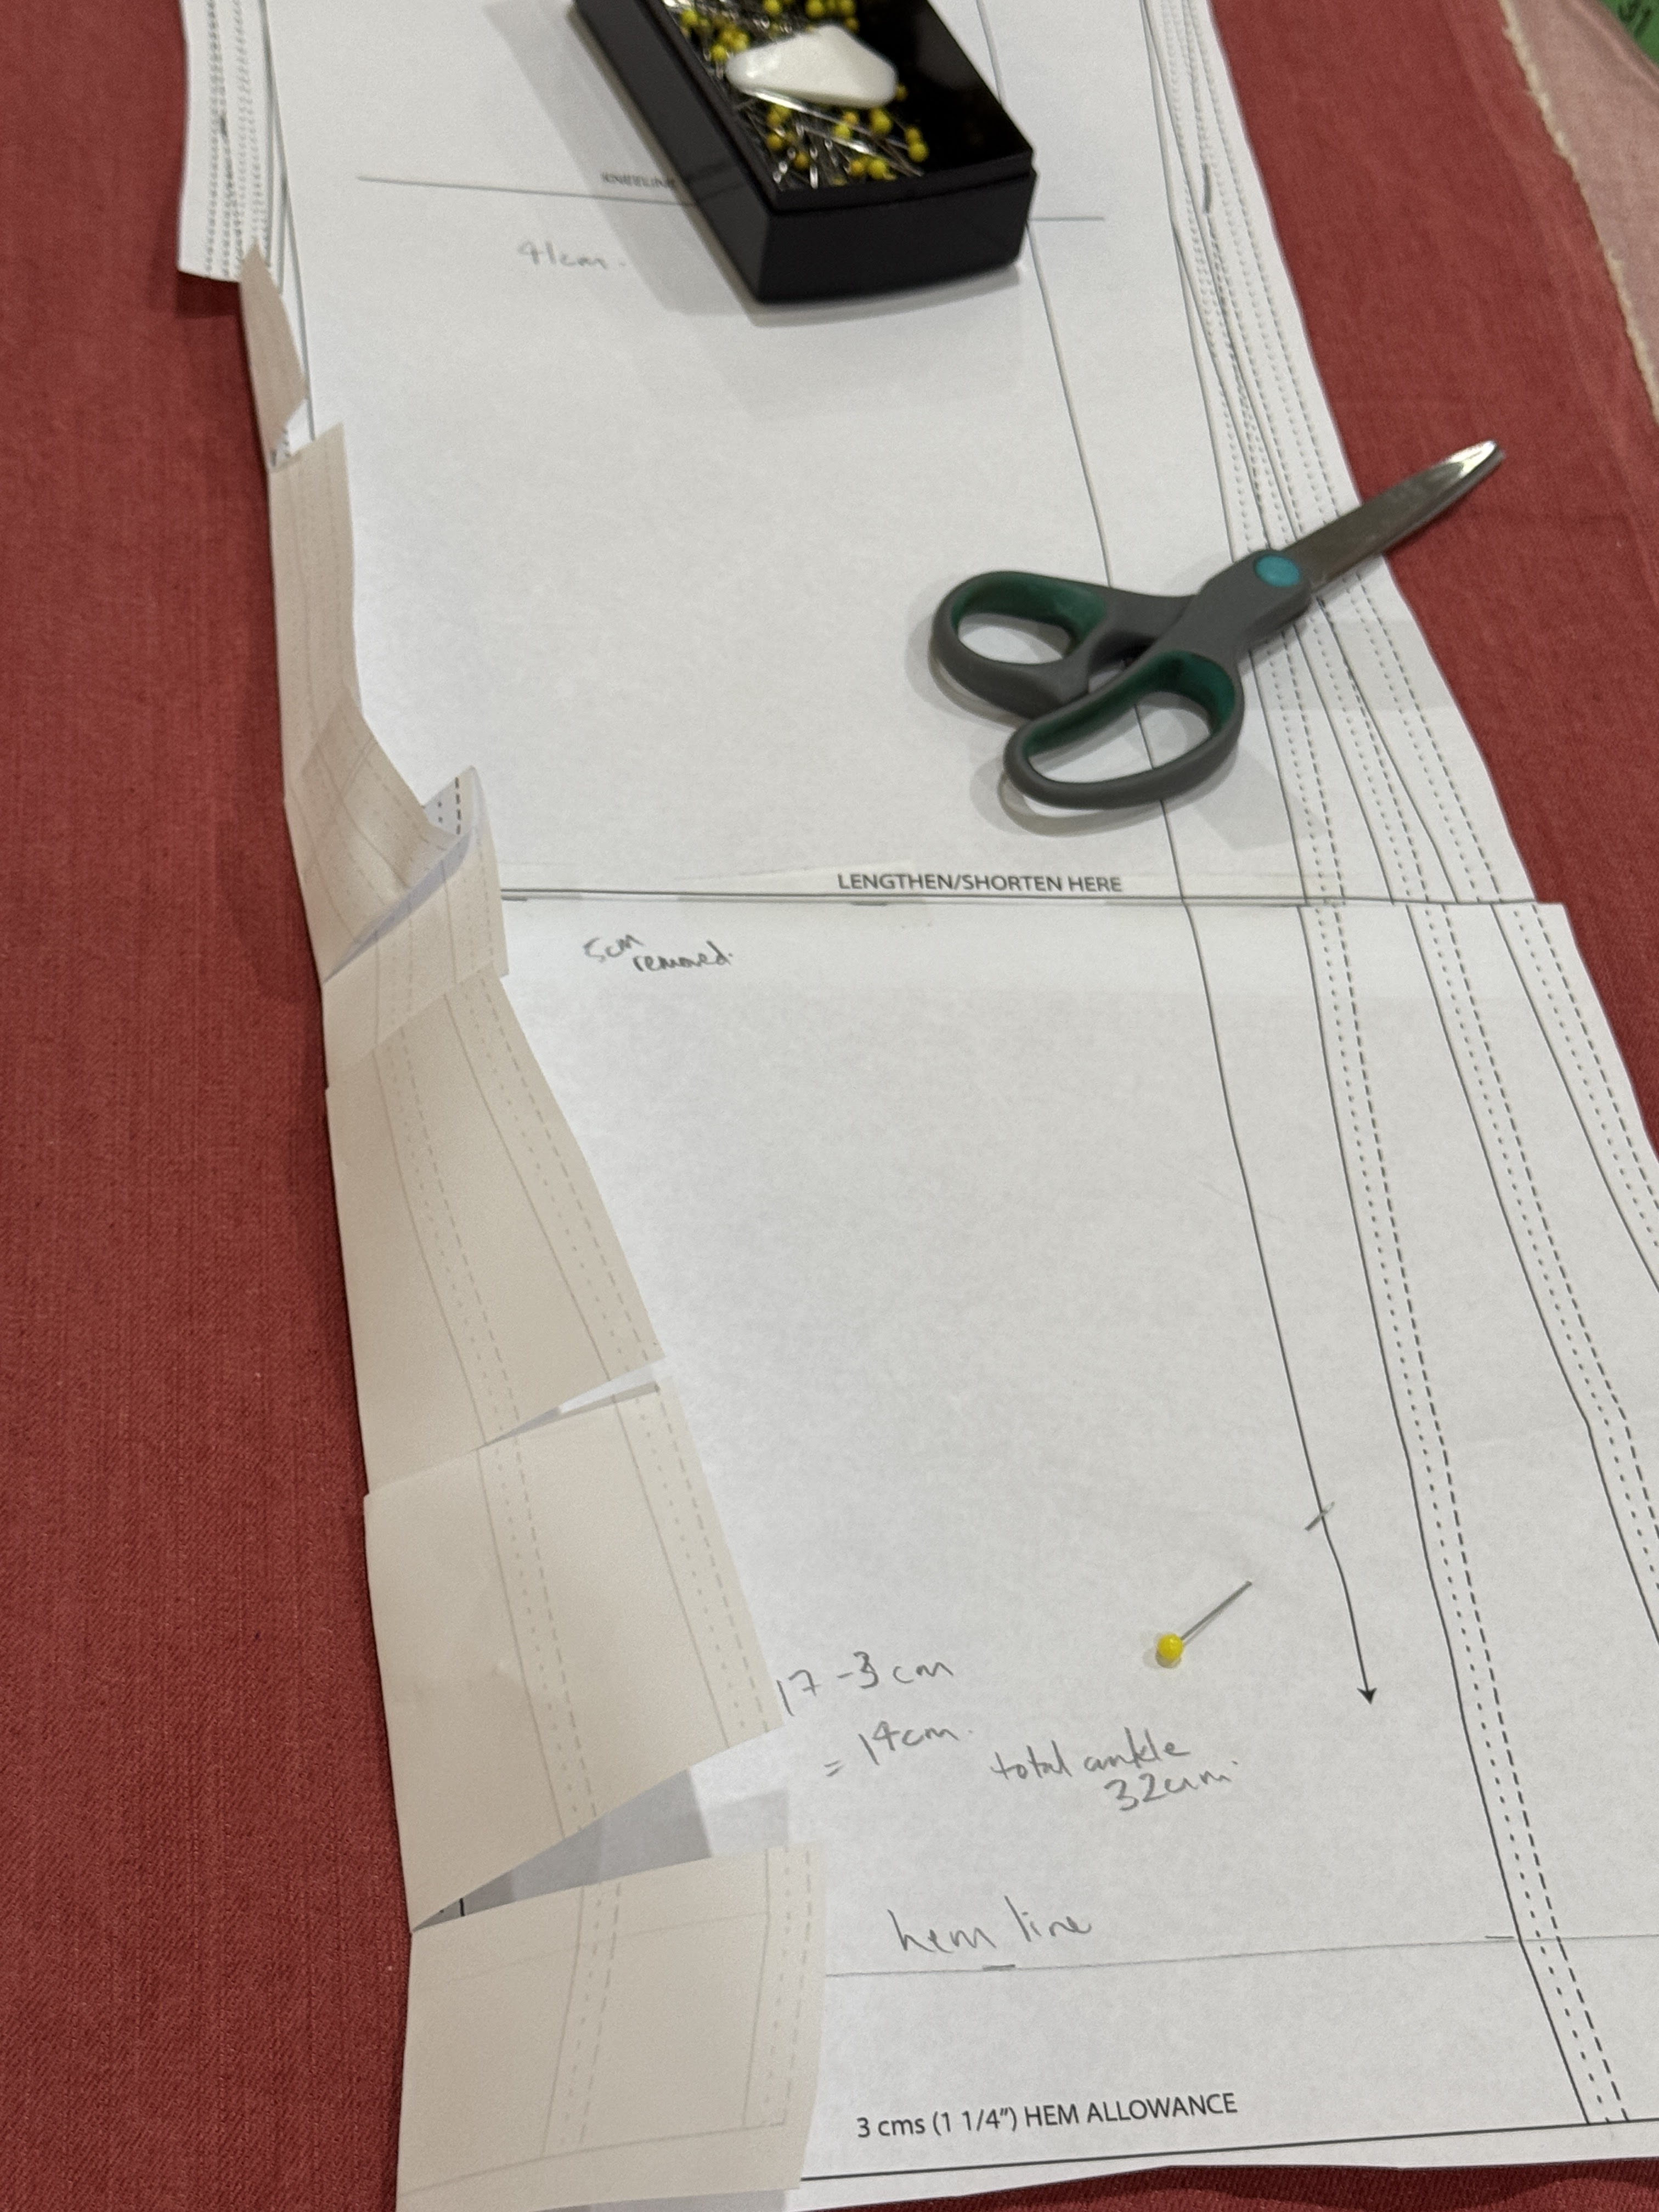
Peyton Jeans adjustments
These are all alterations I did with Ann’s advice after seeing my test version. She’s really generous with her knowledge.
Shortened the centre front seam by 4cm so the zipper length is 12cm long.
I also took out 4cm from the pocket fabric length. I found the pockets were too long for the front of my jeans body.
I did a 2cm sway back adjustment at centre back – 2cm out of the yoke; I took 2cm out of the top of the centre back and zeroed it to the base before the tushie curve starts
Initially shortened the leg by 5cm but later shortened the length by another 5cm so 10 cm in total length.
I shortened the back pockets by 2cm as well.
Once I tried on each pair of jeans, I took out up to 1cm or more on the outer leg from mid thigh to mid calf on the skinny jeans version.
The last piece of the jeans I cut out was the waistband. Why? Before sewing on the waistband, I did a fit check of each pair of jeans. The percentage of stretch can really make you feel like your don’t know how to sew.
Wearing jeans
Since wearing these jeans in, I’ve again sewed the legs at least 1.5cm closer to my legs.
The fabric loosens really easily as you wear them. More so that 100% cotton denim.
I like that this design is about your shape so I felt it’s really fun having another go at getting these jeans to stay bootyliscious.
