

Designer Stitch released Amira dress pattern.

Above is the version I completed in time for the pattern to launch last month. The write up about this version is here.
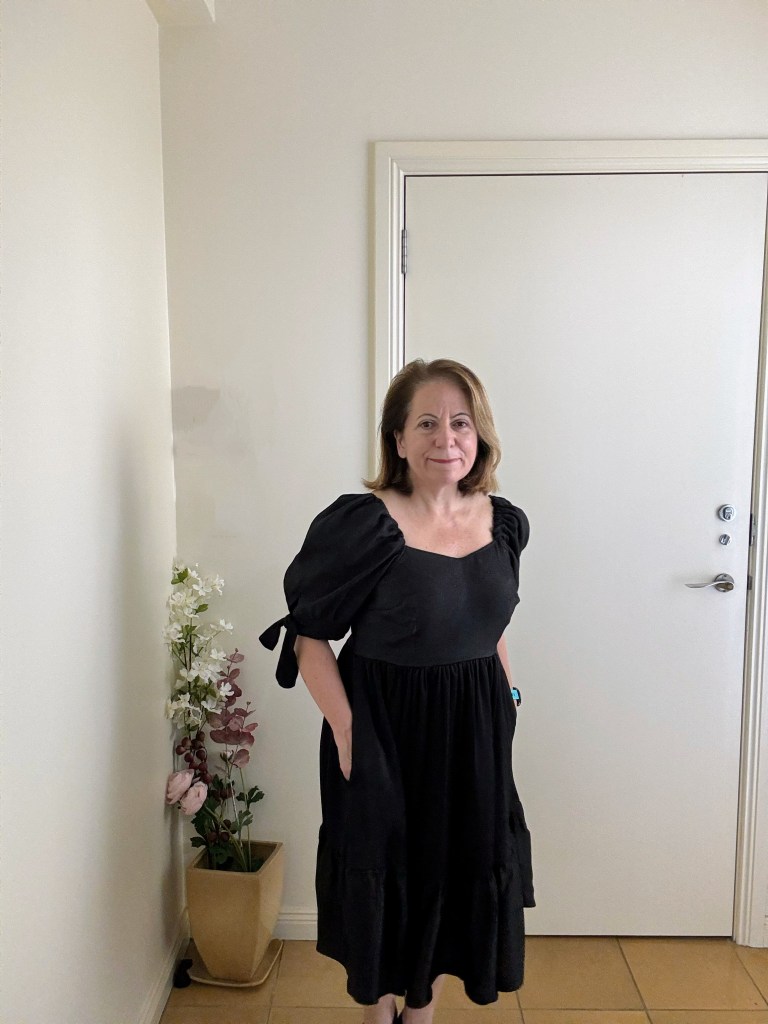
I test patterns in black so eventually I’ll have wearable toiles in black. What I realised making this dress was the fabric wasn’t the best for the style but that’s why toiling is important. I picked a pattern that was too big for me. I picked size 8 and I should have started with size 5 for the waist and graded to size 4 at the bust.

Have a close look at the bodice side here, if fit is of interest to you. I used a chambray for the bodice to create a firm shape to contrast against the gathers. This really helped me see that I have chosen the wrong size.
I chose bust cup D but I only needed bust cup C. This is my first Designer Stitch patterns and Ann was really great in guiding me to get my sewing act into gear.
I’ve put on weight and having Ann accept me as a pattern tester and to also guide me about fit, gave me lots of confidence. Ann has real integrity if you are genuinely interested in using her patterns to make the most of your current shape.
Designer Stitch patterns have more glamour to them and mostly it’s because you make the most of your shape. The shape you are today is what you work with and I had to be realistic about what my shape is right now.
The goal is to sew clothes that make you feel good and look good. That’s what I got from this experience.
I’ve now seen how Ann also promotes her testing group as well, regardless of any media expectations. You sew her patterns, look great, tag her and she’ll post you on her socials. Including her Instagram grid.
Back to the pattern: The sleeve has a few options. The back neckline has a lower option. The pockets are in the side seams. The instructions are clear and helpful.
