Now that I’ve made it, worn it, tweaked the length – I’ll make this blouse again and again.

Patterns that don’t use standard size labels worry me a bit. What I’ve learnt over the years is I have to know the widths of the pattern, the ease allowed and what height the pattern is designed for.
I do appreciate patterns that have the bust point, waist and hips located on the pattern pieces. These are my sizing adjustment points.
As is always the case, I don’t read instructions and to my detriment. This pattern has a few sizes in it so I started to trace the larger size first and I realised my error pretty fast.
When I received this pattern from Minerva to use/test/review I grabbed a remnant of the viscose print from last year and cut and sewed this top fairly quickly. I’m a stickler for ironing each seam as I sew them. I also finish seams open and don’t get lazy by using the overlocker just to save time. This usually results in lots of unpicking.
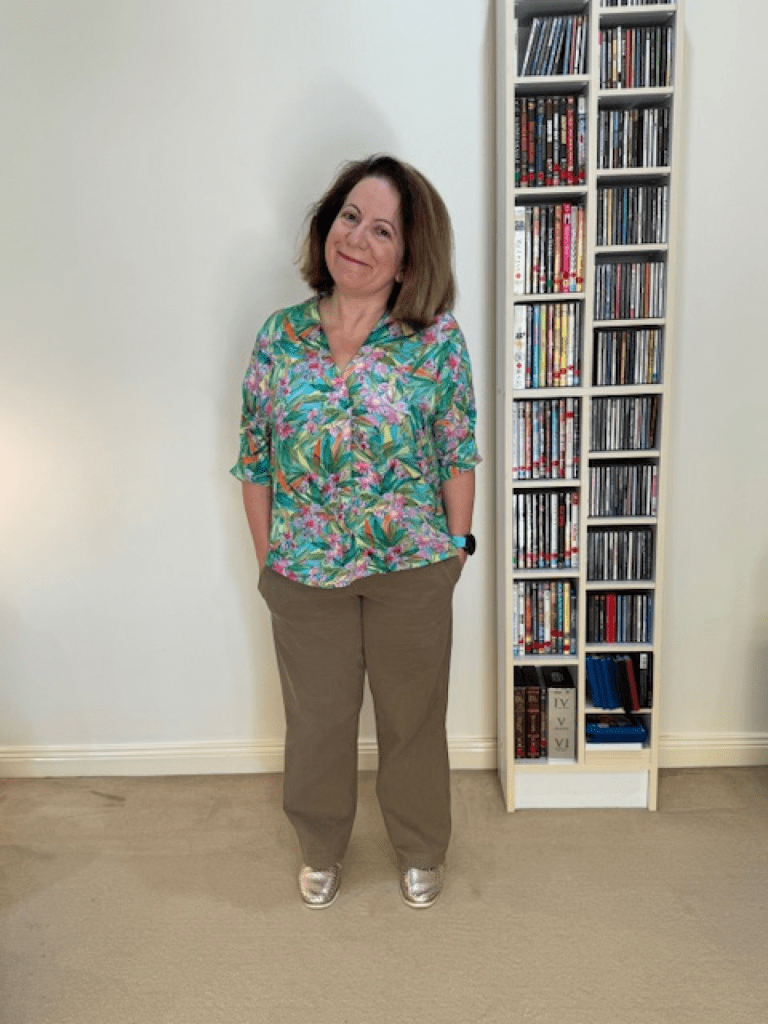
The neckline finish for the front and the back are different. The front neckline has a facing. I used the standard neckline and it was a brilliant v neckline length. The back neckline finish uses a bias piece and interestingly, this works really well.
For the first time, I wore this top at a sewing weekend, as you do, so I had lots of lovely comments about the fabric print, how the fabric drapes and the people asking what company designed this pattern.
Many people weren’t aware of the patterns Minerva has published so we had lots of lively conversations about patterns and fabrics.
During the day it became obvious that the hem was a touch too long for my height. The clearest indicator was the creasing at the front hem. My sewing weekend was spent hand stitching a French style jacket which is why I had hem creases.
The following week I raised both the blouse hem and sleeve hems by 2 cm.
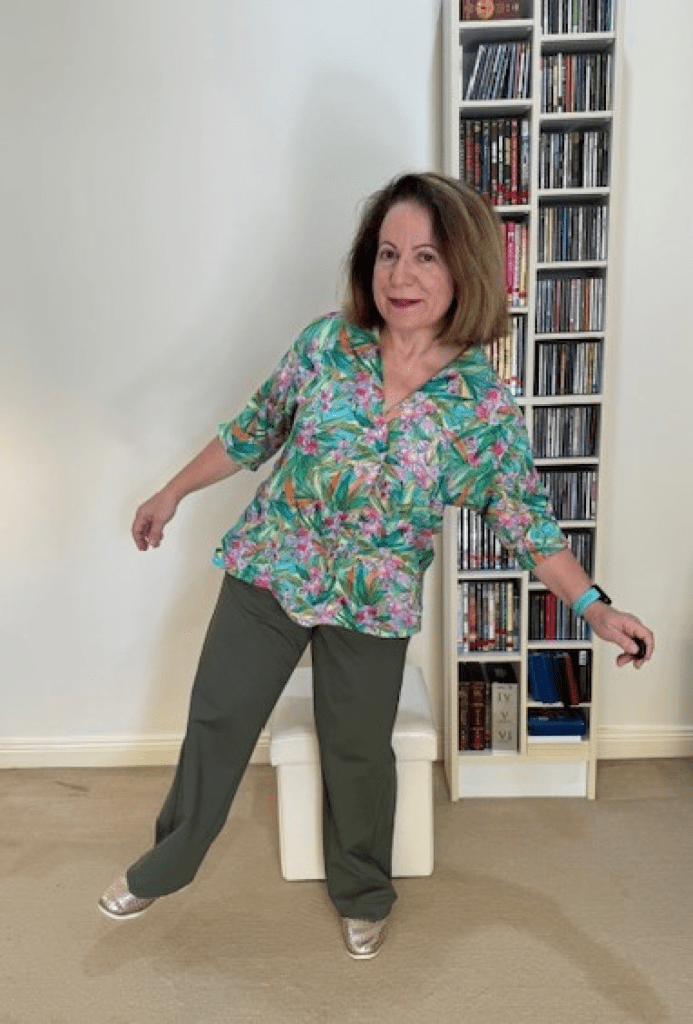
You can see how this fabric drapes from the seated photos.
I hope these photos are useful for people who need to know how fabric drapes and how a pattern looks when seated.
